Showing posts with label Andi Wolfe Woodturning. Show all posts

Friday, May 19, 2006

Quercus rubra

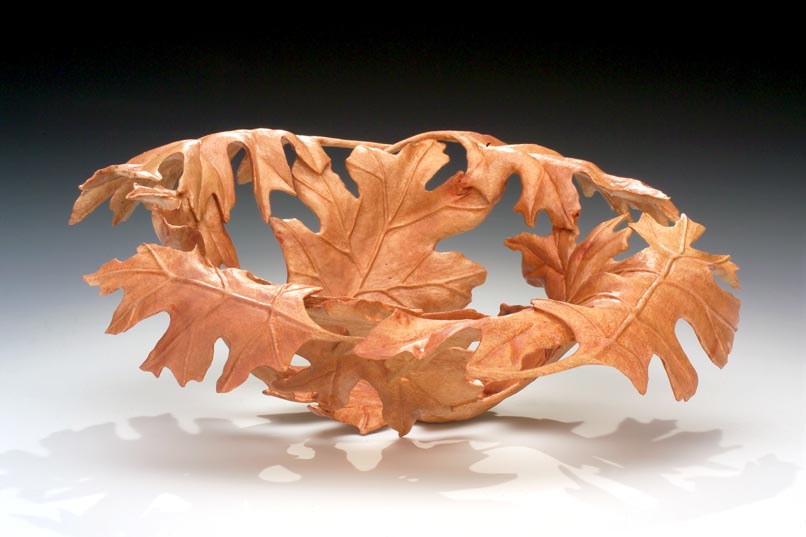
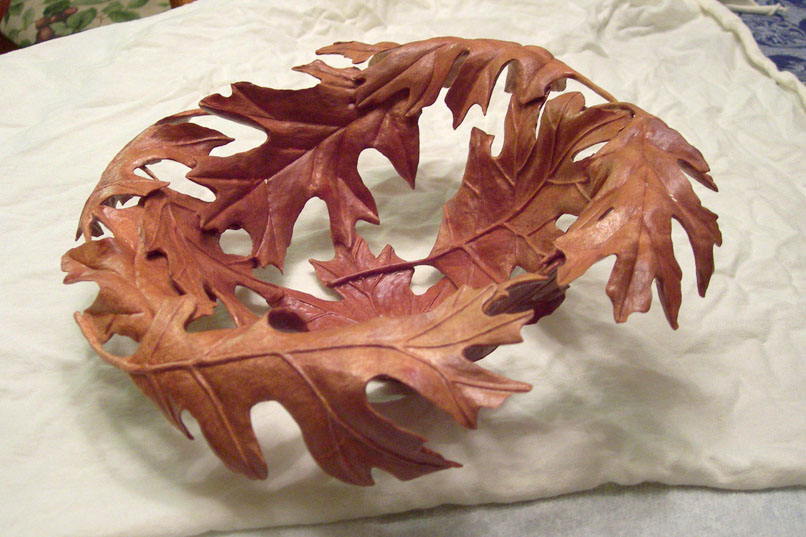
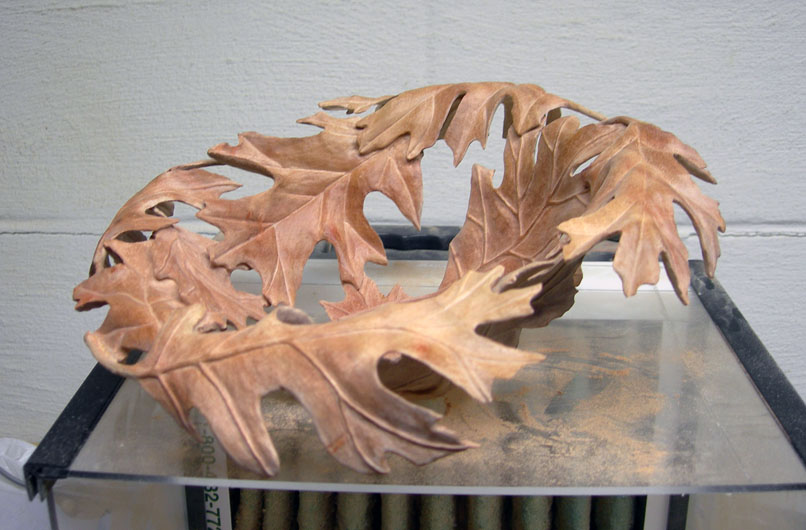
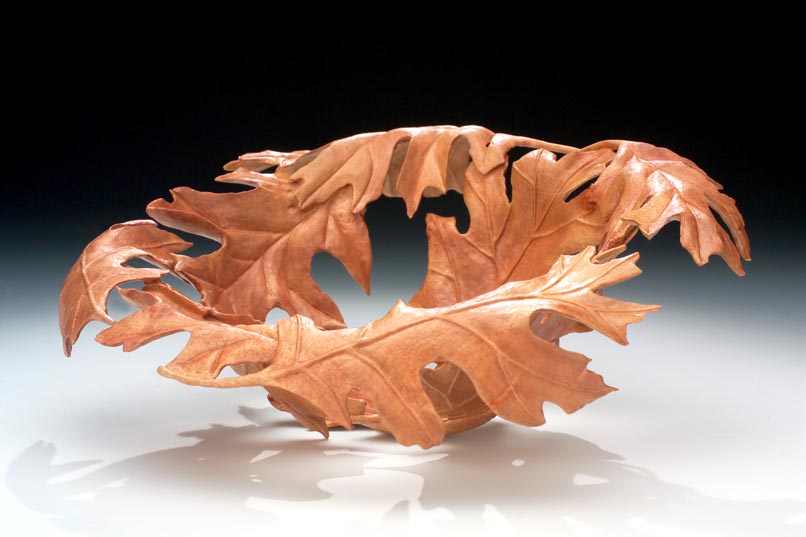
I just got my images back from Jerry Anthony Photography. He did a good job of capturing the movement and composition of my new project. The piece is made from African Sumac and is 9.5 X 3 inches in size. Actually, when it's tilted, it's 4 inches tall.


I'm very glad to be done with this project. I hope it finds a good home over the summer. Although I'd like to keep one of my carved turnings at some point in the future, I have to be practical, and try to sell it for a good price.


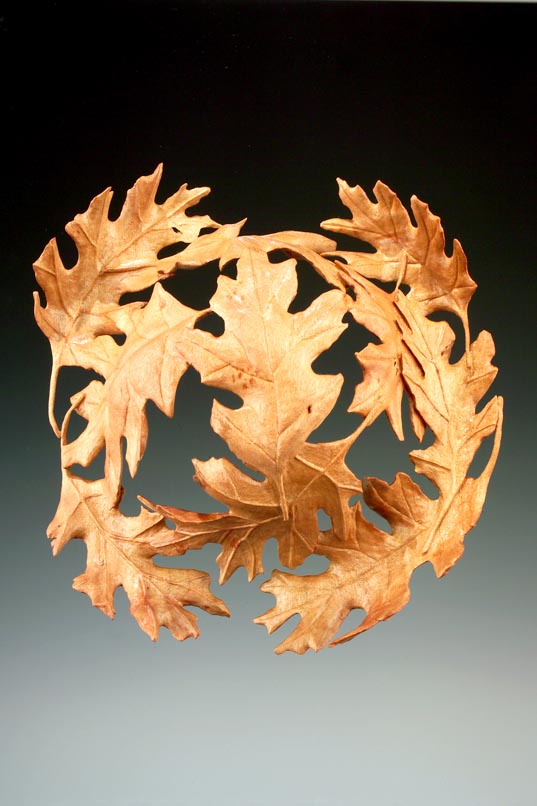
Here's another view of the topside.


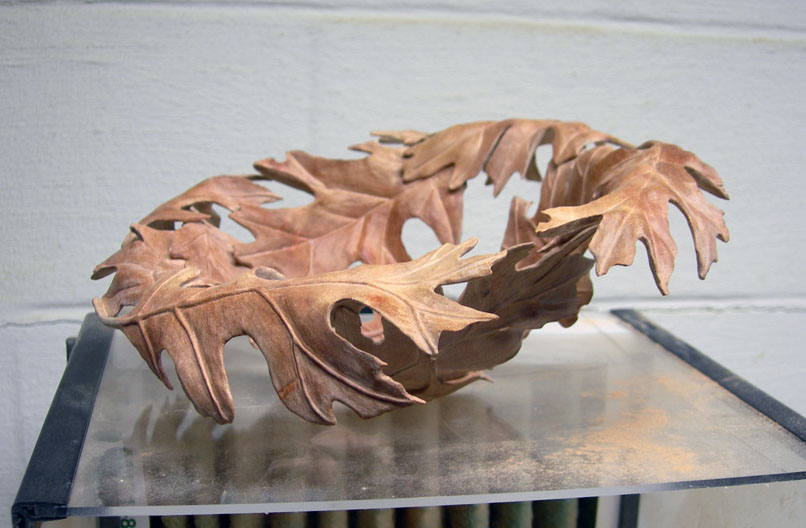
And here's a view of the back. There's as much detail on the back as the front. Maybe that's not very practical, but I'm such a perfectionist that I couldn't do otherwise.


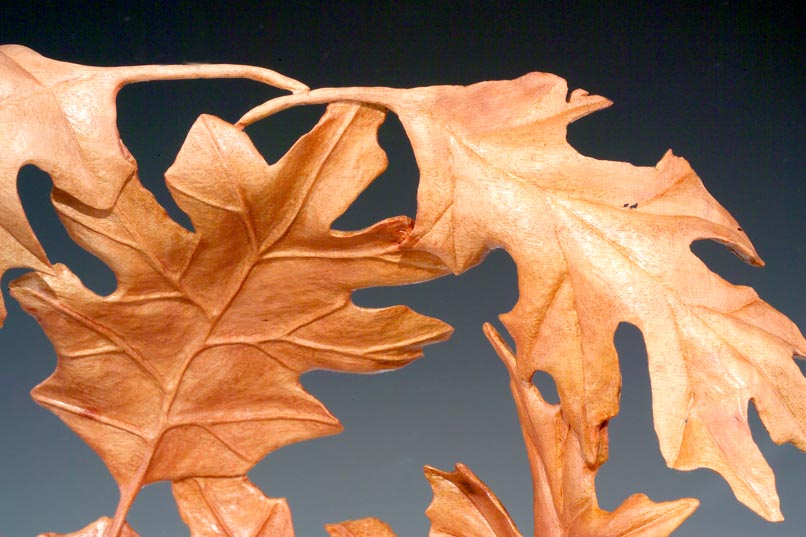
Here's a detail view of the carving. I've really honed my carving skills on this project. Each one of these carved turnings gets a bit better. I just wish that translated into getting faster as well. It seems as if I've really slowed down a lot as I spend the time to do the necessary detail work.


Previous posts in this series, beginning on January 3, 2006: Part I, Part II, Part III, Part IV, Part V, Part VI, Part VII, Part VIII, Part IX, Part X, Part XI, and Part XII.

Sunday, May 14, 2006

New Project - Part XII - All done!

Happy Mother's Day to me! I had a very nice day today, beginning with a long walk at Whetstone Park of Roses. Yesterday and today that walk was in the rain, but that wasn't too bad. We saw a lot of birds, and Emma didn't mind getting all wet and muddy. I also finished my oak leaf project at last. I'm so relieved to have this one done. I have another carving I need to work on in the next couple of weeks to get ready for the summer symposia, plus a collaboration which will involve some carving. I need to go much faster now - this project just ate up a lot of time because it was so intricate in the layout.

To top off the day, Meghan and Richard decided that I shouldn't have to cook on Mother's Day, so they fixed dinner tonight. Of course, I had to go to the store to buy all the supplies and so on . . . They did fine, and even cleaned up the mess.
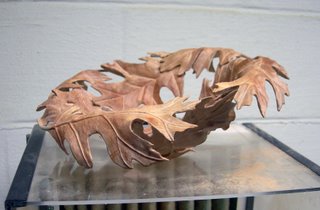
Here's the finished carving before I took it over to my lab and zapped it with the UV crosslinker. It's been slowing changing color as I've been working, but I want it to be a rich red brown. Since J. Paul Fennell achieves the red coloration on African Sumac by exposing the wood to sunlight, I figured some high intensity UV irradiation would do the same thing, except in a much shorter time period.
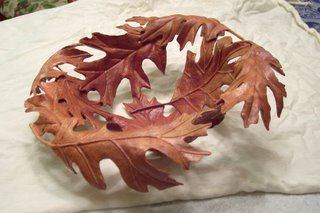


Here's what it looks like after 10 minutes of high UV exposure. I also put a coat of penetrating oil on after bringing it home. It started changing in just a minute's time exposure. It was a tight fit - the edges of the box were about the same width as the diameter of the bowl. If it doesn't settle into the red I'm seeking, I'll take it back to the lab in a week or so and zap it again.


I've decided the title of this piece will be: "Quercus rubra." That's the botanical name of red oak, which is what the leaf design is from. Now I just have to make an appointment to take this to my photographer, Jerry Anthony. I need to let the oil cure first, and then I have to pick off all the cotton lint under the magnifiers. Jerry has a knack for finding the lint with a 50 mm macro lens.

Previous posts in this series, beginning on January 3, 2006: Part I, Part II, Part III, Part IV, Part V, Part VI, Part VII, Part VIII, Part IX, Part X, and Part XI.
Saturday, May 13, 2006

New Project - Part XI

I've managed to find some time this week to nearly finish my oak leaf bowl. I have only one more leaf surface to finish on the backside, and then the carving will be done. I might actually finish the carving tomorrow, which would be a very nice Mother's Day gift to myself.


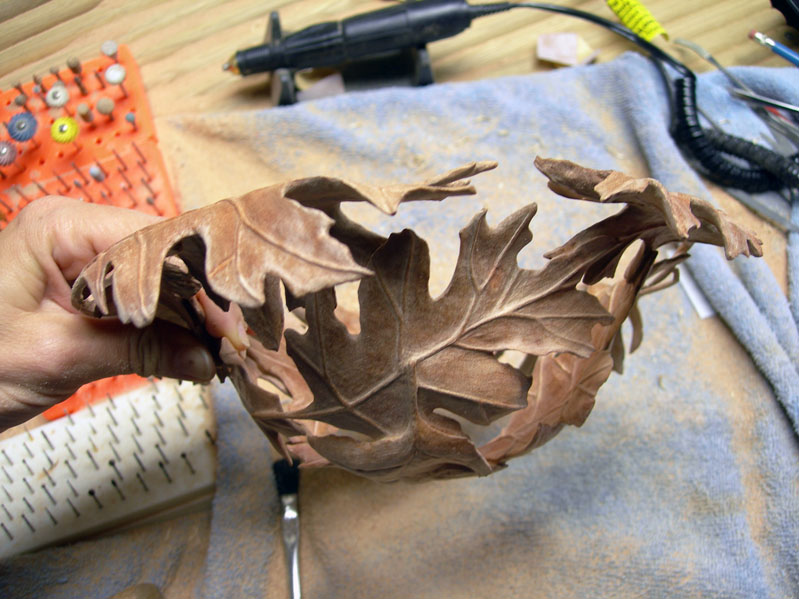
This view is how the profile is shaping up. I think it will tilt like this after the last leaf is carved. There's more weight on the one side compared to the other, so it should balance without me having to put it on a stand for display.


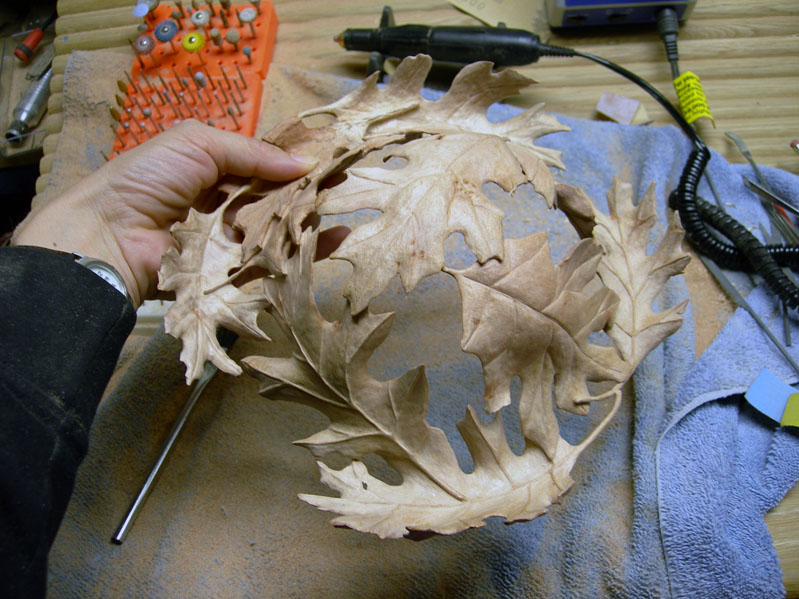
I'm holding the last unfinished leaf on the left. You can get an idea of the back side in this view. The points on the leaves are all in line with the grain, so they aren't as fragile as they would otherwise be. I've had plenty of opportunities to break off the points. I try to be very careful as I'm moving the bowl around the carving bench, but when I'm concentrating and have my occulars on, I tend to run into things. This bowl is pretty tough!


Here's another view of the profile. The leaves are thin enough in spots to be translucent, and thinner in other spots that have become bug bites. The thickest spots (where two leaves overlap) are probably 1/8 inch - most of the bowl is 1/16th inch or less in thickness.


I've been leaving the fluorescent lights on over my carving bench to try to help the oxidation along faster. If I finish the project tomorrow, I may just pop over to my lab and stick this in my UV crosslinker. That ought to emulate the Arizona sunshine. Paul Fennell zaps his African Sumac pieces with sunlight. I don't have that option right now. We've had a week of steady rain and more forecast for the next three days.

Previous posts in this series, beginning on January 3, 2006: Part I, Part II, Part III, Part IV, Part V, Part VI, Part VII, Part VIII, Part IX, and Part X.

Friday, May 05, 2006

New Project Part X


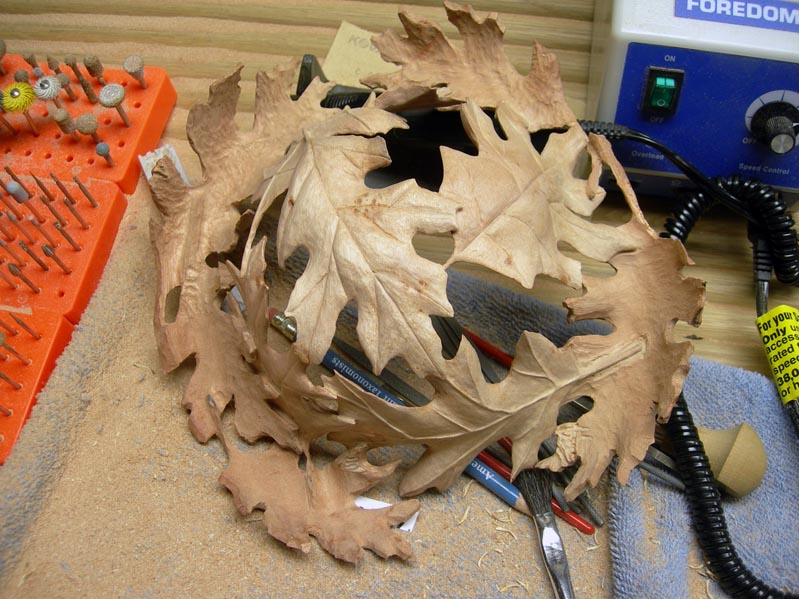
I just finished leaf surface number five on the back side. I have the most challenging leaf surfaces ahead of me as I begin to work on the rim. I'll have to be extra careful about where I apply pressure and how the bowl is placed on the work bench. I also went a little thin on these leaves, so I'm going to have to watch what I'm doing if I don't want to end up with a bunch of bug bits in the leaves. This is the top side as it's shaping up.


The backside is also coming along nicely. I just finished the bottom-most leaf this evening.

Previous posts in this series, beginning on January 3, 2006: Part I, Part II, Part III, Part IV, Part V, Part VI, Part VII, Part VIII, and Part IX.

Tuesday, May 02, 2006

Iris vase from 2002

The irises are starting to bloom on campus and in the local gardens. I don't have any irises in my yard - everytime I try to grow them I lose them to stem borers. So, I'll post pictures of a collaborative project I did with J. Paul Fennell.

I met J. Paul Fennell in 2002 on the taxi ride to the Providence, Rhode Island airport after the AAW symposium. The circumstances of that coincidence will have to wait for another posting opportunity, but we did find we had a lot of interests in common. Several weeks after that meeting, Paul emailed me to ask if I would be willing to collaborate on a project that would be a Christmas present for his wife,Judy. He was interested in having an iris motif put onto one of his vessels. Well, of course, I said "yes."

Paul sent me one of his lovely hollow forms made from mesquite. It was a little scary to think about cutting into this vessel - it felt so right as was, without any surface enhancement. It took me a couple of weeks of pondering and thinking of how I wanted to approach the design before I drew it on to the vessel. The first line burnt in was a heart stopper. Mesquite doesn't behave the way cherry and maple do, and that was what I had been used to for my work. Mesquite doesn't want a straight line burnt in - it grabs the tip and yanks it around the silica crystals in the wood. I ended up working through an impressionistic style, which did turn out ok. Here are some progress and finished pics of the project.


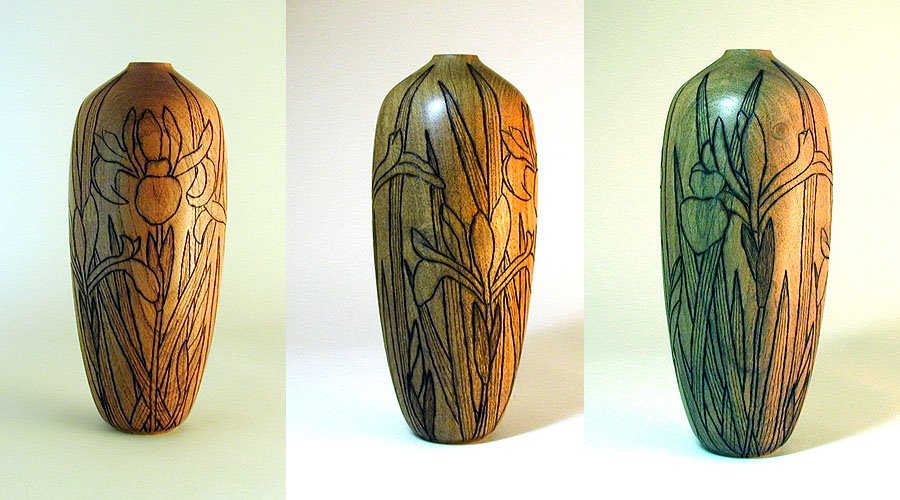
These are three views of the project after the design was burnt in, but before I did the background texturing. I didn't want to experiment on this after the design was burnt in, so Paul sent me a mock-up from mesquite and I experimented with texture patterns on the scrap piece.


This and the next photo show the 360° view around the vase, which gives you an idea that this is a canvas in the round. The colors aren't quite correct. The flowers are more blue than purple, but I didn't mess around with photoshop to correct the color balance. I should do that sometime. . .


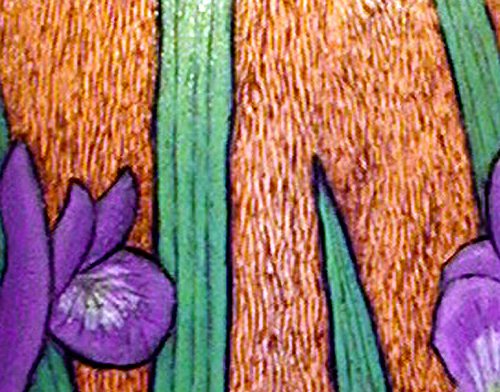
And here's a detail showing the background texture.

Tuesday, April 18, 2006

Back to Carving (New Project Part IX)

Finally! My surgery wound is healed enough that I could take the dressing off as of Monday. I can wear my shop glasses again, and today I had time to get back to the carving bench. Hurray!!!!!


Here's the top side of my oak leaf carving. This is from African sumac, and you can chase back through my archives to find "New Project Parts I - VIII; I've added the links at the end of this post). There are 10 leaves on this project, and I've finished all of the top, and am now working on the back side.


I'm just about done with the second leaf on the back side (that's the one on the left that looks like it's about done). I need to run a ceramic stone over the surface and then do the final sanding.


Previous posts in this series, beginning on January 3, 2006: Part I, Part II, Part III, Part IV, Part V, Part VI, Part VII, and Part VIII.