
Here's what it looked like after the topside roughout.
Turn the piece over at this point, and the rough bowl form is still visible. I drew in my guidelines for the leaf layers on the back in pencil, and then redrew them using a sharpie.

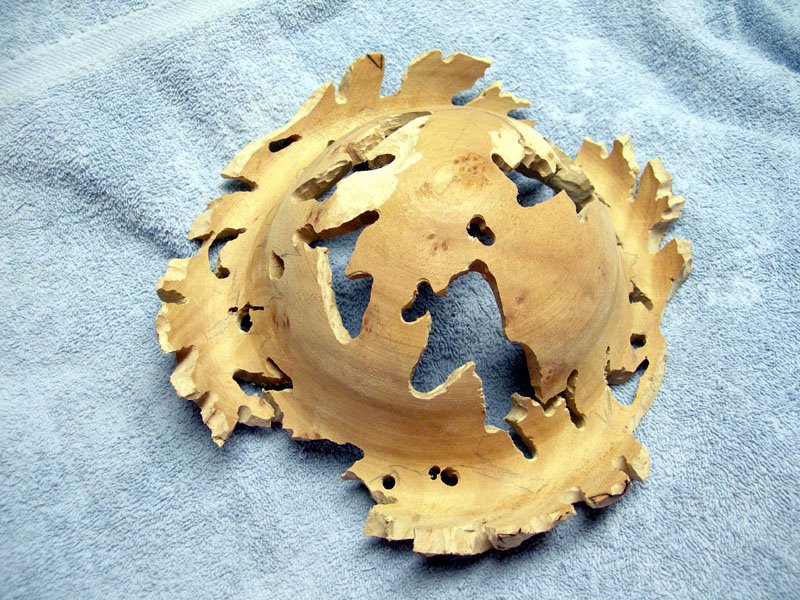
This is an overall view of the first two backside leaves after roughout. You can also see the kutzall and stump cutter bits I use with the two different sized foredom handpieces.

A closer view of the project. It's really challenging to do the opposite side roughout because I have to conform to the contours I carved on the topside. I use my finger calipers and work through the thick areas until I have a thickness of about 1/4 inch throughout the leaf. Takes a lot of time, but if I do it right at this stage, the detail carving will go much better for me.


No comments:
Post a Comment