Saturday, December 30, 2006

Christmas at our house

Christmas at our house still starts early because Meghan wakes up at 6 am to get us all started. Ouch! Emma wasn't much better this year. She knew things were afoot when she heard the squeaky toys being tested on Christmas eve. She was already upstairs in her kennel, but refused to settle down for the evening after hearing the new toys. I finally had to bring up a toy for her so she'd go to sleep.

This was Emma's second Christmas with us and she sure knew what to do this year. It took just a few seconds for her to sniff out her bag of goodies.

A green squeaky toy and stuffed hedgehog and rope toy kept her busy all morning.

Mmmmmmm - chew toys.

Steve's opening one of his gifts here.

"Oh boy, just what I wanted - a new toaster."

Darwin has a couple of new rope toys to chew on. The two dogs play tug of war together each day - it's very fun to watch.

Meghan played "Santa" all morning and brought the gifts from under the tree to each of us. Richard and Michael sat on the couch and dropped the wrappings there between them. Richard had fun reading all the gift tags. He recieved gifts from Obi-Wan Kenobe, Luke Skywalker, Darth Vader, etc. Those went along with the six Star Wars novels he received.

Michael's looking at this new tool kit and thinking to himself, "What am I going to do with this????" Every college student needs a basic tool kit for the dorm room, I think.


"What is it, Mom?"


"Oh, yeah, this was on my wish list - I forgot."


What a mess! (Not the boys, per se, but the wrapping paper. . .)


I hope the holiday season was enjoyable for everyone. It's been nice to have some time off to spend with my family.

Michael's birthday


Michael is home from Columbia University for winter break. His birthday is on Dec 23 (we brought him home on Christmas morning in 1982), and so we were able to celebrate his birthday as a family. It doesn't seem possible that he's 24 already. It seems like yesterday that were were in an apartment in Fairfax, VA with Michael first home from the hospital. Time does fly.


It's only hair (that's an aside for Grandma and Grandpa Wolfe).


Michael collects penguins and he's just opened a package of penguins that once belonged to his great grandmother. Greatgram died just a few weeks ago at age 94.


Alright! A warm sweater for New York!


Happy Birthday, Michael!

Milkweed at the wetlands park

Steve and I have been doing some walks at the OSU wetlands park. Mostly it's to look for birds, but I usually have a camera along just in case something catches my eye. As we were walking out to the billabong I spotted a milkweed fruit that had opened to disperse its seeds.


This is the backside of the fruit.


The other side shows all the action. Each of the seeds have a plume attached. These are the floaties that kids like to catch and use for making wishes.


The seeds are well adapted for flight. They have a flat wing surrounding the seed and the plume opens into a parachute.

Wednesday, December 20, 2006

Happy Holidays!

It's not quite the winter solstice, but the days are pretty short and so is my free time to play with wood. I've managed to do some turning, carving, and pyrography over the past several days, but not nearly enough to make me happy. This time of year is sooooo busy with errands, getting ready for the start of winter quarter (I'm teaching a biogeography course), and taking care of details for the holidays.

We celebrate Christmas at our house, but also take joy in the other holidays that are associated with the winter solstice. Happy Holidays to all of you who check my blog from time-to-time. Emma's all dressed up for the occasion and is spreading good cheer to all. She sure made my day brighter by her reaction to her new hat. She went into major kissing mode from all the excitement of having something so unusual on her head. BTW, Emma is on Santa's "naughty" list.

Sunday, December 17, 2006

A sad farewell

Frank Sudol, one of the most inspirational turners in North America, passed away on Friday, Dec. 15, 2006. He was an influential innovator in terms of techniques (the captured boring bar hollowing system for his tall, thin-walled vessels; thin wall piercing, airbrushing, etc.) and was a turner who encouraged us all to fire up our creative engines. You could always tell when Frank was demonstrating at a symposium because the room was standing room only and overflowing into the hallway, and there was so much laughter coming from the room that you knew a good time was being had by all. Frank will be sorely missed in our woodturning community.

Saturday, December 16, 2006

Jamie Donaldson visits Central Ohio Woodturners

Jamie Donaldson was our guest speaker for the December 2006 meeting of the Central Ohio Woodturners. We also had a beginner's corner on the basics of equipment for woodturning.


There's always a lot of milling about prior to the start of a club meeting. It's the time when people catch up on news and bragging about wood, equipment, and whatever.


It's also the time to ogle the turnings on the show and tell table. We had a limited number of turnings on the table, but several offerings were of candlesticks for the president's challenge.


We were in a smaller room for the business meeting this evening. The main shop was pretty messy from the end of the quarter at OSU, so we took over two classrooms for our separate sessions.


Barbara showed the candlesticks from her president's challenge. There were some interesting ones here, including a section of a very large turning that Blair Davis brought in.


Ron Damon led the beginner's corner in the other room. He covered the basics of equipment and supplies needed for turning.


We do have quite a few beginners in our club and so this breakout session is pretty useful to those turners just starting the hobby.


Meanwhile, in the other room, we had a session with Jamie Donaldson (from Kentucky) on "Phrugal Photography." Jamie brought his set-up to illustrate the basics of craft photography on a budget. This light box is constructed from PVC pipe and poster boards. The light source is a halogen worklamp and the lighting is manipulated by reflecting the light off of the white surfaces. The backdrop is a window shade. The entire set-up can be made for less than $50.


Jamie explained how manipulating the lighting makes or breaks a photo of a woodturning.


An alternative to the above set-up is a simple tent made from two pieces of poster board. This is for smaller turnings.


To brighten the light box, you can add panels and reflecting surfaces to the interior space.


Jamie provided a detailed handout that covers the basics of digital photography and his phrugal set-up. He also handled questions from the audience quite well and kept the flow of information going at a steady clip.


The entire lecture was illustrated in real time via a computer projection.


This made it possible to see the real-time effects of manipulating the lighting on the shiny surface of a woodturning.

Thanks, Jamie, for a great demo for our club.

Sunday, December 10, 2006

Who is that masked woman?


Carving time again. I'm working on a complicated layout for a new piece. It's in ginkgo wood, and I'm not really liking it for this application, but I'll stick it out and work it through the finishing stage. It's the last one I'm doing like this, though. Ginkgo is nice for my "hidden world" series, but not for doing details of leaf carvings.

Tuesday, December 05, 2006

Mark Sfirri visits Central Ohio Woodturners - Day 3


On Sunday, December 3, 2006, I took a hands-on class with Mark Sfirri. We used Barbara Crockett's shop and our club Jet minilathes. Mark adapted his class for the smaller size scale we'd need for the minilathes. We did several of the projects he had demonstrated the day before at Wood Werks.


The first project was with the glued up blanks of wood to give us some experience on seeing and cutting the shadow lines.

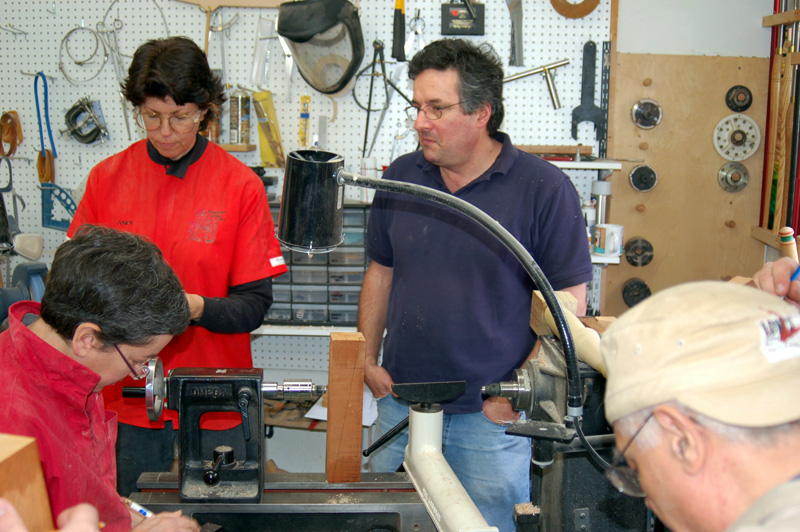
L to R: Mark Sfirri, Jim Burrowes (assisting), Booker Brooks, and Devon Palmer.


After turning two half beads and a cove on the glued up blank, we split the blank down the glue line and turned the individual halves. First on a balanced axis and then on a diagonal axis.


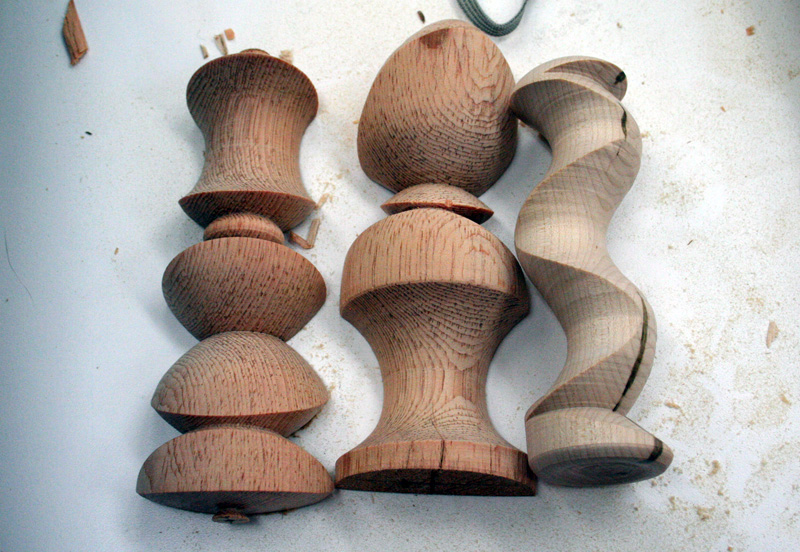
Here are my morning projects. The two on the left are from the split piece of wood. On the middle piece I put the split blank on a diagonal axis and turned just the top bead to see the effect. It essentially twists the facet of the surface. The lower half of that piece still has the original profile turned on the blank while the two halves were glued together.

The form on the right is a wave form turned on two axes. You can see details in yesterday's post.


Mark showed us some figures he had made and how the wave form and glued up blanks play into their construction. The one on the left is a wave form. The one on the right started out as a glued up block.


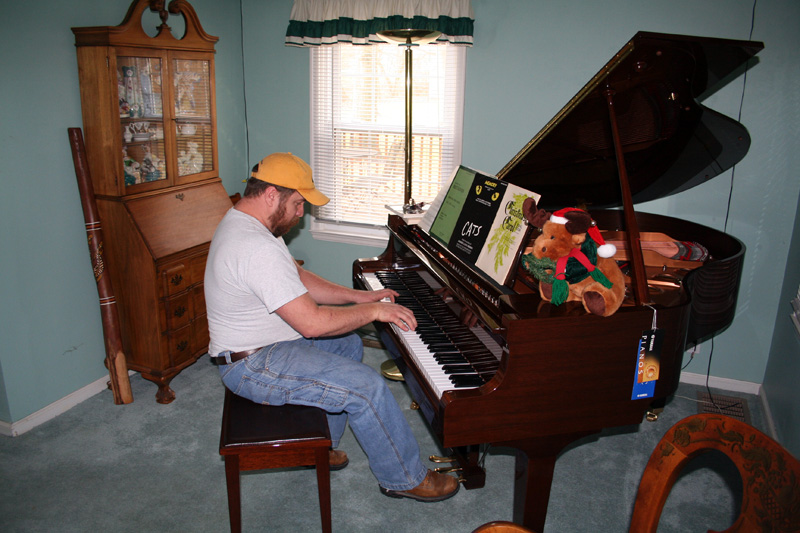
Barbara made a very tasty beef stew for us to have at lunchtime. We also enjoyed hearing Devon Palmer play tunes on the baby grand piano. Devon is full of surprises - he used to play as a studio musician and did the piano lounge circuit. What a treat to hear him play!


Jim Burrowes enjoyed listening to the music.


It was a nice lunch!


The first project after lunch was the off center table leg. Since we were using a mini lathe, we had to scale this down quite a bit.


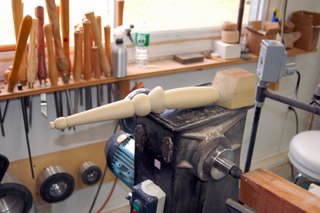
That's the basic shape we're after.


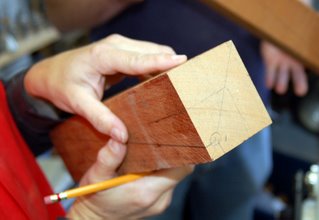
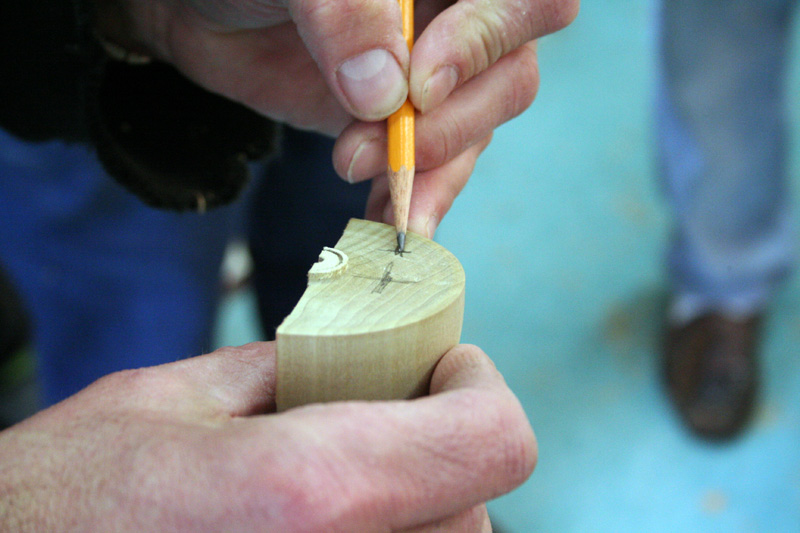
The first part of the project is doing the layout on the rectangular blank. This involves a bit of measuring and thinking about the axes that will be used in the turning as well as what the final product will be.

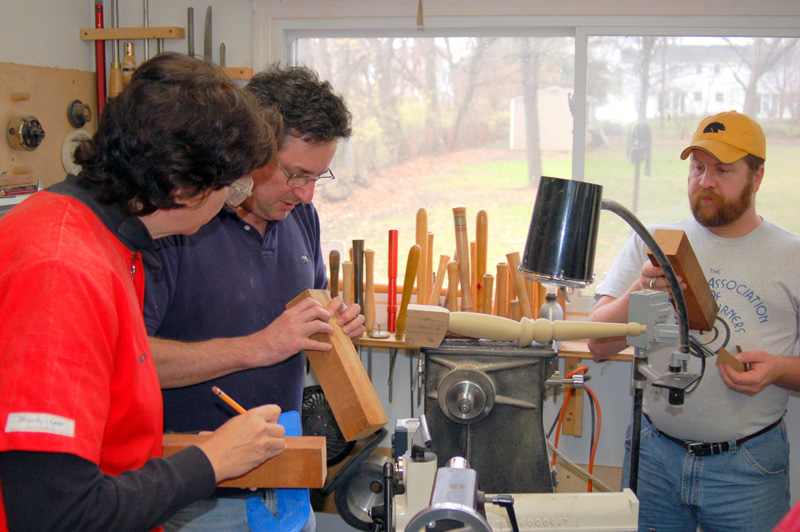
L to R: Monica Bluestein, yours truly (can't miss me in my Proserpine Turnout 2005 smock), Mark Sfirri, and Booker Brooks.


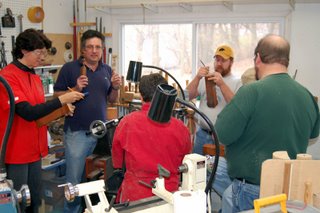
You wouldn't think something so simple as a layout would be so confusing.

Scott Hogsten is in this pic (green shirt).


How's that again????


A study in concentration. . .


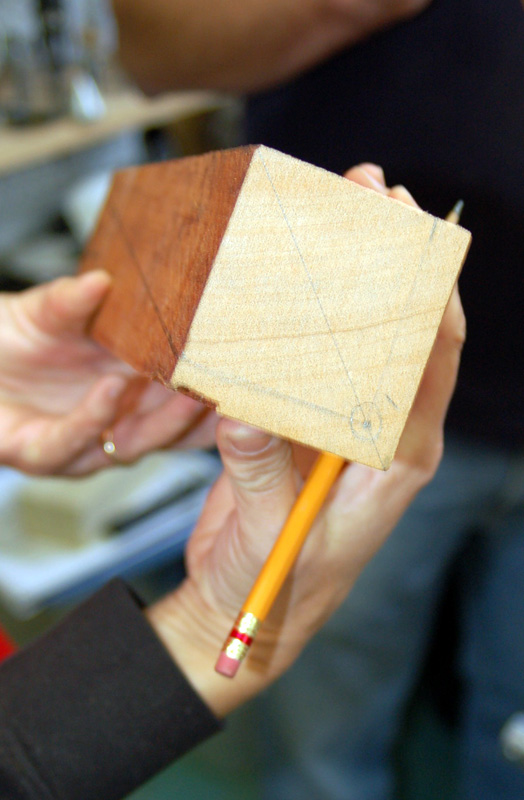
This is the layout for the top of the blank. You find the diagonal center and mark that. Then you measure about 0.5 inch in from the inside corner of the table leg and mark that as the first turning axis. Draw a 0.5 inch square with the first axis as one corner, extending the lines to the inside corner of the table leg. The square marked out in the middle is the size of the table leg where it meets the apron, 1.5 inches square. The second turning axis is marked near the opposite corner - 0.5 - 0.75 inches from the corner. The distance depends on how much wood is left after doing the pommel cut.


You measure about 2.25 inches down from the top of the blank and mark that line. The square on top is about 1.5 X 1.5 inches. Extend that line down the tangential surfaces of the inside corner. That makes a rectangle 2.25 X 1.5 inches. You then mark the center of the bottom line of that square for a guide point.


On the bottom of the blank, you find the diagonal center. On the outside corner of the blank you measure in 0.5 inch from each side and mark that as the center for the first axis. Mark a square with the first axis center point as the inside corner.


A line is drawn on two sides that goes from the inside corner to the outside corner, through the midpoint drawn on the rectangle of the upper part of the table leg, with the endpoints being the corners of the square you previously laid out that incorporates the center points of the first axis. This shows your offcenter axis line.


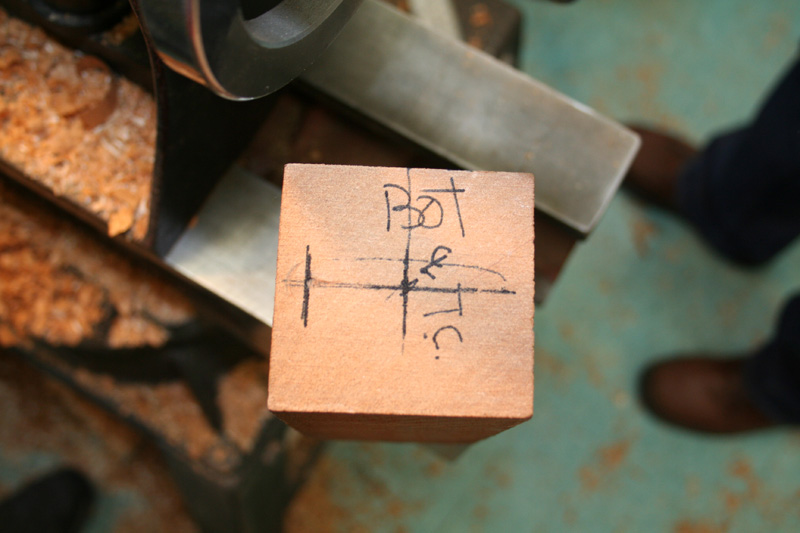
It's helpful to label the "Top" of the blank.


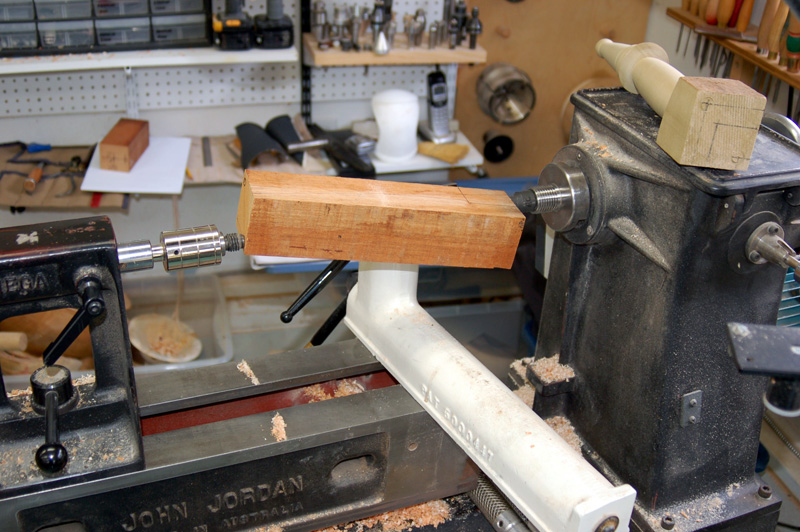
Now, we're ready to begin. The blank is mounted on axis one.


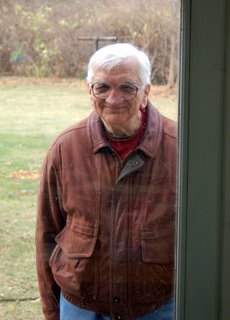
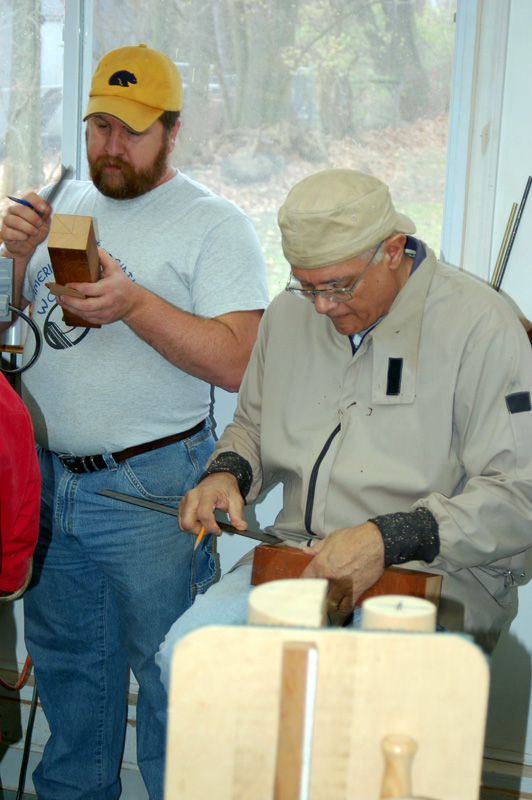
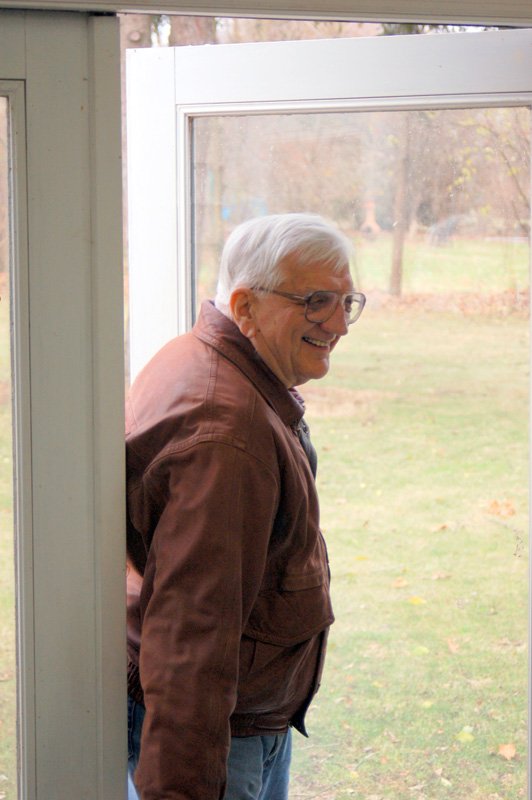
Look who's crashing the party after lunchtime! Hello, Walt Betley! Walt is a charter member of Central Ohio Woodturners and he has more than 70 years turning experience. He's also my neighbor across the street and a very nice guy to know.


Yes, do come in, please.


Walt just dropped by to lend some support, give encouragement, and spread a bit of sunshine around.


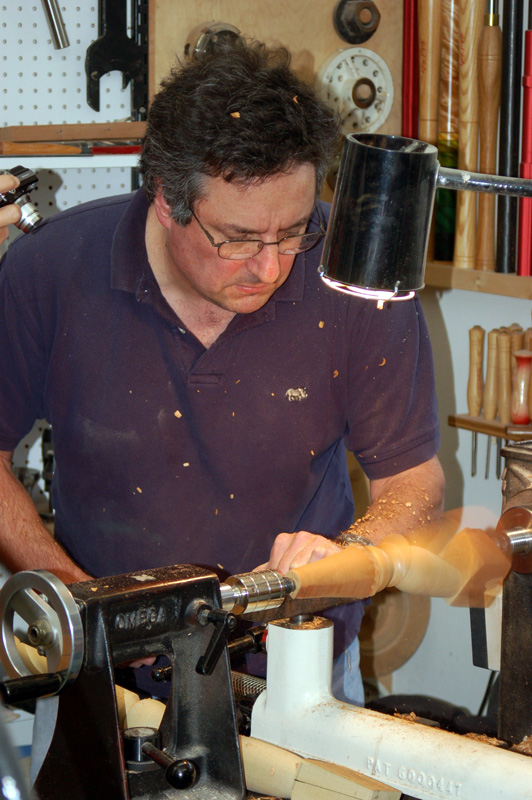
Ok, back to work now. The first cut is for the pommel, where the top of the leg meets the apron.


You can see each of the students are recording this demo with our digital cameras. Talk about paparazzi.


The top of the leg is turned next.


Then the rest of the leg is rounded a bit before the first feature ring is turned.


After the first detail is done, the blank is moved to the second axis. The second detail is turned and then the bottom of the talbe leg.


A detail is put on the bottom of the leg.


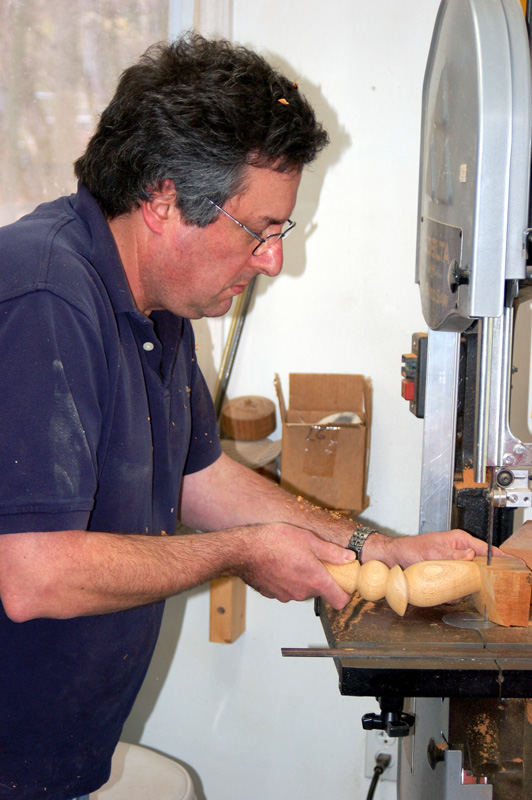
After all the turning is done, Mark took the leg to the bandsaw and trimmed the top down to where the 1.5 X 1.5 inch square was drawn.


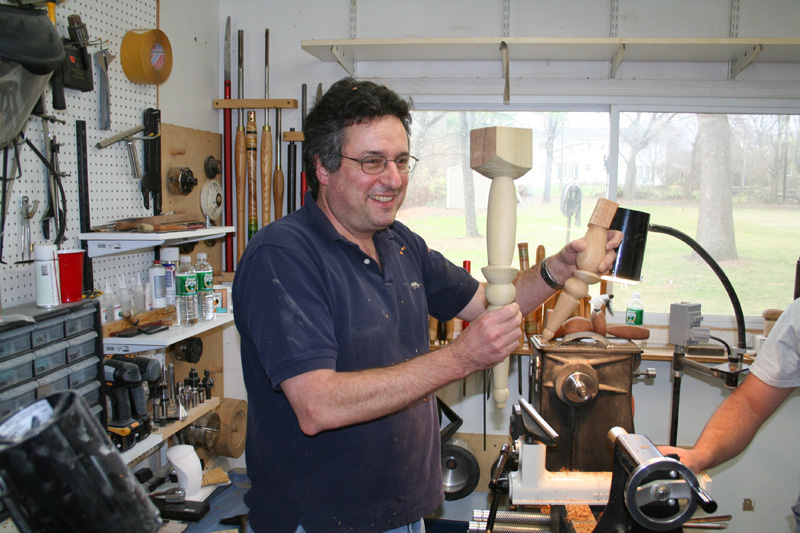
The last project of the day was a mock-up of the two-axis candlestick Mark had demonstrated on Saturday. We didn't have blanks that were pre-drilled, so we just pretended we were making candlesticks. We'd have to begin with drilling the hole on an angle to match the second axis of the turning.


This is the top layout showing where the hole would have been drilled. The center of the hole is axis two. The first axis is about 0.5 inches in from the opposite edge.


Axis 1 on the bottom is near the outside edge. The second axis is in the center.


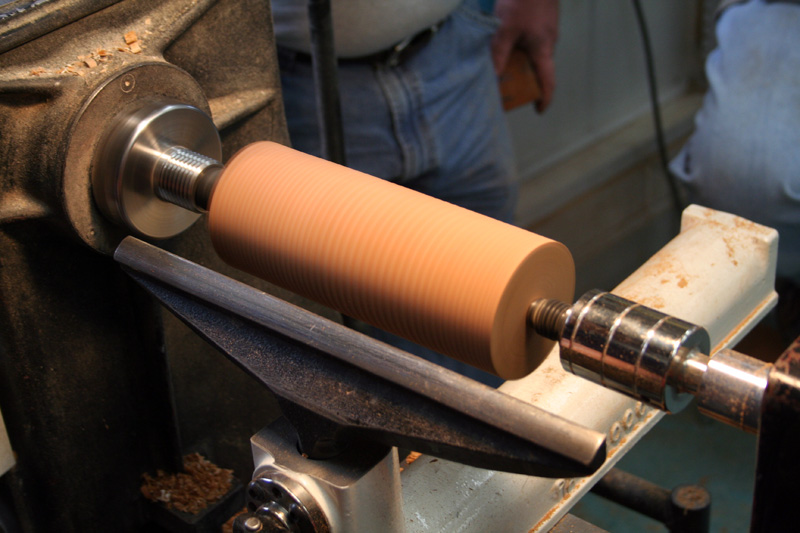
The project begins by first rounding off the corners of the blank.


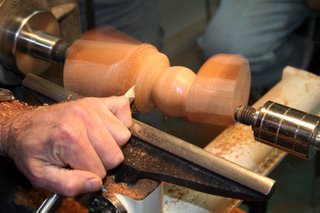
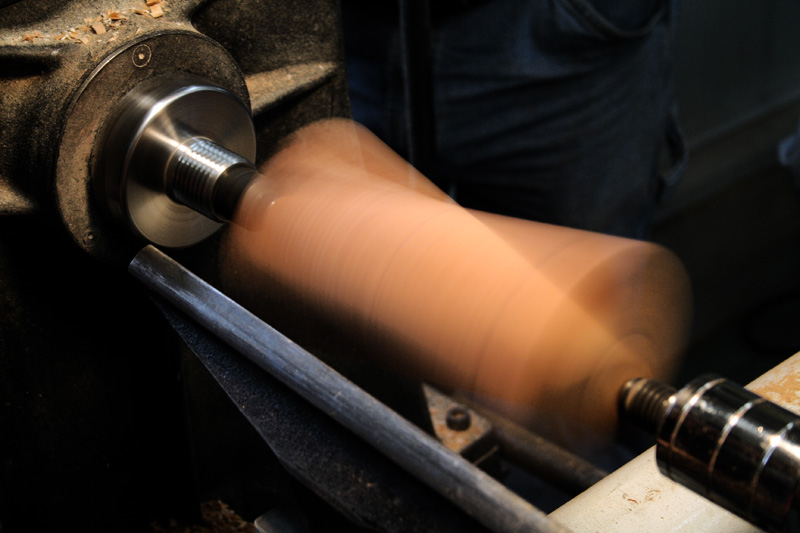
Then the blank is mounted on the first axis. The transition line is marked; this is the widest diameter of the turning.


You can see that transition point as the blank is spinning.


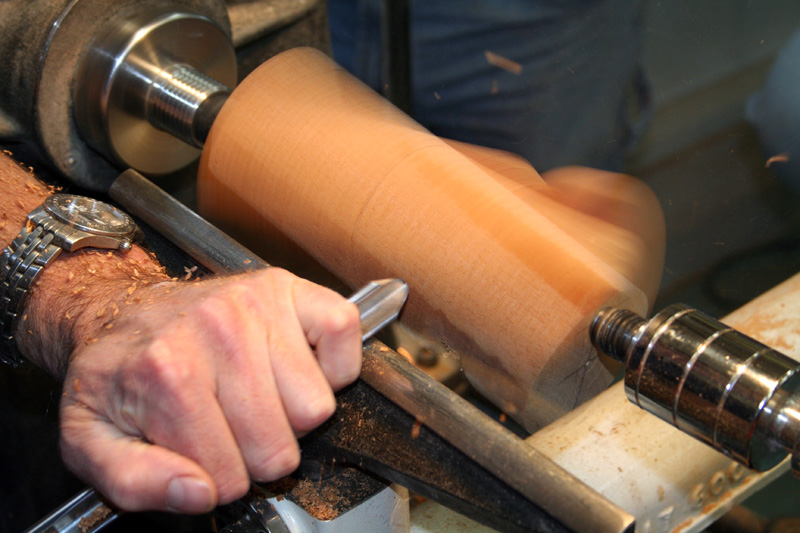
The top side of the base is defined and turned.


The shape of the base section leading to the transition point is turned.


Here's what it looks like at this stage.


A comparison of the final product.


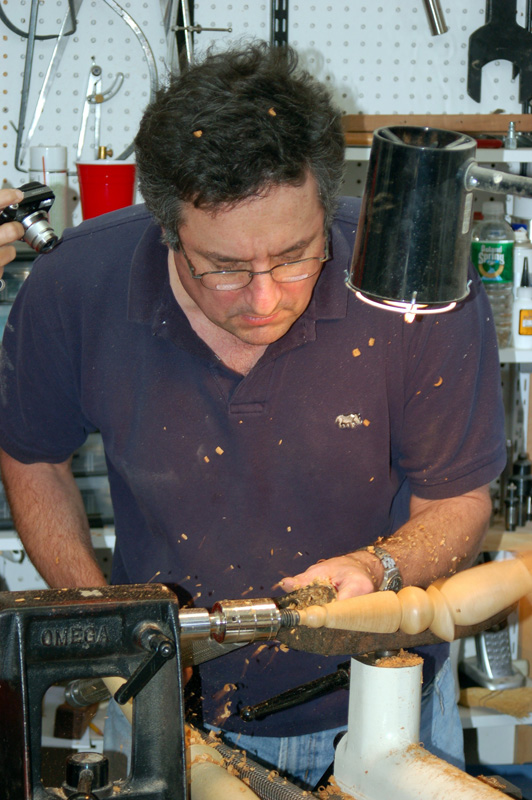
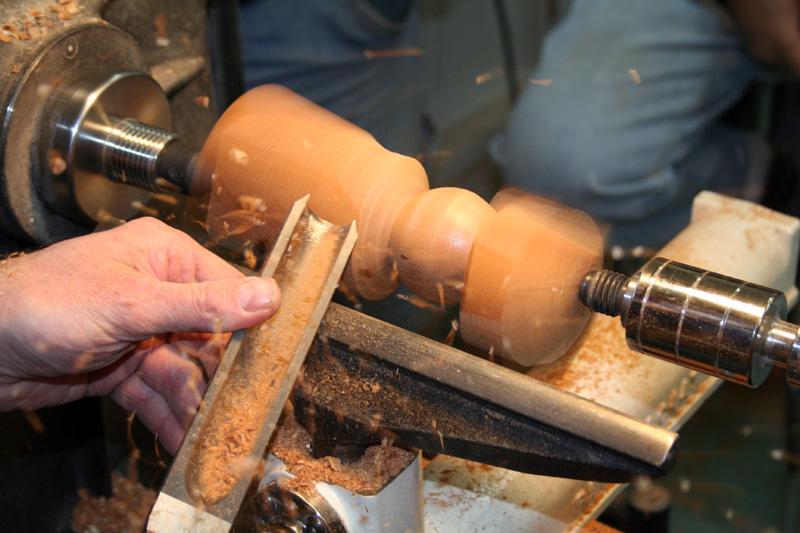
Rouging down the cylinder some more before turning the first feature ring.


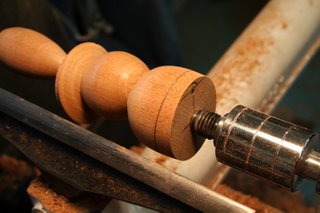
The first feature ring is turned on axis number one.


Top and bottom of the ring is on the first axis.


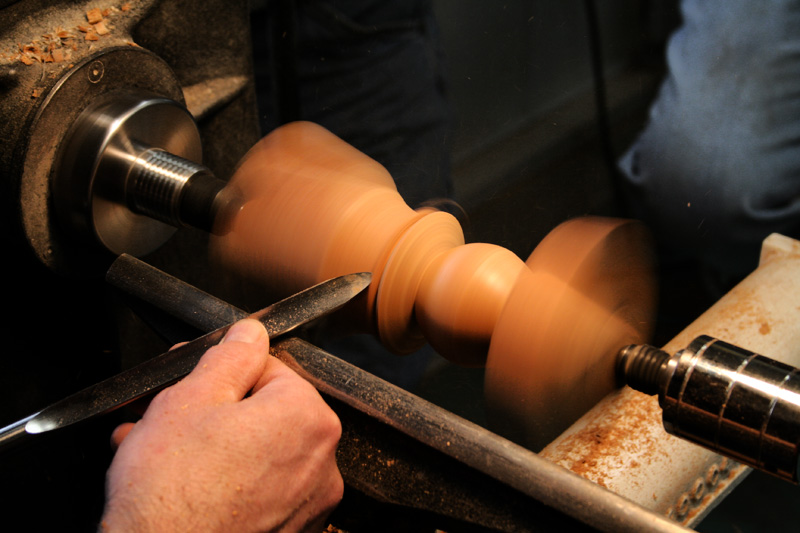
The blank is moved to axis number two.


The base is refined, the top section is turned.


The base is reduced in height, and with a few clean-up steps to remove the nub, it's all done.


Here are all of my projects from the class. I don't do much in the way of spindle turning, but I've enjoyed learning about these off center techniques.


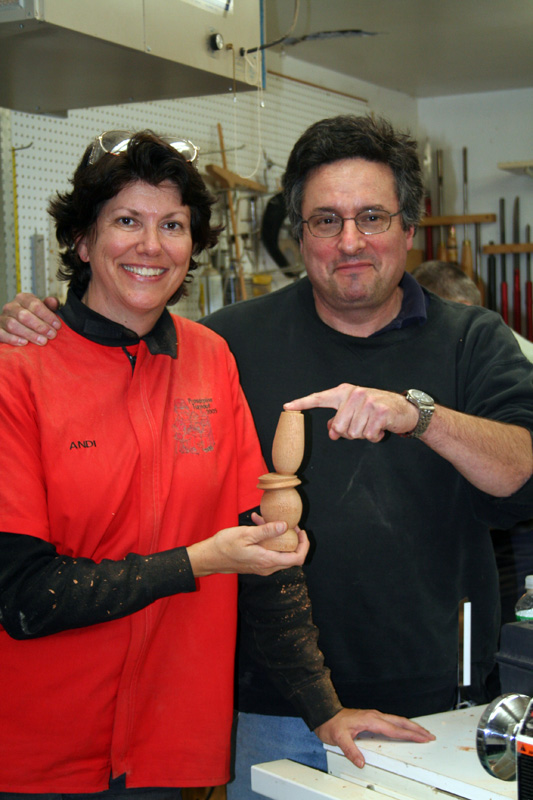
Mark and I posing with my turned candlestick. Thanks, Mark! It was a fun day in the shop.

(Also, thanks to Steve Wolfe for many of the pictures from today's post.)