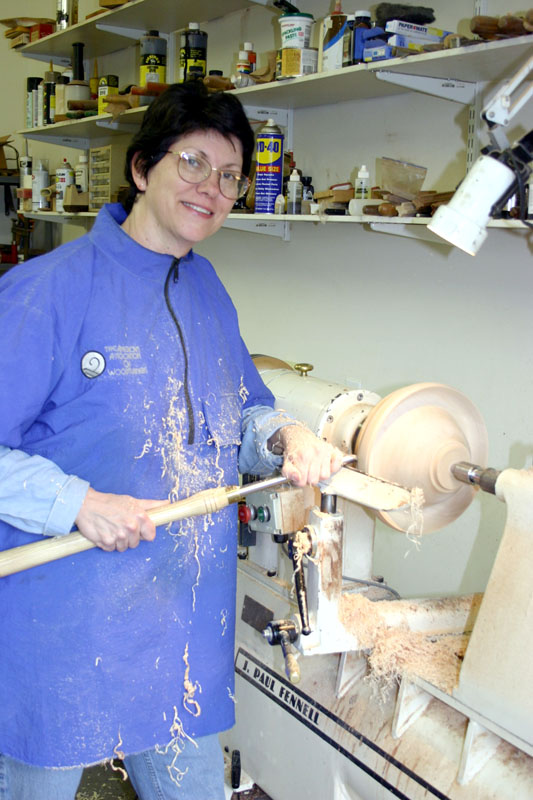
Turning a bowl form on Paul's Oneway lathe.

The rough turning looks like a little old ladies' hat. (It actually looked better on Paul, but I don't dare post that picture on the web!)
I decided to do an oak leaf carving with this form, and I'll leave the wood alone after carving. No coloring on this one, because the wood will oxidize to a rich red-brown with time and some exposure to UV. The next several pictures are progress or technique shots:
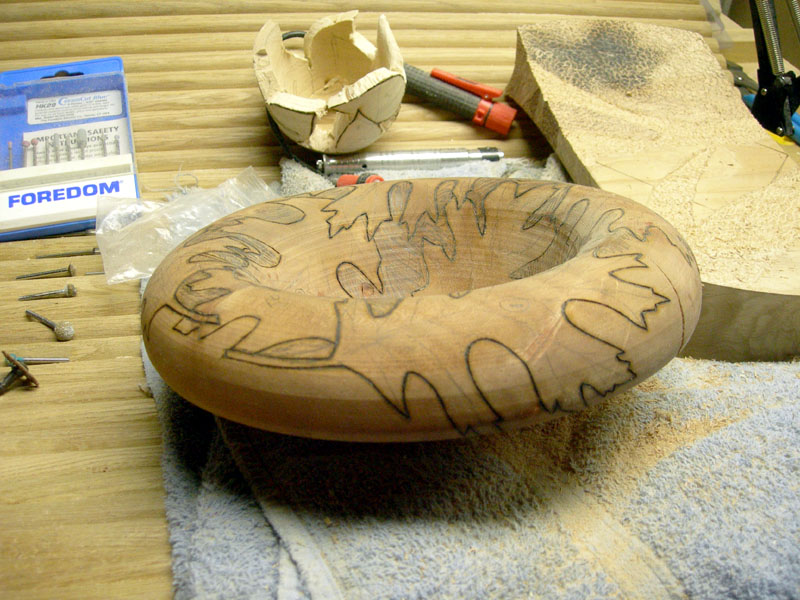
I burnt the outlines of the oak leaves into the top surface of the form. You can see the pencil shading I've done to help remind me where the negative space will be.

Next, the negative space was removed using a spiral-type bit. I'm not sure what this one is called, but it is shaped like a elongated cone and the spiral is pretty deep. It works great until you get into a tight spot and then it goes crazy with chatter and shattering of the wood. It also pulls into the wood when you break through the lower surface. Makes for some intense concentration at times. However, this bit is much safer than the rotozip ones I was using on a previous project. The wall thickness throughout is about 1/2 inch - plenty of space to do some 3D shaping and folding, and to make sure the leaves are positioned in different planes than the upper and lower surfaces.

After the negative space is removed, the leaves are roughed out with Kutzall and stump cutter bits. I'm using four different shapes of stump cutter bits for different areas on the surface and different effects. The Kutzall burr is for hogging out the wood and initiating the folds and curvatures of the leaves.

This is my progress after the first rough-out session. Two leaf surfaces pretty much shaped.

Progress after my second session. I must be getting more proficient, because I did four leaves in the same amount of time I had done the two previous ones.


2 comments:
Thanks a lot, Andi, I have been so curious about how you created these floating leaves. They are very lovely. I could say "I do not see how you do that!” but now I do see, and it is pretty amazing.
Gil - it takes a lot of patience and a lot of time to create the illusion of leaves floating in space. I have about 14 hours in the project already, and I'm just now starting the detail carving. I'll post part IV pretty soon to show the steps I take in doing the detail work.
Post a Comment