 Each of our exercises in the class began between centers. We used a dead center in the headstock, such as this Oneway safe center. Jean-François brought a supply of longer ones with him that fit inside the Escoulen chuck, which makes it so you don't have to remove the chuck to work between centers.
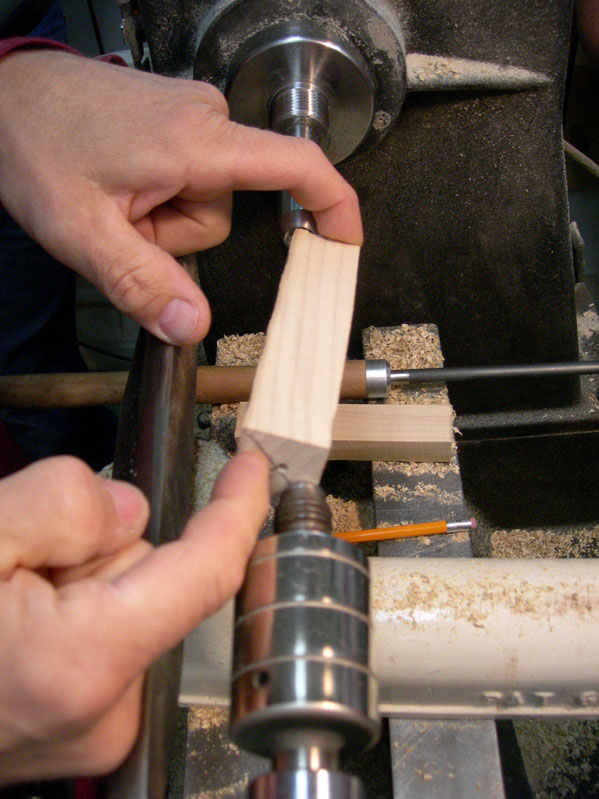 The first two projects in multi-axis turning were between two centers. In this one the first axis was at opposite corners of the blank, and the second axis was in the middle as in a regular spindle turning.
A cylinder is turned on the first axis.
Then the shape is made on the first axis. The diameter of the two ends of the shape are of similar size.
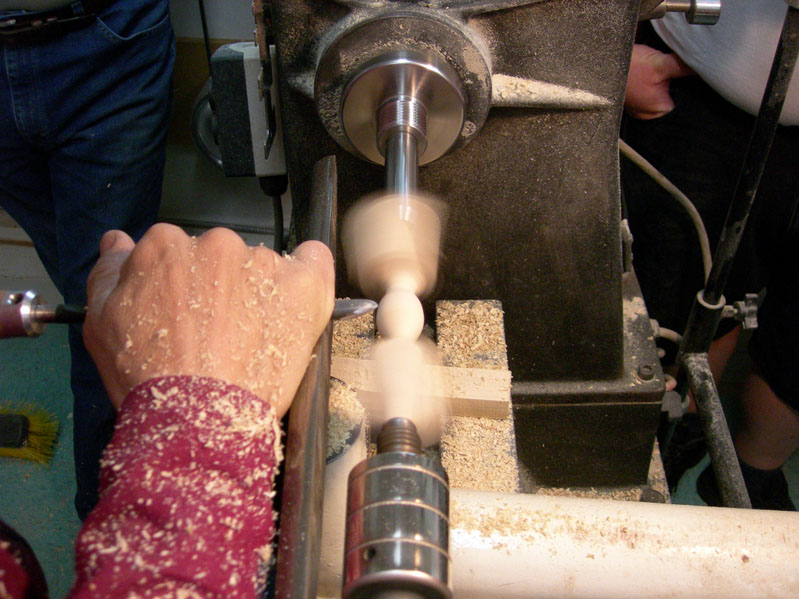
Here's what it looks like after the first axis has been turned.

The blank is then placed on the second axis. A "golf club" shape is turned on both ends of the intial form. It's important for the edges to meet up in the transition between axis 1 and axis 2 where the largest diameter is found.
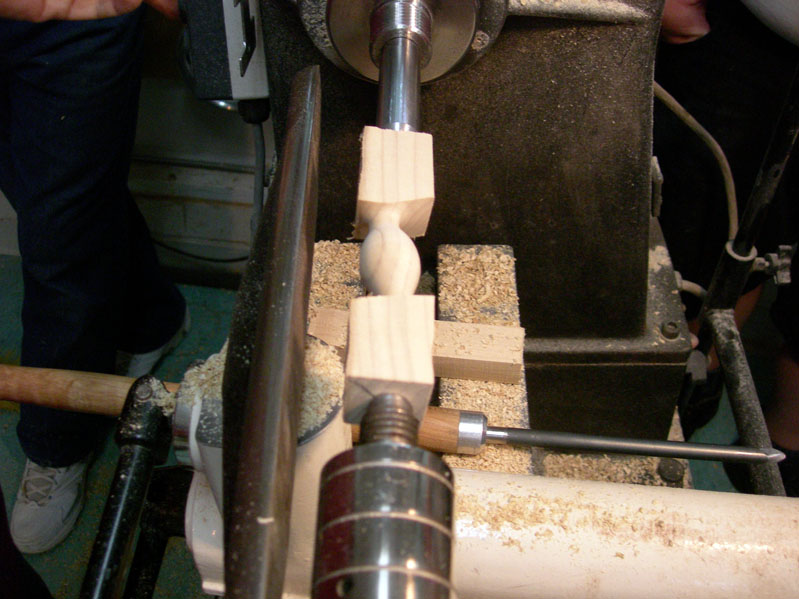
Once that spot has been found, the curve begins at that point and carries on to completion.
The other important spot is the transition on the narrow side of the spindle where the second axis meets the first axis. This spot is found in a shadow line as the piece is spinning. If you go too far you'll have a divot out off the first axis shape.
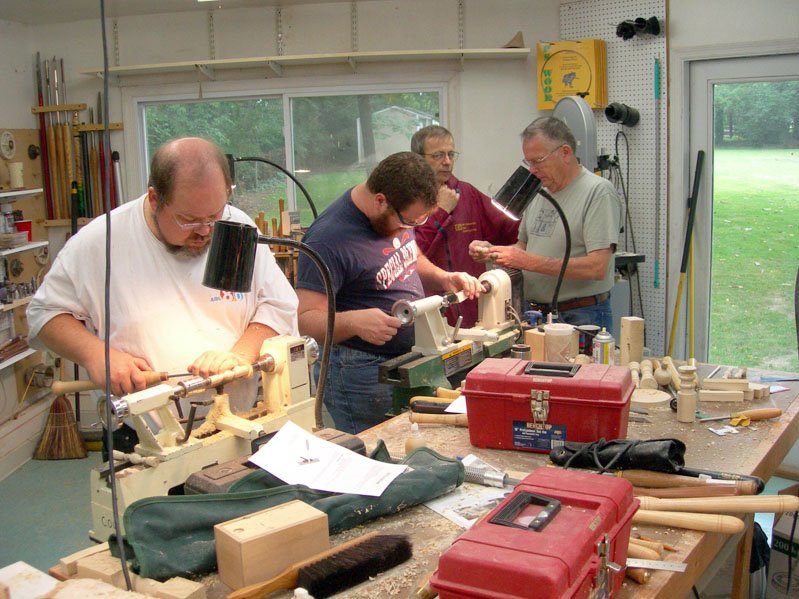
Here's part of our class at work. From left to right: Scott Hogsten, Devon Palmer, Jean-François Escoulen, and Jim Burrowes (our assistant for the first two days). We were using mini lathes, which makes it more challenging to do the multi-axis turnings with a large piece of wood. My lathe wasn't mounted on a stand, but was sitting on a table. The vibration moved the lathe around and I had some interesting chatter patterns from the movement of the lathe and table.
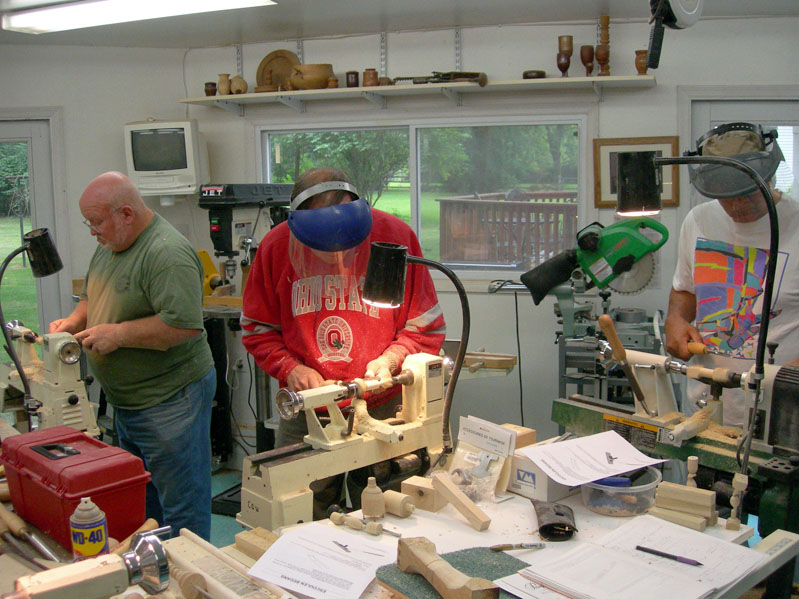
The rest of the gang (L to R): Chuck Kemp, Mike S (can't spell his last name), and Booker Brooks.

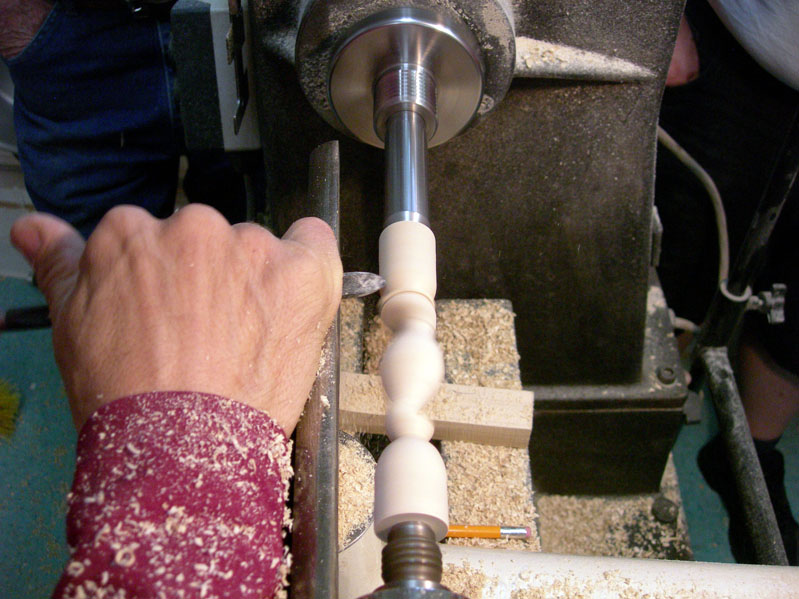
Here are my first two attempts on two centers. This is really a lot of fun! Jean-François makes it looks so easy, but it's not so easy to do at first. It helps to have a solid color as a background so you can see the shadow lines a bit more clearly than you can against the bed of the lathe. I used a piece of white paper as a back drop, which helped a lot.

The second exercise was also on two centers, but the transition was through a narrow "neck" of the spindle. This made the shape look like two seeds in a pod. The project starts the same as the last one - turn a cylinder before beginning the shape.
It's important to know where the transition between centers begins and to work up to that point, but not beyond. You can't match the curves exactly, so a small ridge will be left after the second axis is complete. This is filed off with a rasp.
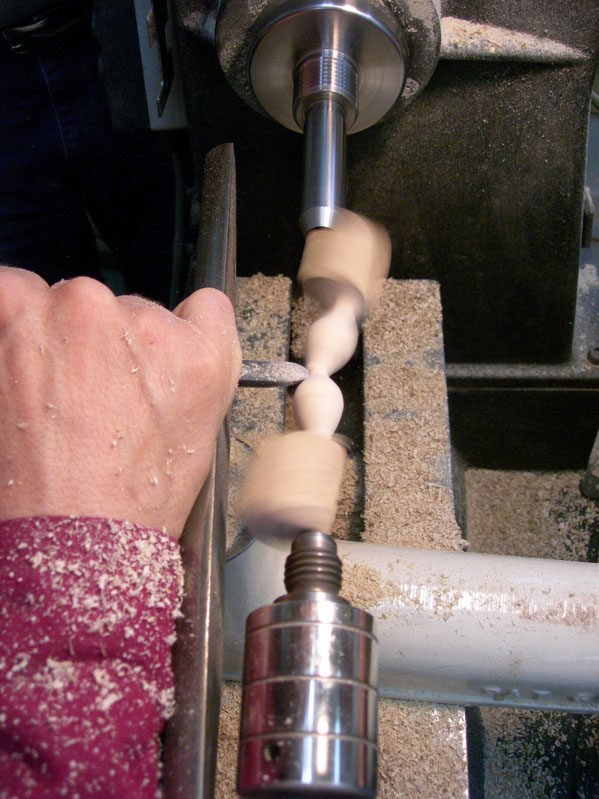
The shape on the second axis is similar to that done on the first.

Here's my attempt at this exercise. That small ridge is what needs to be carved away.
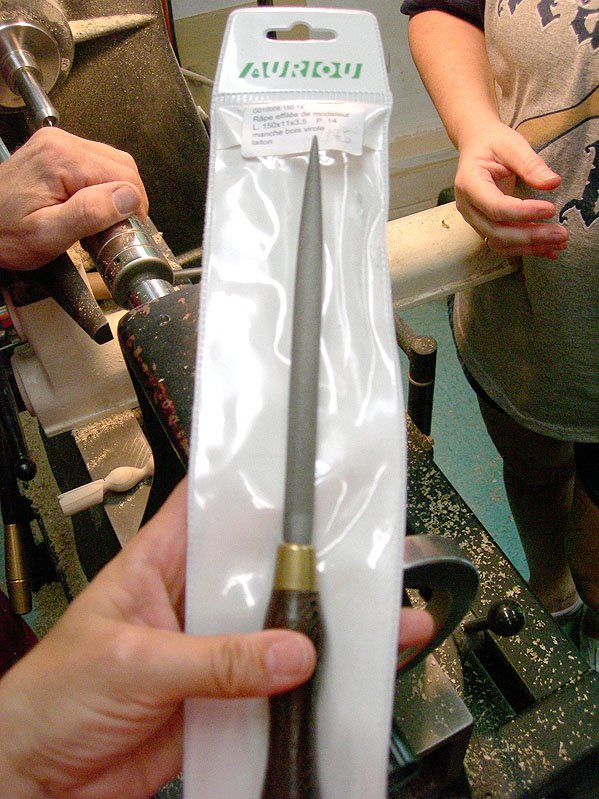
Jean-François brought a supply of these hand-made rasps, which are made in France. I bought a small one, and it's wonderful to use.

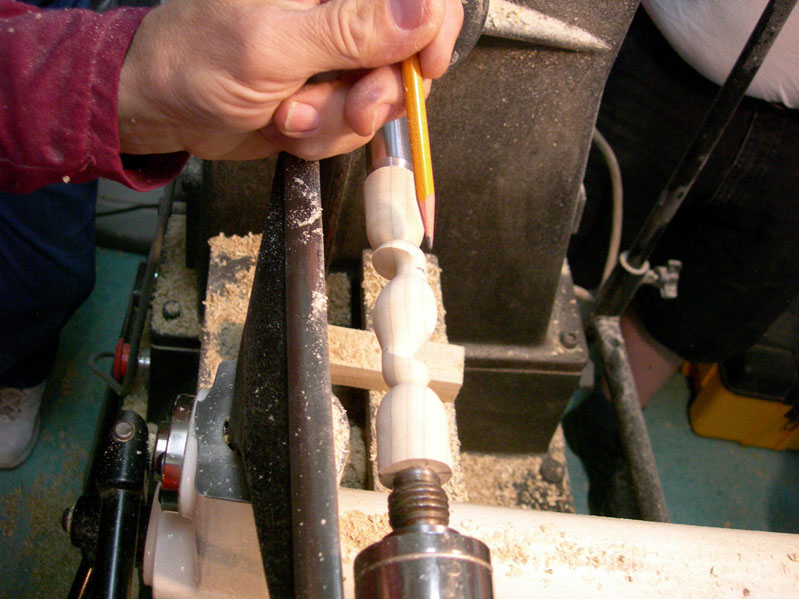
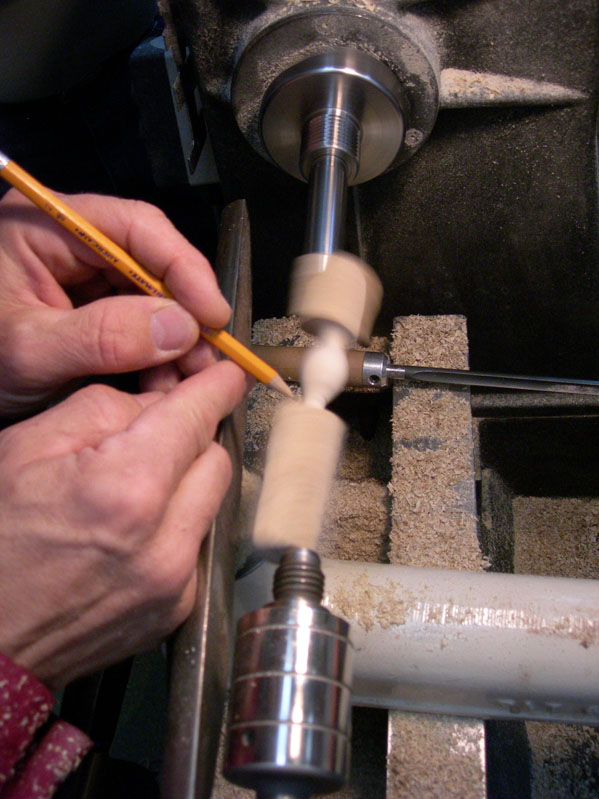
Another innovative tool he brought was the bedan pencil sharpener. Works like a charm.
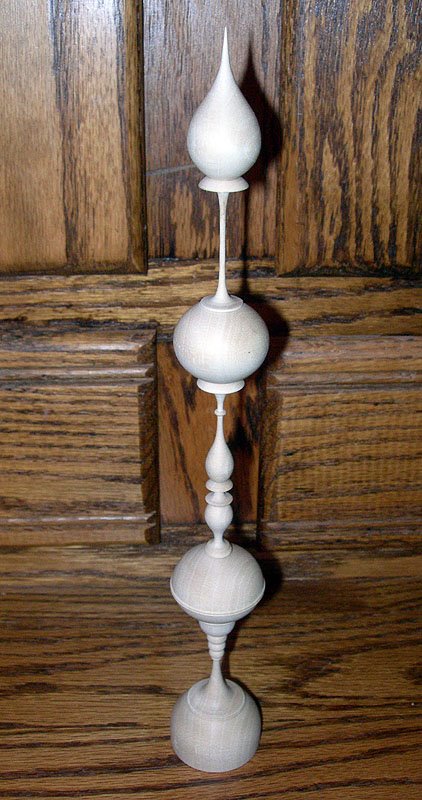
Speaking of charm, or Charme, here's a piece of Charme I gave to Jean-François to try for a trembleur. This is also known as European Hornbeam - a favorite wood of mine to turn. I thought it might be a good wood for these trembleurs. After Jean-François tried it, he agreed. I sent a supply of these blanks with him, and I now have a trembleur for my collection. This is about 12 inches tall, and the details are amazing.


No comments:
Post a Comment