The basic chuck kit comes with two rings for two different tenon sizes, set screws, a template for measuring tenon sizes, and the chuck assembly.
 Our morning was spent in learning the basics of how the chuck works. Our first exercise was doing a simple "golf club" shape.
The stock is first rounded between centers.

Next, a tenon is cut that will fit into the chuck. This tenon is slightly tapered.

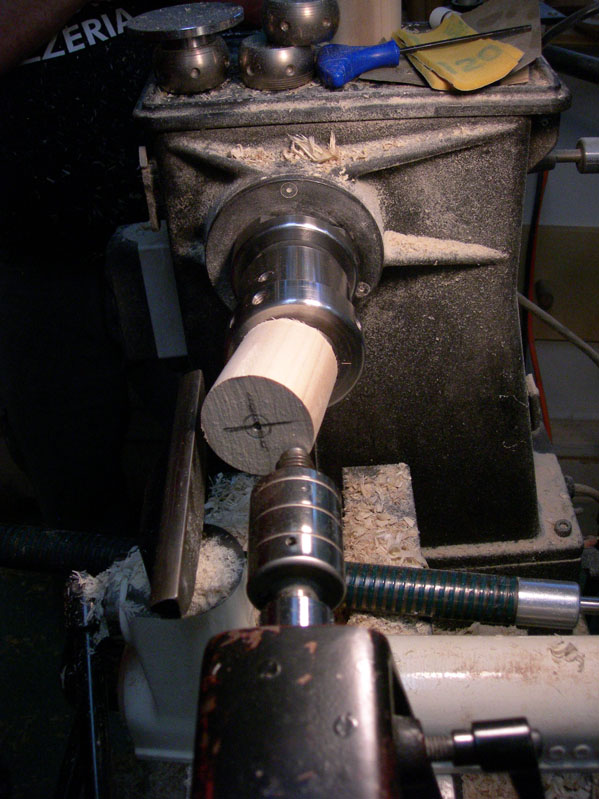
The tenon is dunked in water and then placed into the chuck. The tailstock is used to seat the tenon into the chuck. You can also pound the tenon into the chuck, but you might have a hard time getting it centered. If you secure the ring at the second line and use the tailstock to push the piece into the chuck, you're pretty close to being centered. Test the security of the piece before turning on the lathe, and be sure to tighten down the screws!

The first golf club shape was first turned on center. The thin part of the turning is the stem, or shaft of the golf club.

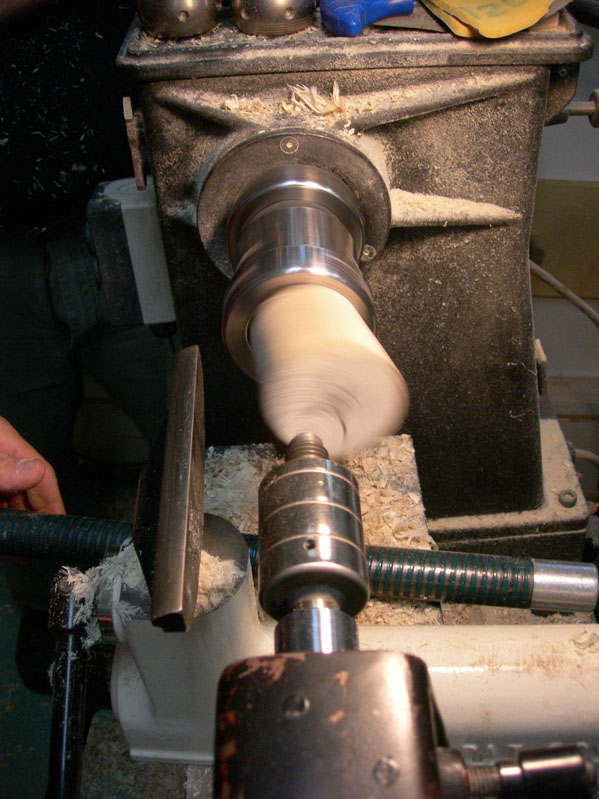
The ring is then moved to maximize the diameter of the club part. You can see the pencil markings used to estimate the correct diameter from the back of the stem to the edge of the base. The ring is secured into the chuck by tightening the set screws.

A cylinder is then turned and the join between the stem and the base is adjusted by turning away the excess wood. After that, the base is turned.

The parting off is done with the bedan tool. You can also cut it off using a saw, but then you'll have a bit of carving to do to finish off the curve.
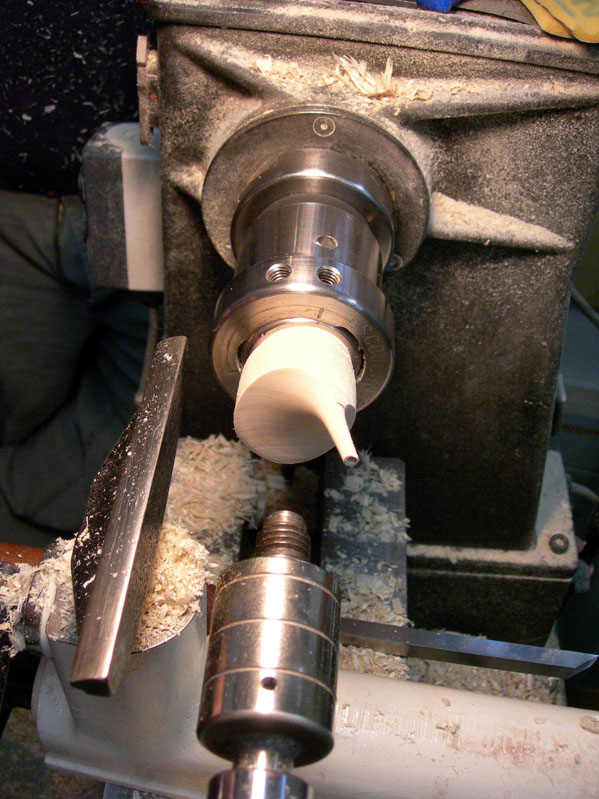
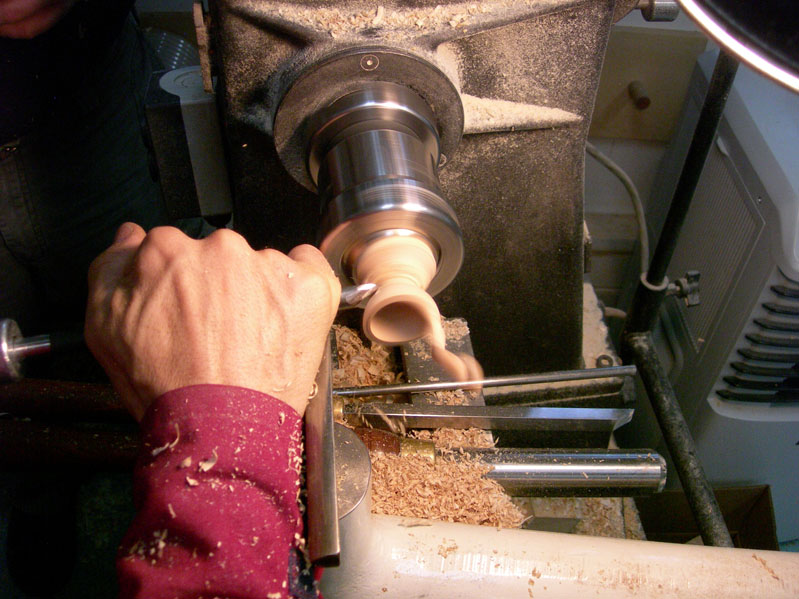
The second exercise was similar to the first, except the stem was turned off center to the maximum diameter of the initial cylinder. This makes it possible to have a larger diameter at the base as compared to beginning the project on the center axis.
You have a lot of wood to remove at first, with the initial cuts hitting on one side of the cylinder. The tool spends most of the time off the wood. You have to watch the shadow lines to know where your tool will make contact with the wood. Position of the cutting edge and bevel is very important if you want to avoid a catch.

You can see the stem appearing on one side of the initial cylinder in this image.
The rest of the project is turned as in the first one - matching up the transition on the tangent of the stem, turning a cylinder before shaping the club, etc.

Jean-François drew some example forms on the board to talk about the angle of the cove section of the form. A flat curve works well if you want to turn a ladle, but isn't the nicest form for a finial that's shaped like a golf club.
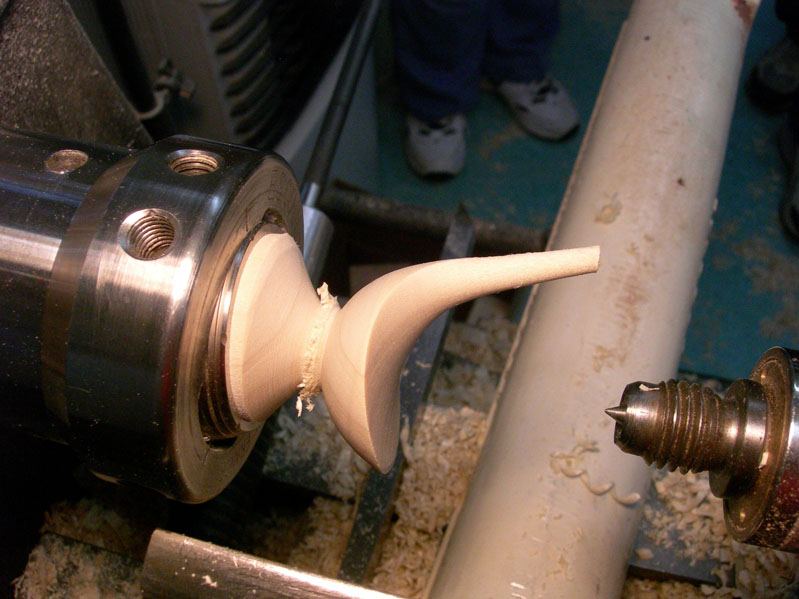
Here's the second project before parting it off with the bedan tool. It's much larger than the first one that was started on the center axis.

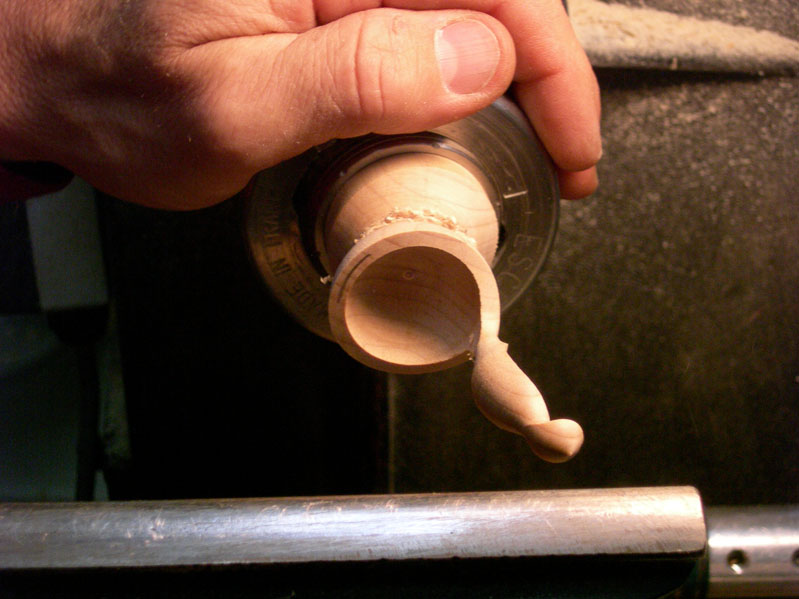
After lunch we moved on to turning spoons. This starts out the same as doing a "golf club" shape. You can add some interesting features in the stem by turning a ball in the middle of the stem, and a golf club shape at the tip. The ball is then turned away on the same axis as the base part of the spoon, which makes a cove on the stem. You can see what I'm talking about in the picture of the final steps of this project.
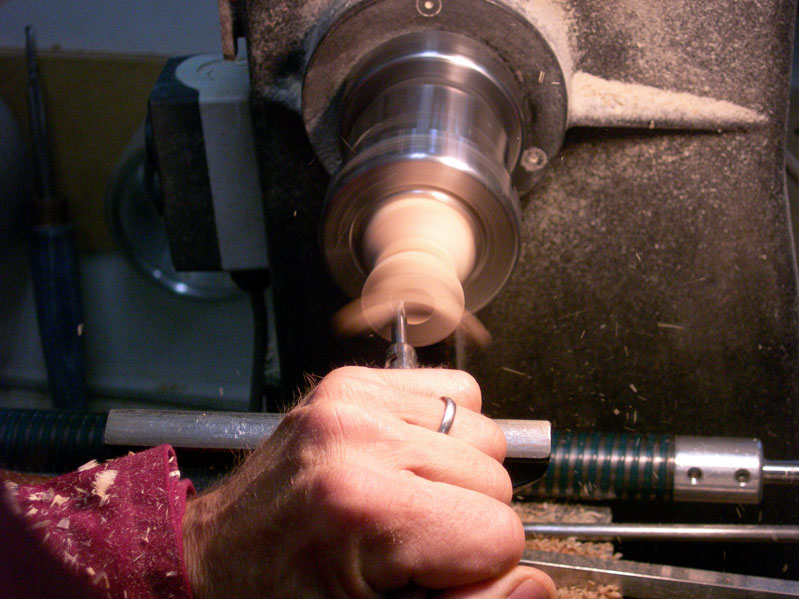
The trickiest part of this turning is the hollowing. You have a thin stem swinging around and you have to put the hollowing tool down the tube without bumping into the stem. We used a ball end mill for the hollowing, and did the clean-up with a small scraper.

You have to hollow out enough to make a thin rim, which takes you into the base of the handle. This has to be evened out by drawing the scraper up the handle for a short distance. You're only hitting the wood once per rotation, and that shadow line is pretty hard to see. A gentle touch is a requirement if you don't want to see the handle go flying across the room.
You can also carve away the excess wood, but once you find out how to see the shadow line, it's not too hard to turn the handle transition.
After hollowing the bowl of the spoon, the final shaping is done and then it's parted off with the bedan.

Here are my class projects, including the golf clubs and ladles I turned in today's class. I really enjoyed turning the spoons. You really have to concentrate on the moment and avoid all distractions - especially during the hollowing phase of the project.

Jean-François speaks English very well, but it tires him out by the end of the day. It's always fun when he forgets the French word he wants to use, and then can't come up with the English equivalent. Throughout the week, I asked him to teach me the words in French. He wrote a few interesting words or phrases for us on the board. The first two words here are pronouced as "enough" in English.
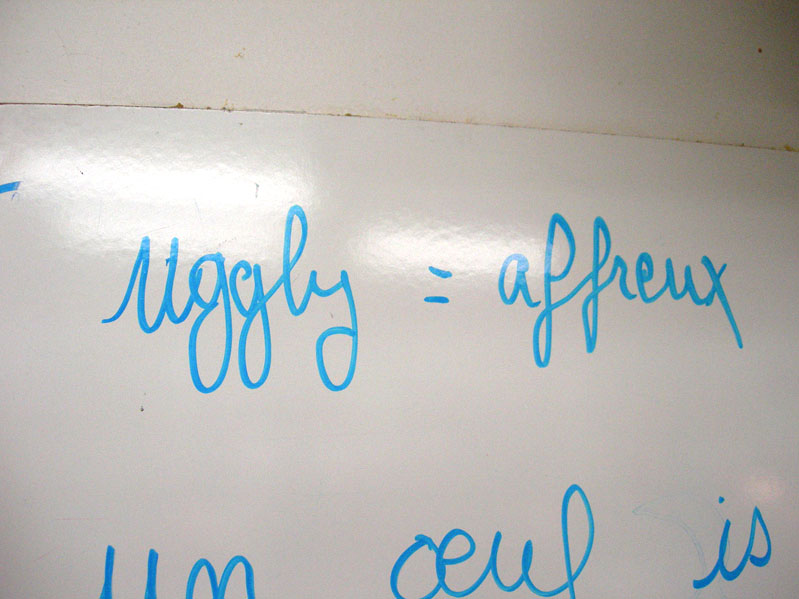
I asked him to teach me the word for "ugly" in French after a couple of my exercises didn't quite match my standards for good form.
By Day 3 of this class I was becoming comfortable with the principles of multi-axis turning, and I had gained some skill with using the bedan. My spindle turning skills still need a lot of work, though. Stay tuned for more pics from Days 4 and 5. . .


No comments:
Post a Comment