We spent all of today learning how to use the bedan and in working on very thin spindles called trembleurs. I didn't have success with the long trembleur, but I did learn a lot in the process.
 The first exercise today was to use the bedan to make beads along the length of a piece of poplar. Jean-François makes this look so easy and effortless. The motion and tool use is so entirely different than what one does in bowl turning.
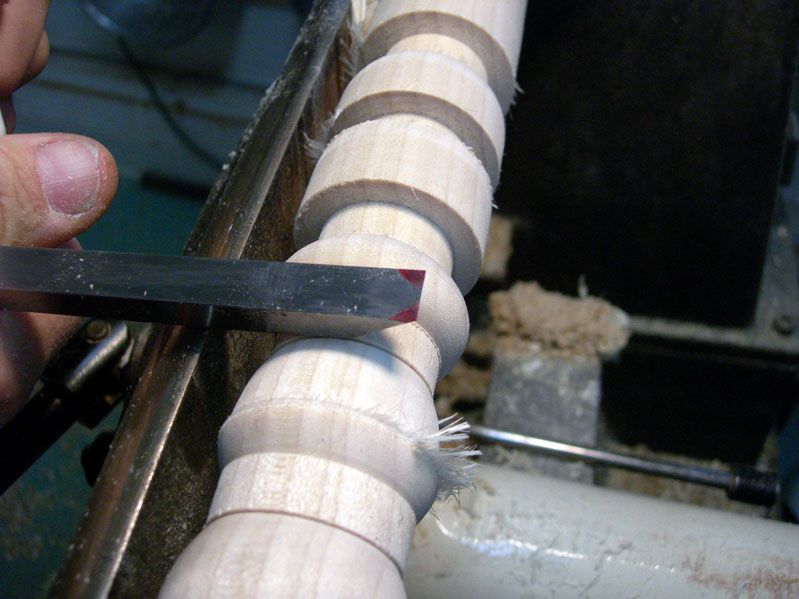
The cut is made with the slanted side up, which means that the bevel is on the flat part of the tool. In this image, Jean-François has marked the cutting edge for turning the bead - either on the right hand side or left hand side, depending on which edge of the bead is being worked. It's kind of like a skew in this regard if you think about the corner as being the toe of the skew.
To avoid having a pointed bead, the cuts begin at the edge and work toward the center. The movement of the tool and the coordination between hand and arm motion looks easy, but isn't in actuality.
After about an hour of learning how to use the bedan on making beads, we moved on to turning an egg shape. The exercise was in not only following a curve, but pushing the bedan along the tool rest in a sustained cut. This was really hard for me to do, and my egg kept getting smaller and smaller as the time went on. Jean-François went on a birding walk with me yesterday morning. He told me my egg was going to be hummingbird size if I kept getting catches (we saw a hummingbird yesterday).
Next came the work on trembleurs. This is an exercise that makes one tremble, even if the turning doesn't quite fit the description of a trembleur. The first step is to cut a No. 2 morse taper to fit into the head stock for a jam chuck. There is a template in the Escoulen chuck kit for determing the correct diameter to use for initiating the taper.
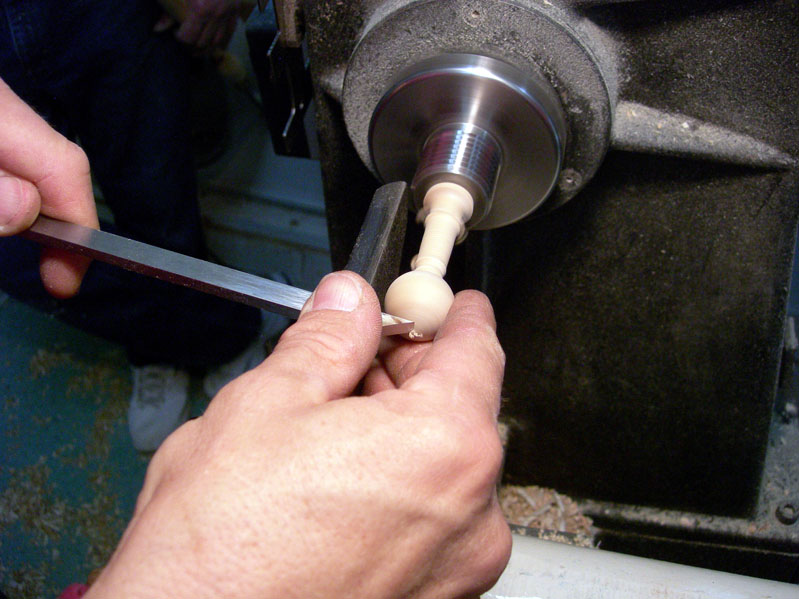
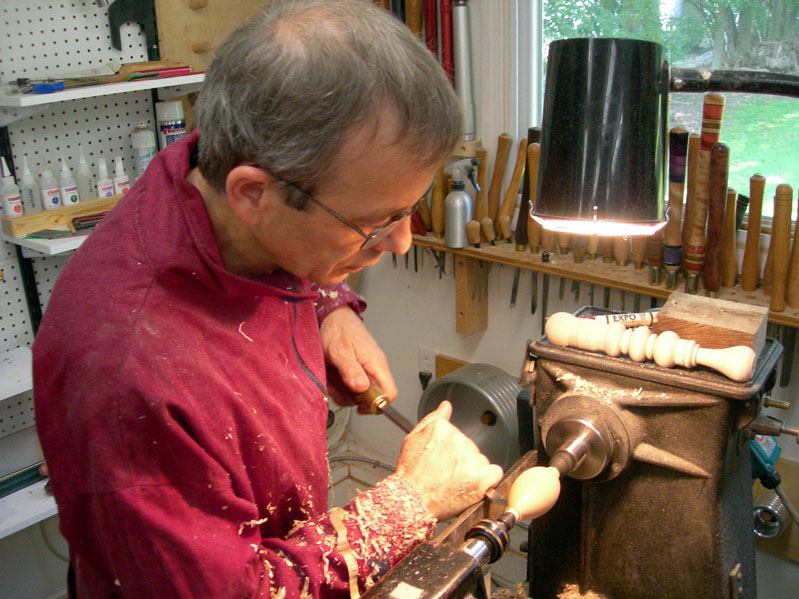
The end of the project is turned into a ball shape. Notice how Jean-François is supporting the turning with his right hand and turning single-handedly with the left hand? I've come to the conclusion that lefties have an easier time with the bedan than do right handers.

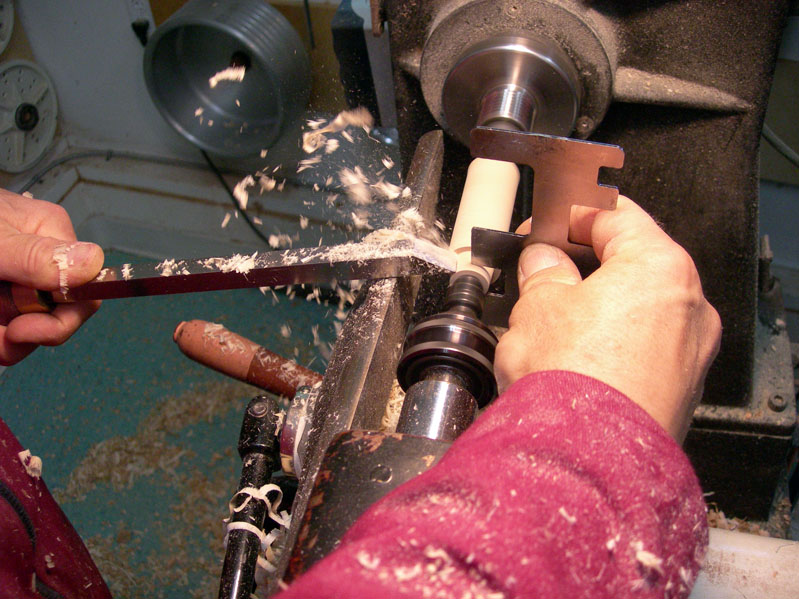
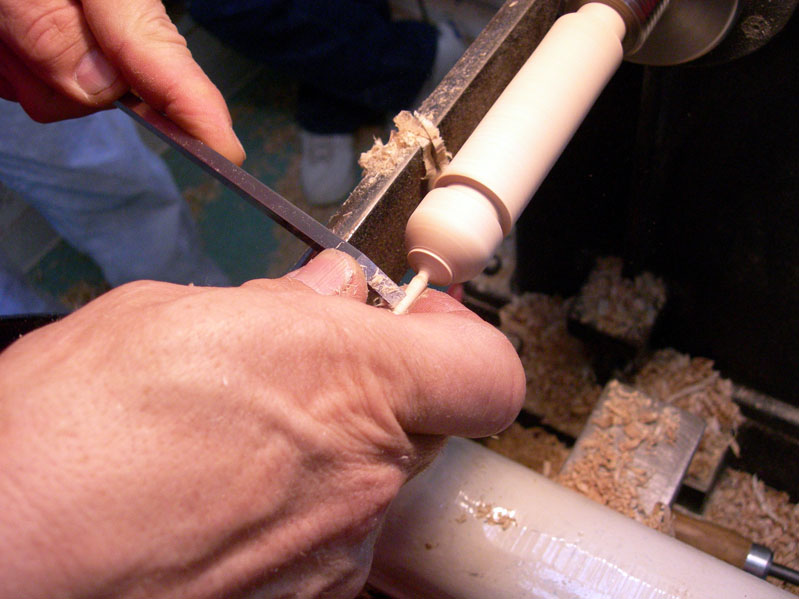
This first project was an exercise in holding the work steady and turning a very small diameter stem. It takes practice.
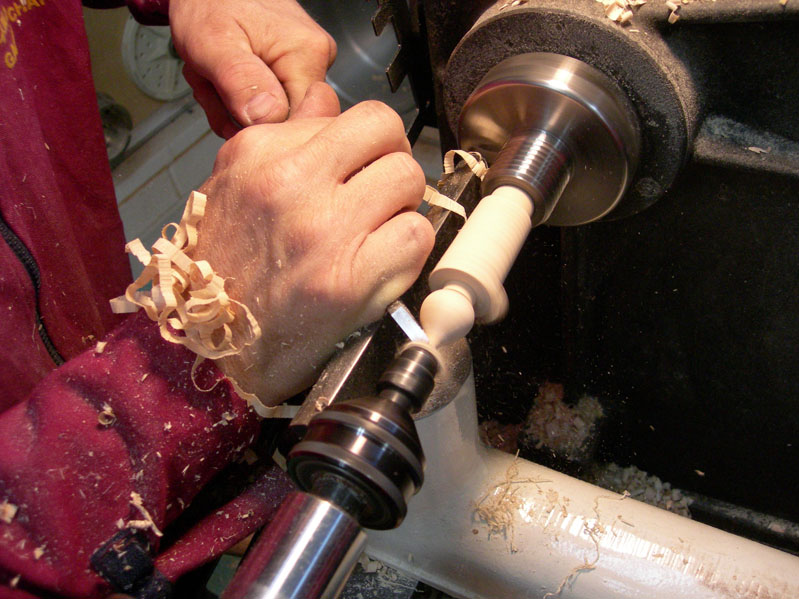
Next project was a slightly longer trembleur with a flame-shaped finial. This was for learning another cut with the bedan. We also added some other features along the stem.
The final project today was a long trembleur, which required a string steady rest to support the piece. I had a catch in the middle section of mine and broke it, which was a shame since the stem portions were very thin and it was coming along very well until then. Oh well. I still learned a lot and felt much more confident in my use of the bedan at the end of the day. I hope it's like riding a bicycle and I won't have to start from scratch tomorrow morning.

Jean-François showed us this string steady, which fits into the tail stock with a No. 2 morse taper. It's basically just a cup with four nails. The end of the piece fits into the hollowed area.
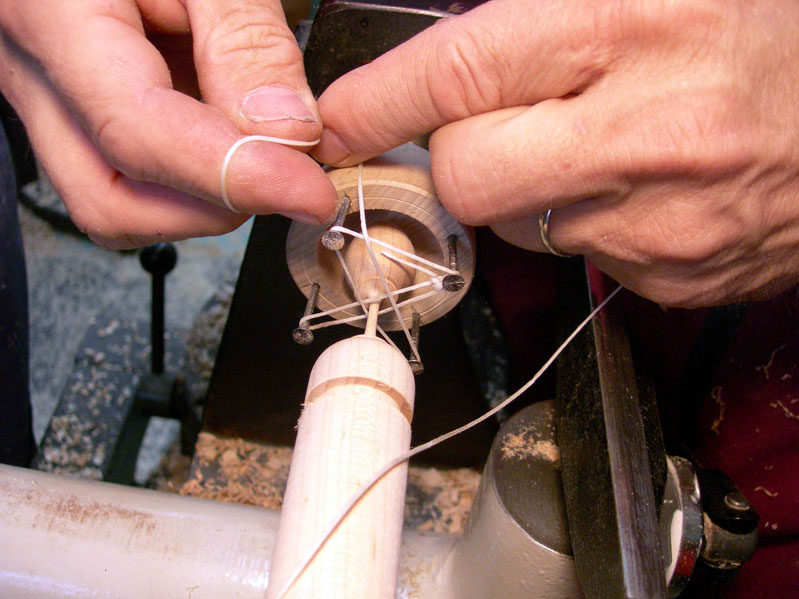
The string is wrapped across the corners and secured with a couple of knots.

I like the French scissors used to cut the string. BTW, the string is a waxed string used for leather repair.
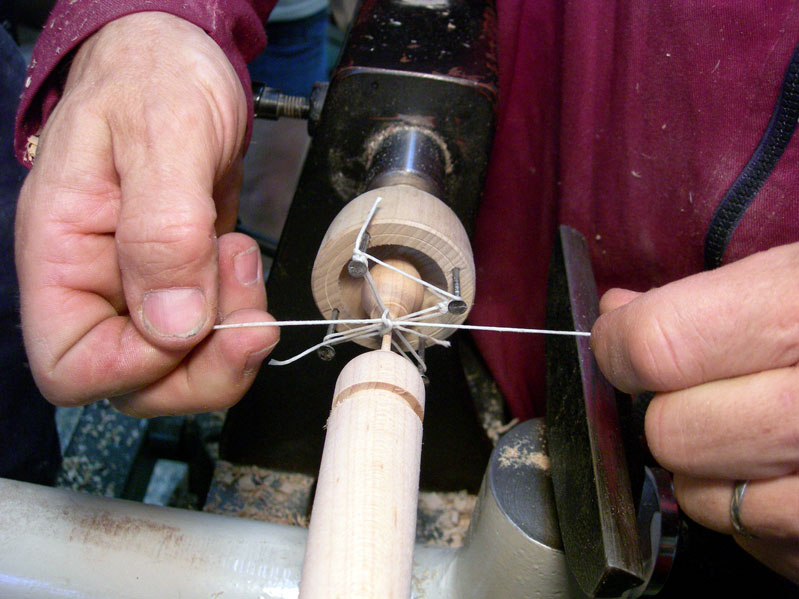
The two crossed sections are tied - first, horizontally, and then vertically.
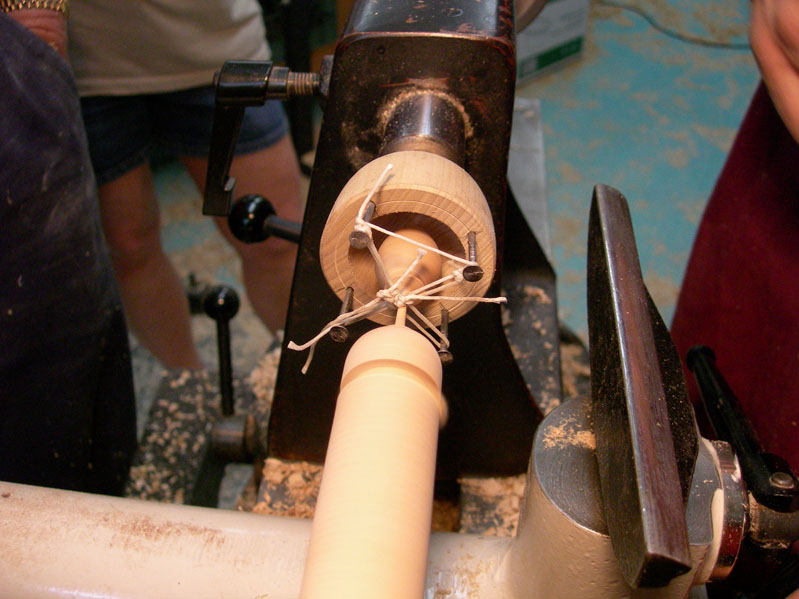
Now, it's ready to go. The work has less vibration than it would unsupported, but you still have to support the piece in one hand and cut with the other - especially at the beginning of a cut.

Jean-François makes this look easy, but it isn't! I think I will have to practice this technique for several weeks before I feel somewhat comfortable with it. I doubt if I'll have the hang of it by the end of this week.

What do you do when you're near the end of the trembleur and your lathe dies? Scott Hogston's mini lathe quit on him toward the end of the day, just as he was nearing the end of his trembleur. He had a nice one going and didn't want to quit on it. So, Jim Burrowes, our resident farmer and jack-of-all-trades, put a drill to work to spin the work so Scott could finish it off.

Seems like it shouldn't have worked all that well, but it did the trick.
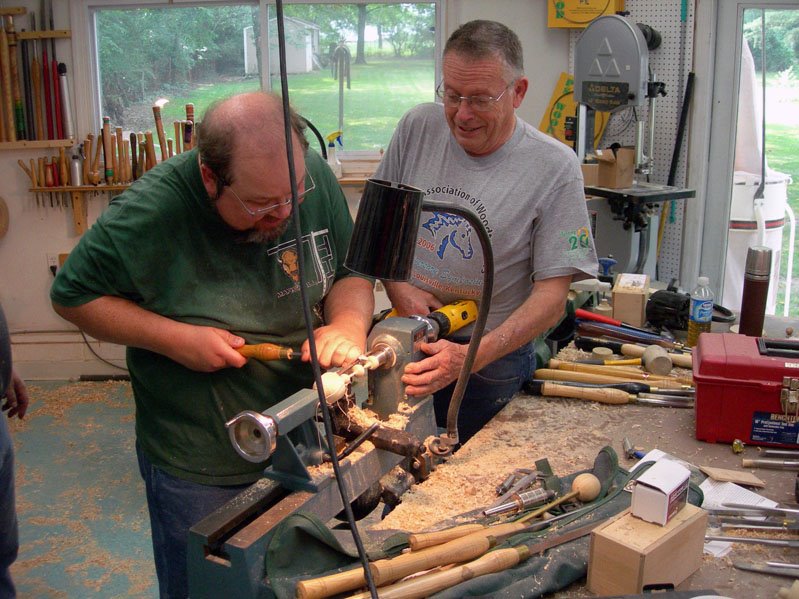
How's that for team work? Jim was very helpful to all of us today. Thanks, Jim.


2 comments:
When there's a will there is a way :-) I was so closed to being done, had the motor lasted for a couple of more minutes....... however the drill got the job done.
Scott
It's to bad that you had a catch, the next try will be better.
I'm so jealous of you having all this time to turn and explore, and especially for taking this class with Jean, who was recommended to me more than once as one of the best teachers and a very nice man in any case.
I'm spending my time in an office dreaming of having a few hours to tinker with my lathe.
Post a Comment