Saturday, July 15, 2006

Jean-François Escoulen class - Day 3 update

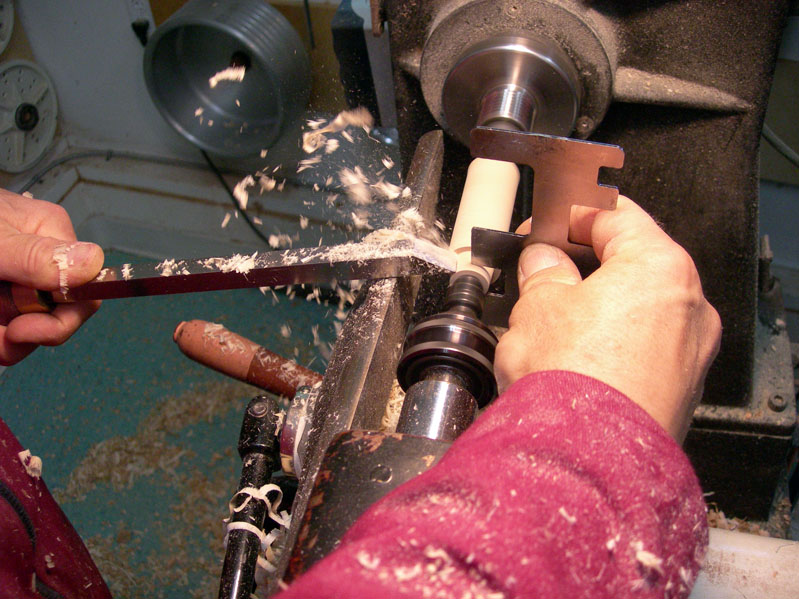
Day 3 with Jean-François Escoulen focused on the use of his small chuck. What an ingenious invention! The chuck screws onto the headstock with an adapter for the spindle of whatever lathe it's to be used with. There is a ring that is attached at the front of the chuck with set screws - either flat for stabilization, or pointed to fit into holes that are placed at six points around the rim. There is an indexing system associated with these set screws so that you can rotate the work every 60 degrees. The rings have five parallel lines marked at 4 degree increments positive or negative relative to the plane of the headstock. At the second line from the front, the work is centered. Move the piece to the right from this point one line and you move it 4 degrees from the center, two lines = 8 degrees, and three lines = 12 degrees.

The basic chuck kit comes with two rings for two different tenon sizes, set screws, a template for measuring tenon sizes, and the chuck assembly.

Our morning was spent in learning the basics of how the chuck works. Our first exercise was doing a simple "golf club" shape.

The stock is first rounded between centers.


Next, a tenon is cut that will fit into the chuck. This tenon is slightly tapered.


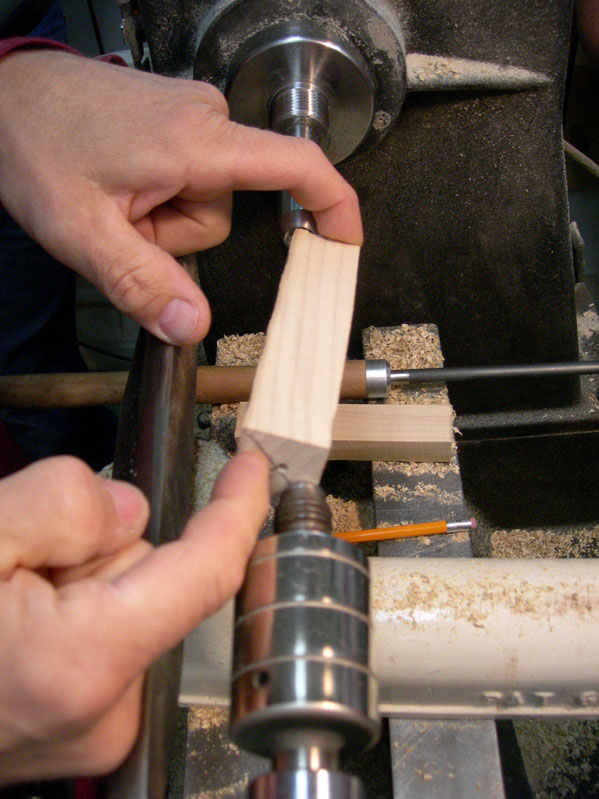
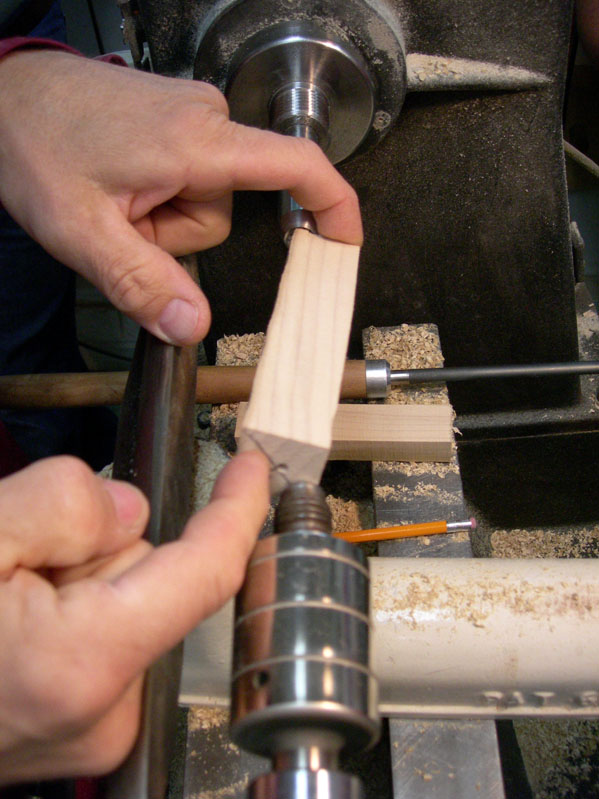
The tenon is dunked in water and then placed into the chuck. The tailstock is used to seat the tenon into the chuck. You can also pound the tenon into the chuck, but you might have a hard time getting it centered. If you secure the ring at the second line and use the tailstock to push the piece into the chuck, you're pretty close to being centered. Test the security of the piece before turning on the lathe, and be sure to tighten down the screws!


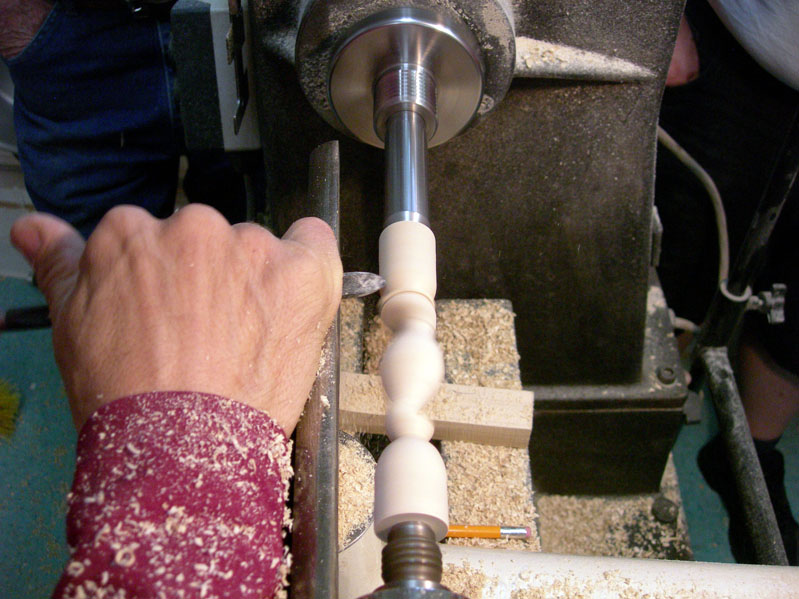
The first golf club shape was first turned on center. The thin part of the turning is the stem, or shaft of the golf club.


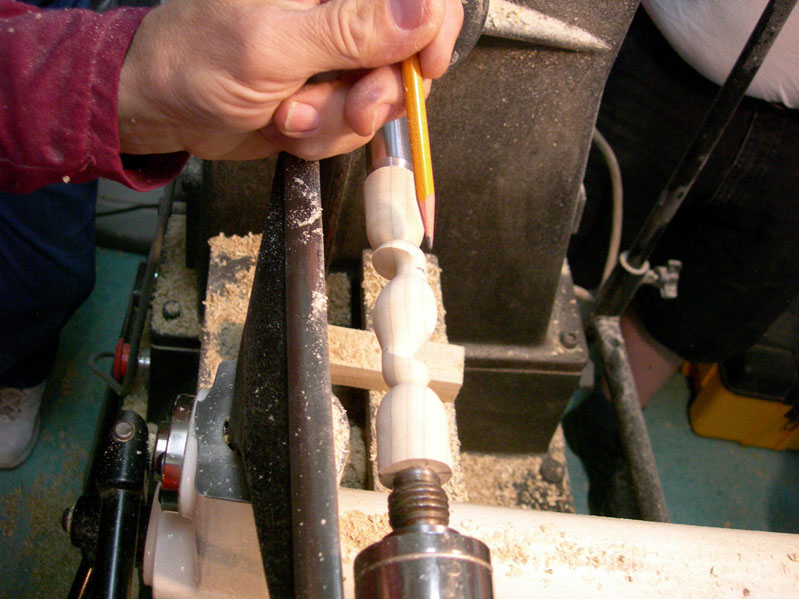
The ring is then moved to maximize the diameter of the club part. You can see the pencil markings used to estimate the correct diameter from the back of the stem to the edge of the base. The ring is secured into the chuck by tightening the set screws.


A cylinder is then turned and the join between the stem and the base is adjusted by turning away the excess wood. After that, the base is turned.


The parting off is done with the bedan tool. You can also cut it off using a saw, but then you'll have a bit of carving to do to finish off the curve.
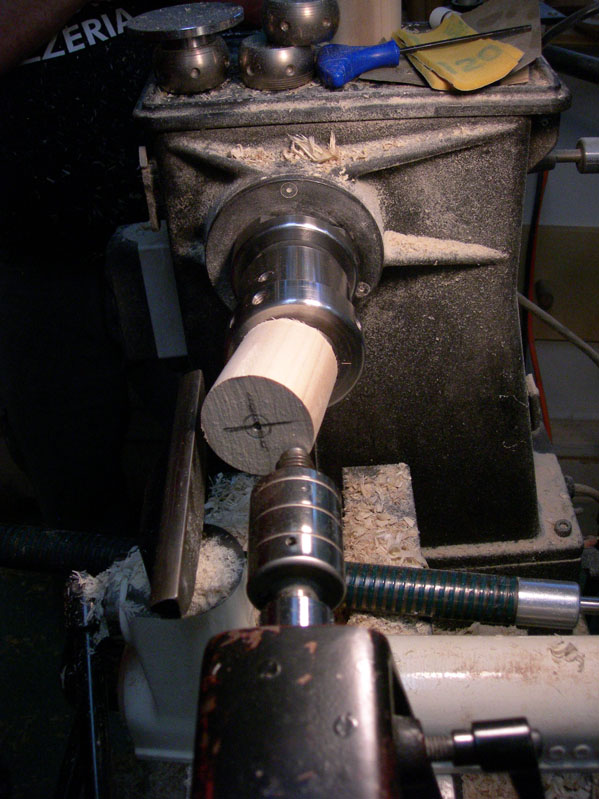


The second exercise was similar to the first, except the stem was turned off center to the maximum diameter of the initial cylinder. This makes it possible to have a larger diameter at the base as compared to beginning the project on the center axis.
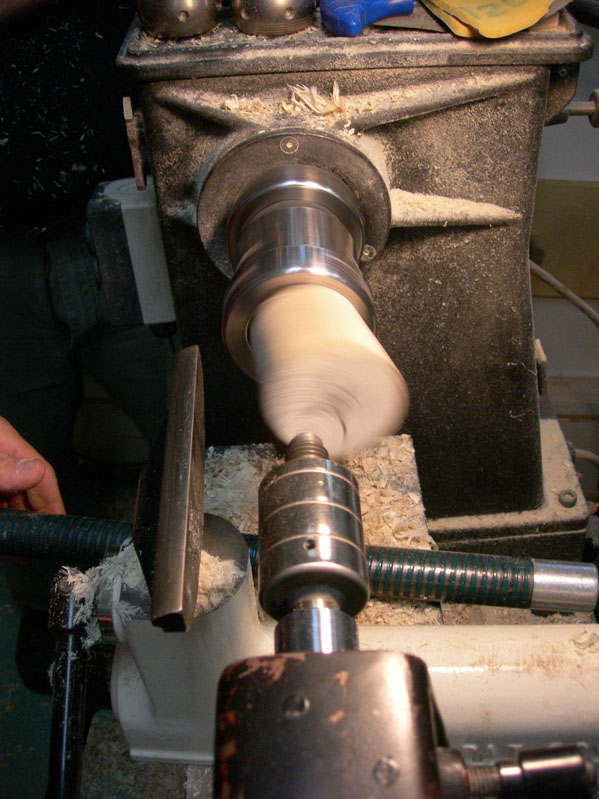


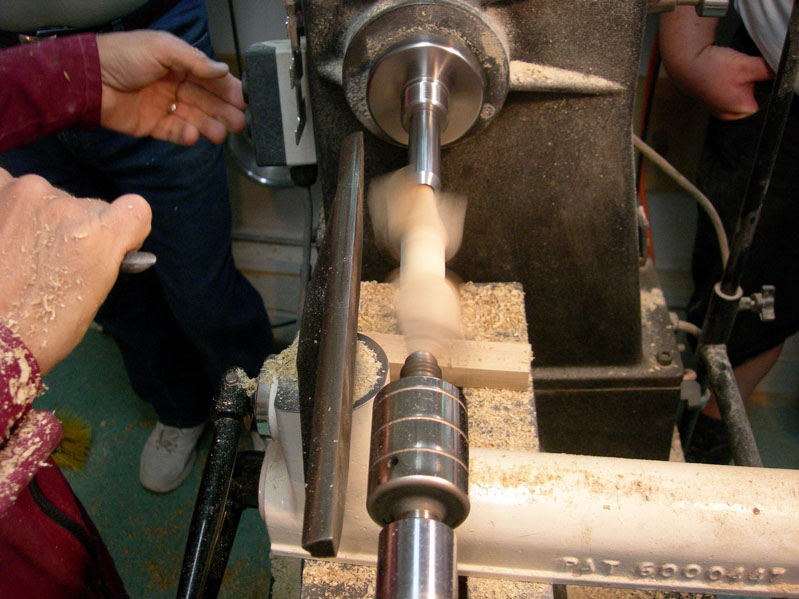
You have a lot of wood to remove at first, with the initial cuts hitting on one side of the cylinder. The tool spends most of the time off the wood. You have to watch the shadow lines to know where your tool will make contact with the wood. Position of the cutting edge and bevel is very important if you want to avoid a catch.


You can see the stem appearing on one side of the initial cylinder in this image.
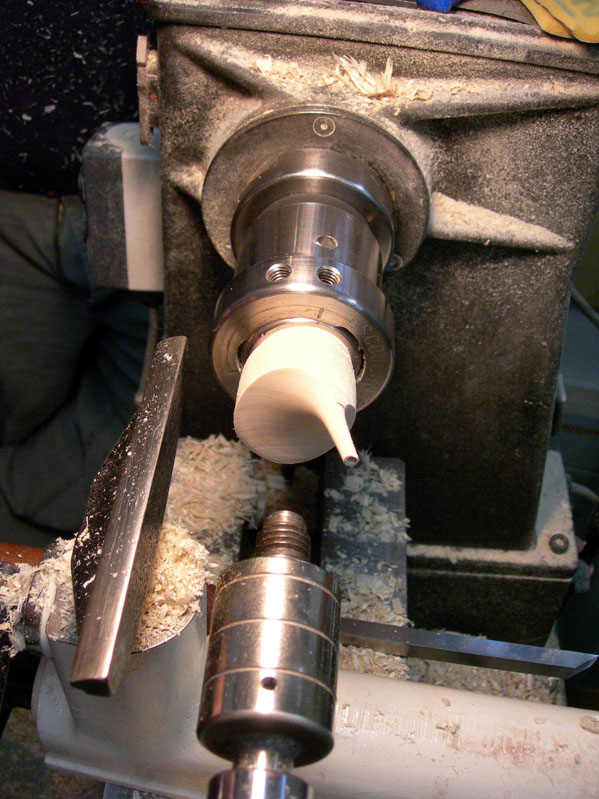


The rest of the project is turned as in the first one - matching up the transition on the tangent of the stem, turning a cylinder before shaping the club, etc.


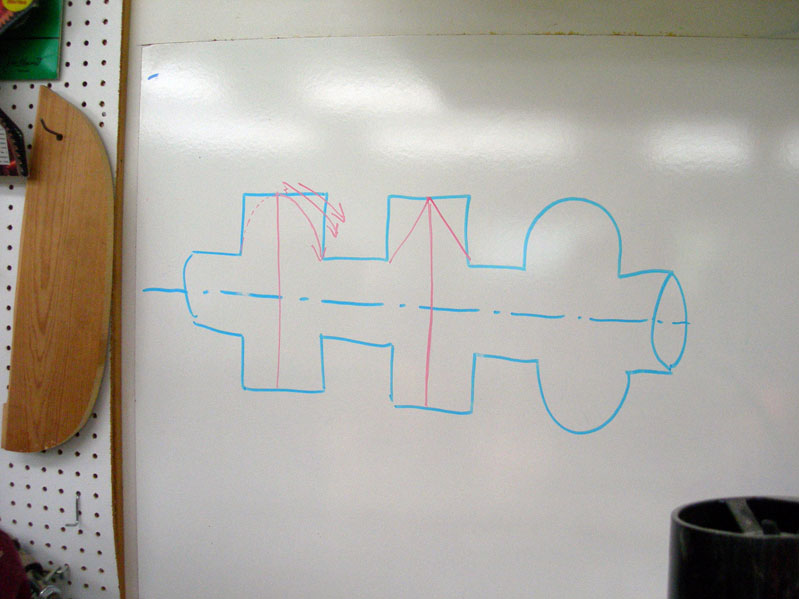
Jean-François drew some example forms on the board to talk about the angle of the cove section of the form. A flat curve works well if you want to turn a ladle, but isn't the nicest form for a finial that's shaped like a golf club.
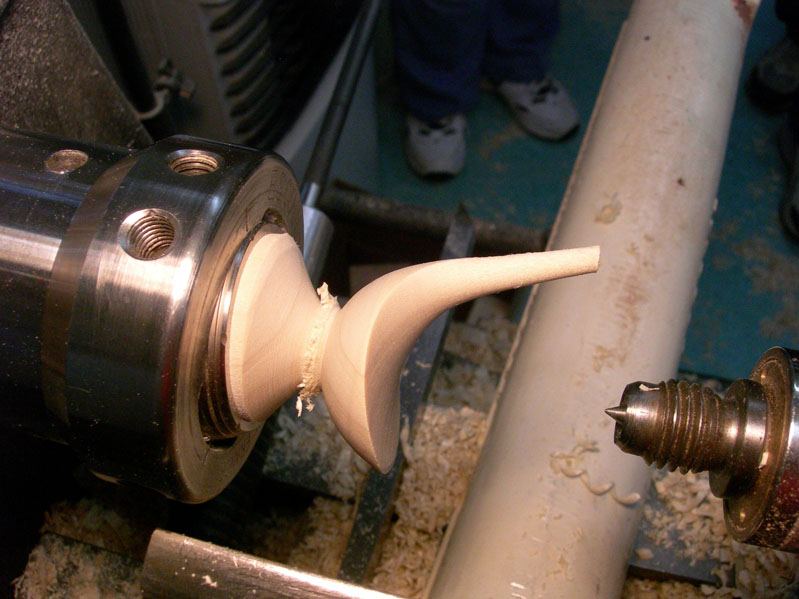


Here's the second project before parting it off with the bedan tool. It's much larger than the first one that was started on the center axis.


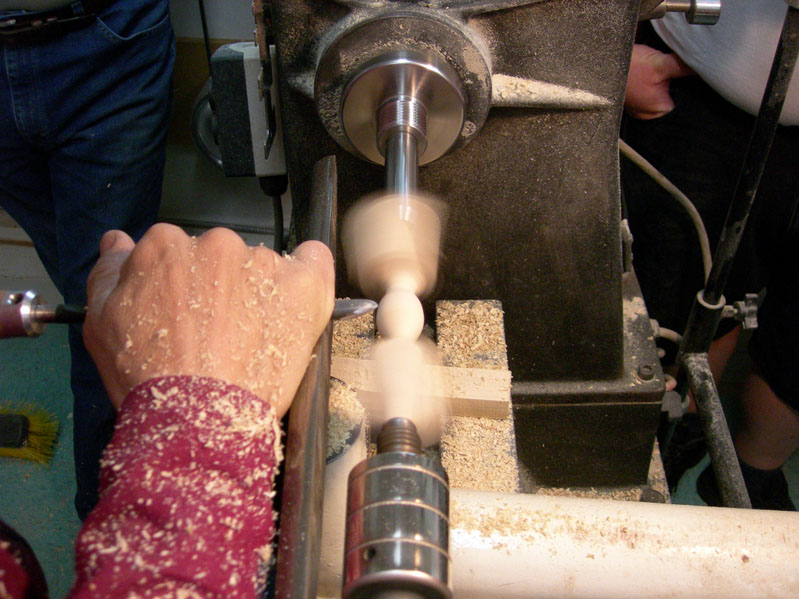
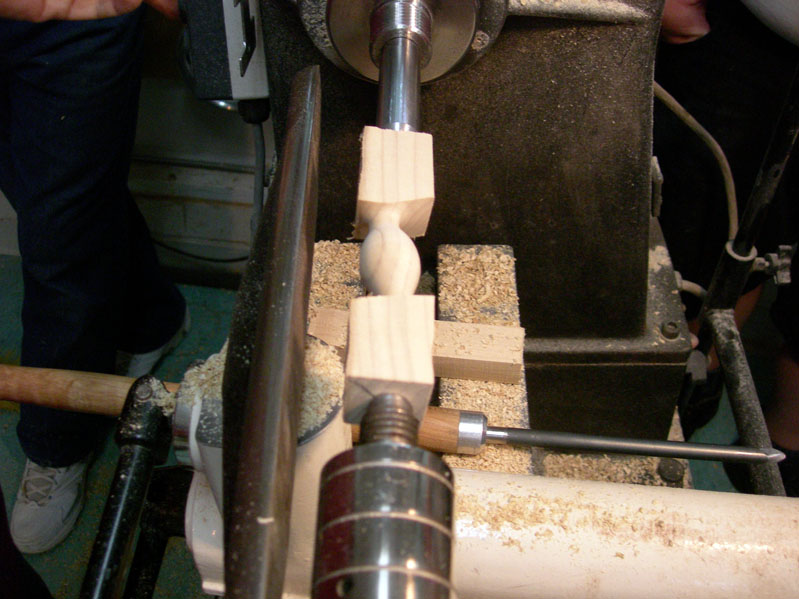
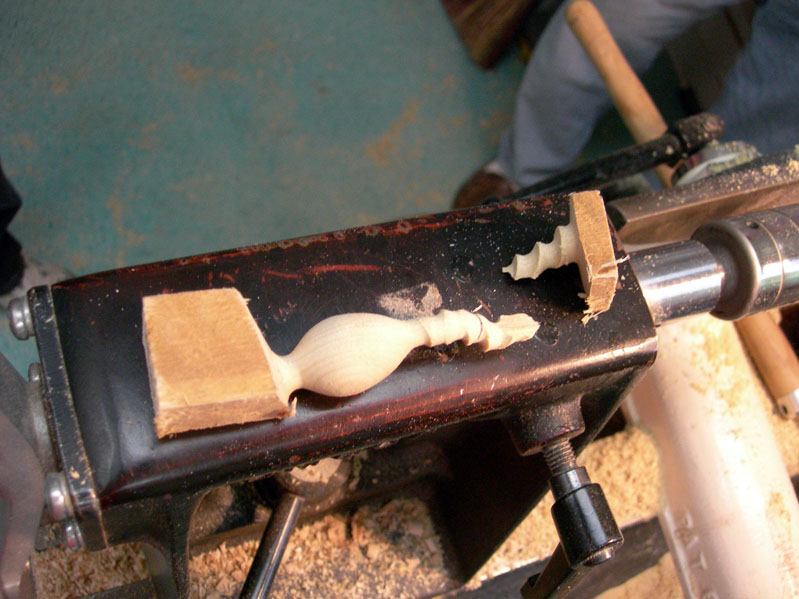
After lunch we moved on to turning spoons. This starts out the same as doing a "golf club" shape. You can add some interesting features in the stem by turning a ball in the middle of the stem, and a golf club shape at the tip. The ball is then turned away on the same axis as the base part of the spoon, which makes a cove on the stem. You can see what I'm talking about in the picture of the final steps of this project.
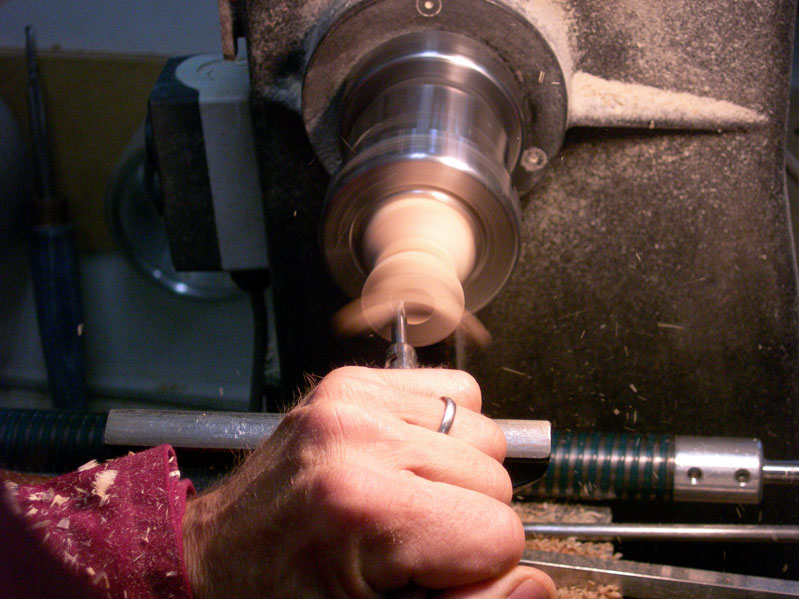


The trickiest part of this turning is the hollowing. You have a thin stem swinging around and you have to put the hollowing tool down the tube without bumping into the stem. We used a ball end mill for the hollowing, and did the clean-up with a small scraper.


You have to hollow out enough to make a thin rim, which takes you into the base of the handle. This has to be evened out by drawing the scraper up the handle for a short distance. You're only hitting the wood once per rotation, and that shadow line is pretty hard to see. A gentle touch is a requirement if you don't want to see the handle go flying across the room.
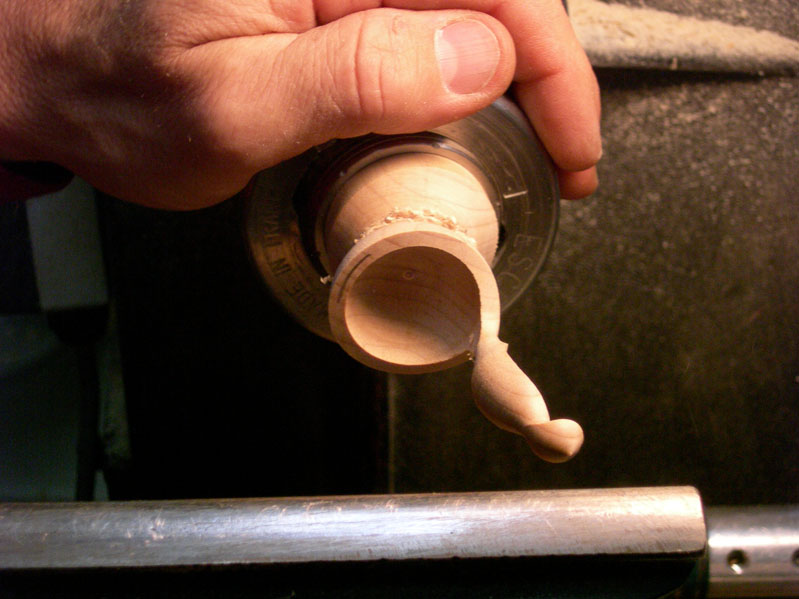


You can also carve away the excess wood, but once you find out how to see the shadow line, it's not too hard to turn the handle transition.
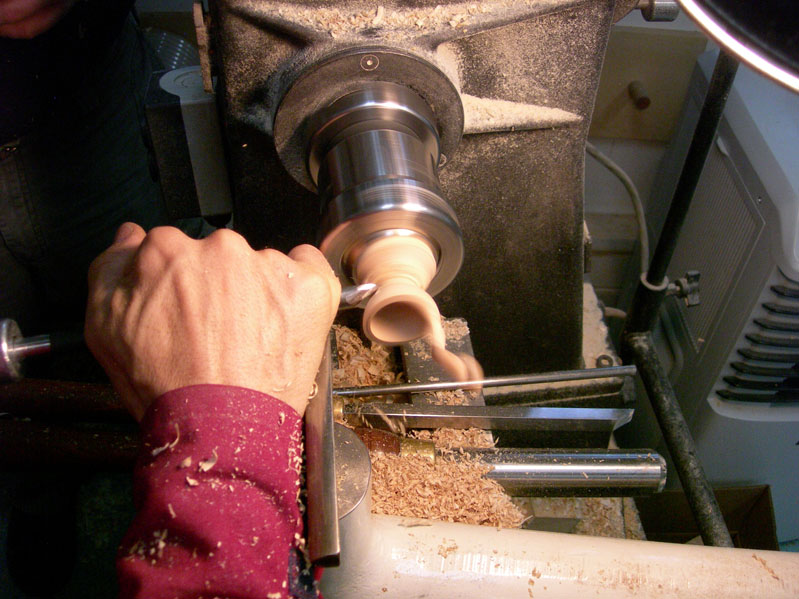


After hollowing the bowl of the spoon, the final shaping is done and then it's parted off with the bedan.


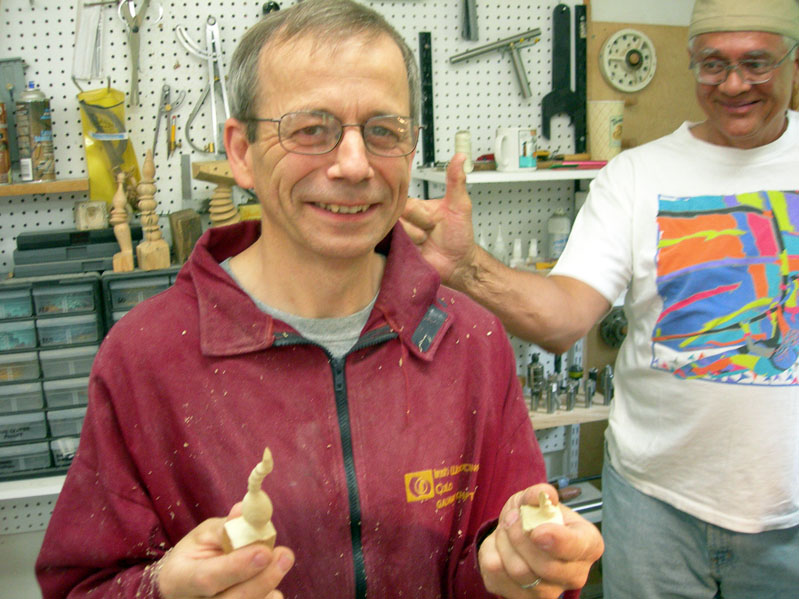
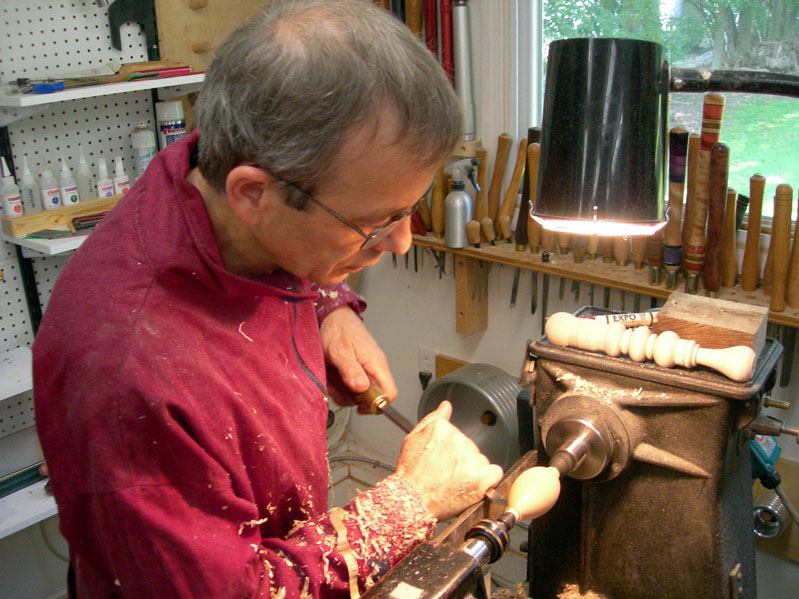
Here are my class projects, including the golf clubs and ladles I turned in today's class. I really enjoyed turning the spoons. You really have to concentrate on the moment and avoid all distractions - especially during the hollowing phase of the project.
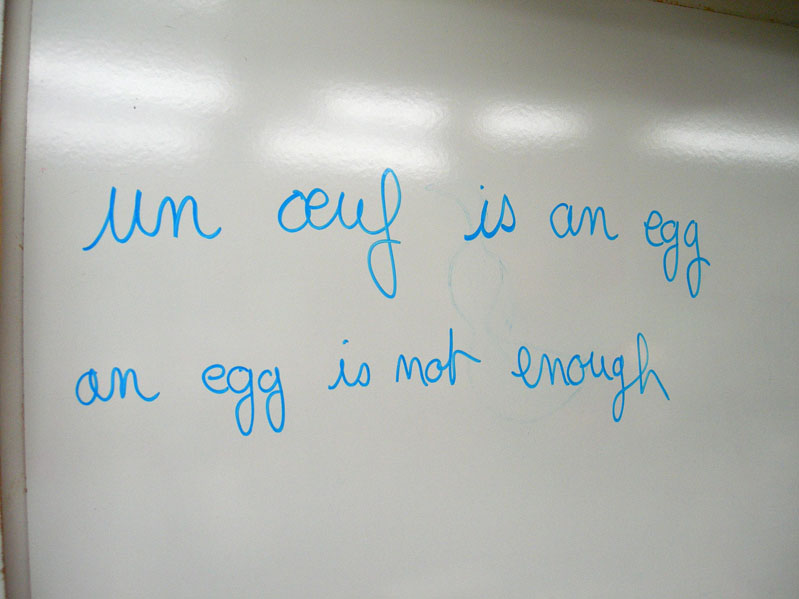


Jean-François speaks English very well, but it tires him out by the end of the day. It's always fun when he forgets the French word he wants to use, and then can't come up with the English equivalent. Throughout the week, I asked him to teach me the words in French. He wrote a few interesting words or phrases for us on the board. The first two words here are pronouced as "enough" in English.
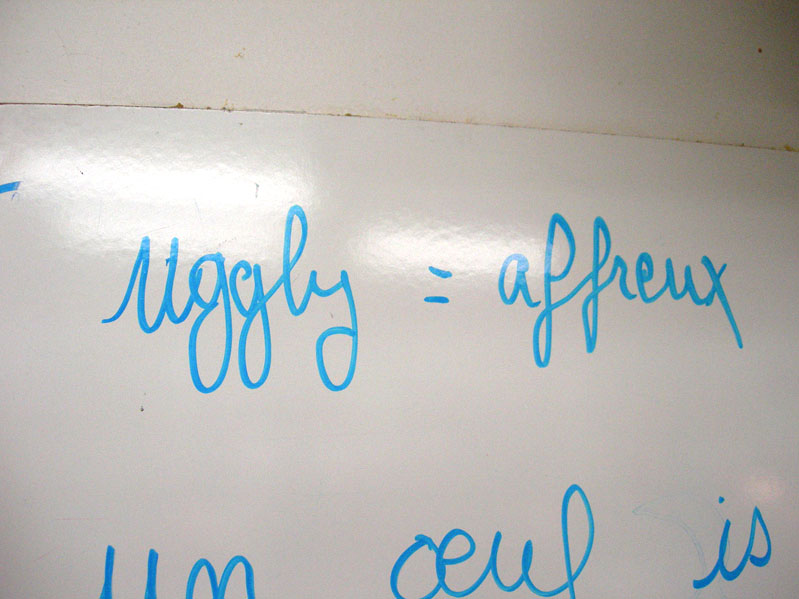


I asked him to teach me the word for "ugly" in French after a couple of my exercises didn't quite match my standards for good form.

By Day 3 of this class I was becoming comfortable with the principles of multi-axis turning, and I had gained some skill with using the bedan. My spindle turning skills still need a lot of work, though. Stay tuned for more pics from Days 4 and 5. . .

Friday, July 14, 2006

Jean-François Escoulen class - Day 2 update

Here are the rest of the pictures from last Tuesday's class with Jean-François Escoulen. You can see my initial post here.

Each of our exercises in the class began between centers. We used a dead center in the headstock, such as this Oneway safe center. Jean-François brought a supply of longer ones with him that fit inside the Escoulen chuck, which makes it so you don't have to remove the chuck to work between centers.


The first two projects in multi-axis turning were between two centers. In this one the first axis was at opposite corners of the blank, and the second axis was in the middle as in a regular spindle turning.


A cylinder is turned on the first axis.


Then the shape is made on the first axis. The diameter of the two ends of the shape are of similar size.


Here's what it looks like after the first axis has been turned.


The blank is then placed on the second axis. A "golf club" shape is turned on both ends of the intial form. It's important for the edges to meet up in the transition between axis 1 and axis 2 where the largest diameter is found.


Once that spot has been found, the curve begins at that point and carries on to completion.


The other important spot is the transition on the narrow side of the spindle where the second axis meets the first axis. This spot is found in a shadow line as the piece is spinning. If you go too far you'll have a divot out off the first axis shape.


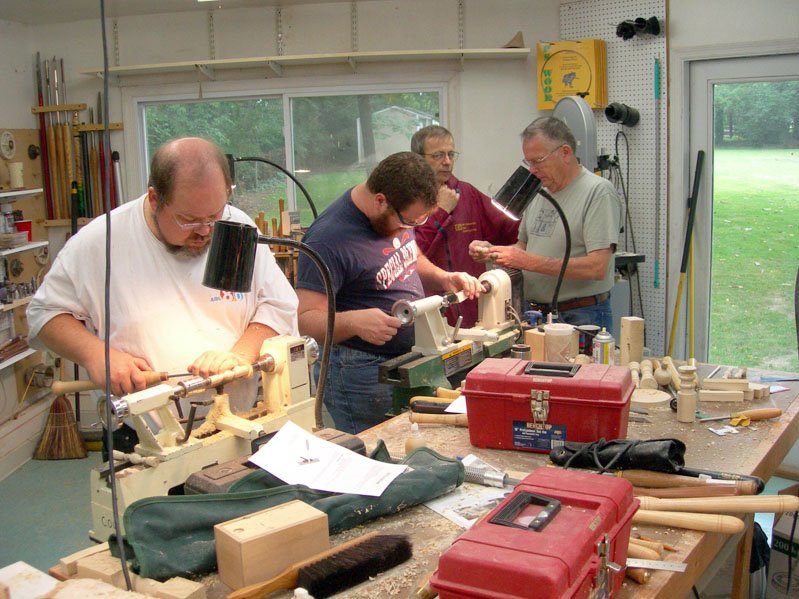
Here's part of our class at work. From left to right: Scott Hogsten, Devon Palmer, Jean-François Escoulen, and Jim Burrowes (our assistant for the first two days). We were using mini lathes, which makes it more challenging to do the multi-axis turnings with a large piece of wood. My lathe wasn't mounted on a stand, but was sitting on a table. The vibration moved the lathe around and I had some interesting chatter patterns from the movement of the lathe and table.


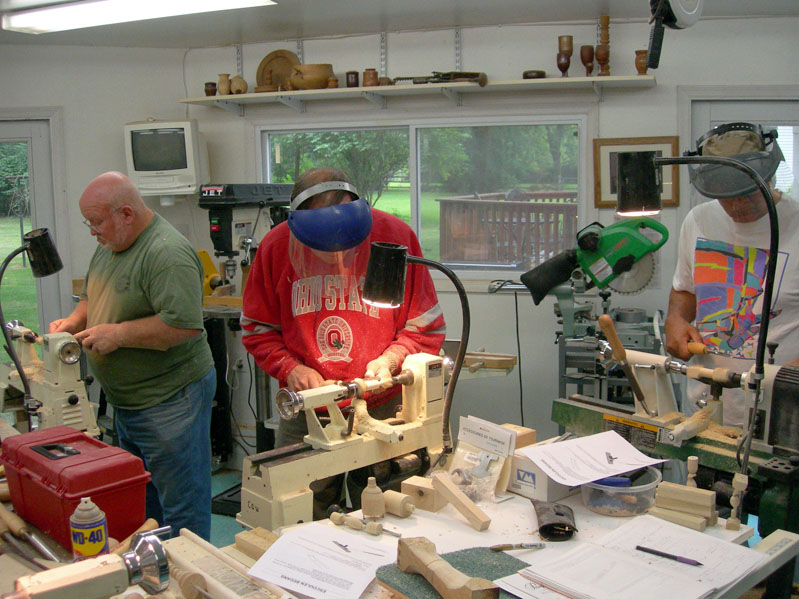
The rest of the gang (L to R): Chuck Kemp, Mike S (can't spell his last name), and Booker Brooks.


Here are my first two attempts on two centers. This is really a lot of fun! Jean-François makes it looks so easy, but it's not so easy to do at first. It helps to have a solid color as a background so you can see the shadow lines a bit more clearly than you can against the bed of the lathe. I used a piece of white paper as a back drop, which helped a lot.


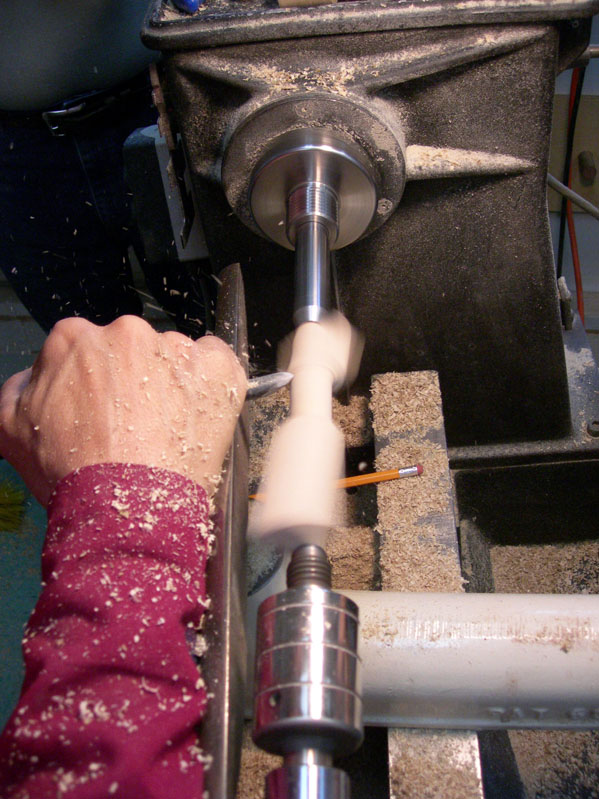
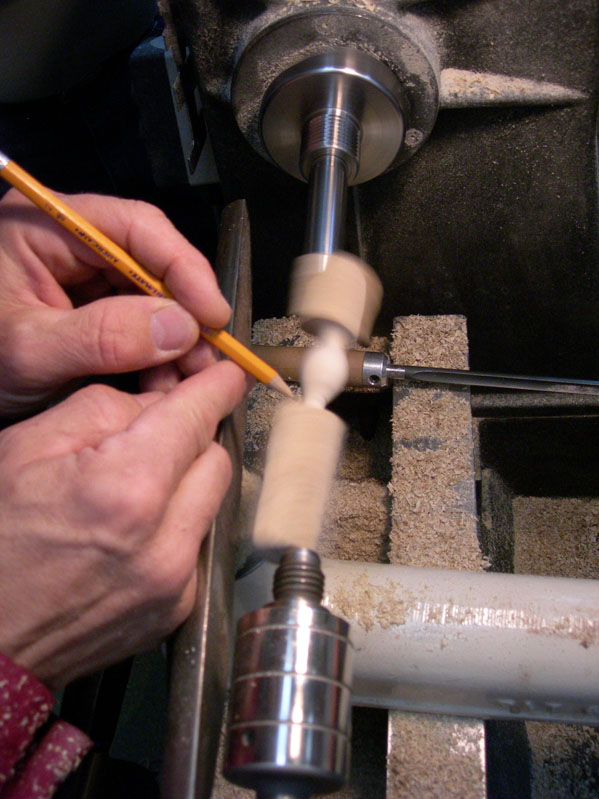
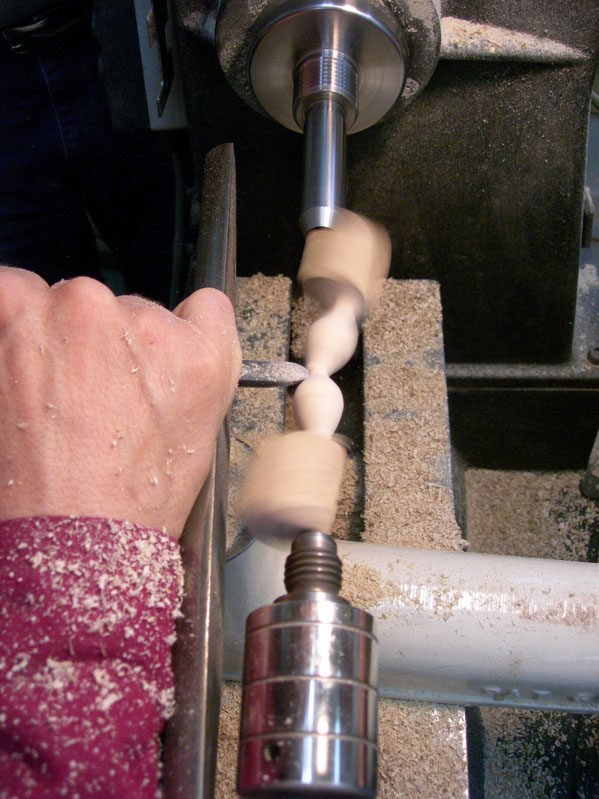
The second exercise was also on two centers, but the transition was through a narrow "neck" of the spindle. This made the shape look like two seeds in a pod. The project starts the same as the last one - turn a cylinder before beginning the shape.


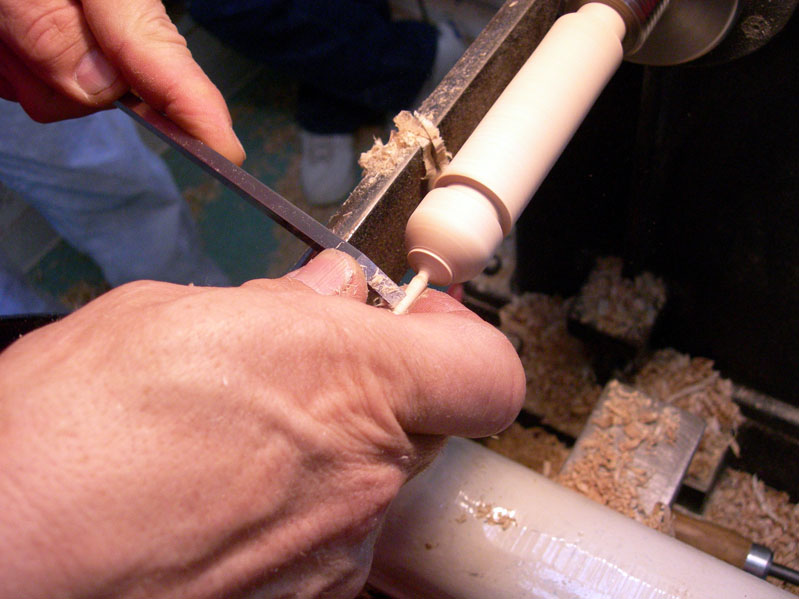
It's important to know where the transition between centers begins and to work up to that point, but not beyond. You can't match the curves exactly, so a small ridge will be left after the second axis is complete. This is filed off with a rasp.


The shape on the second axis is similar to that done on the first.


Here's my attempt at this exercise. That small ridge is what needs to be carved away.


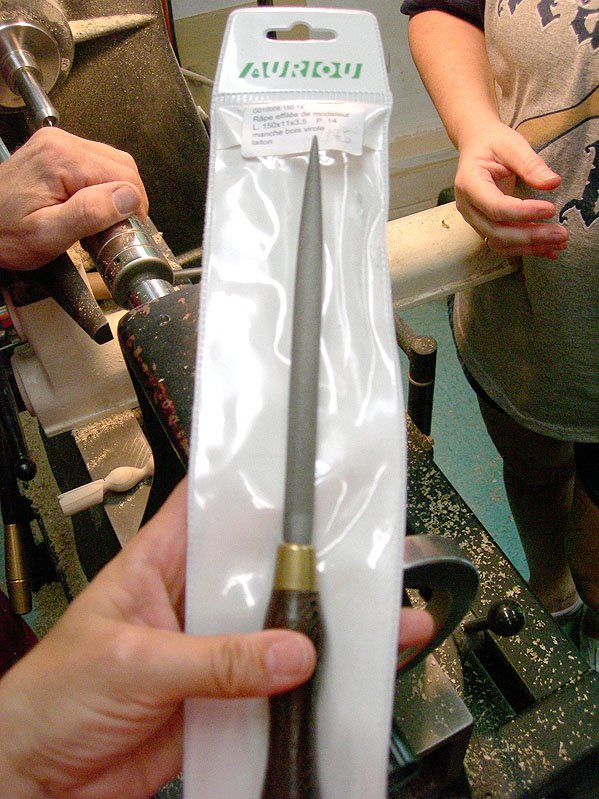
Jean-François brought a supply of these hand-made rasps, which are made in France. I bought a small one, and it's wonderful to use.


Another innovative tool he brought was the bedan pencil sharpener. Works like a charm.


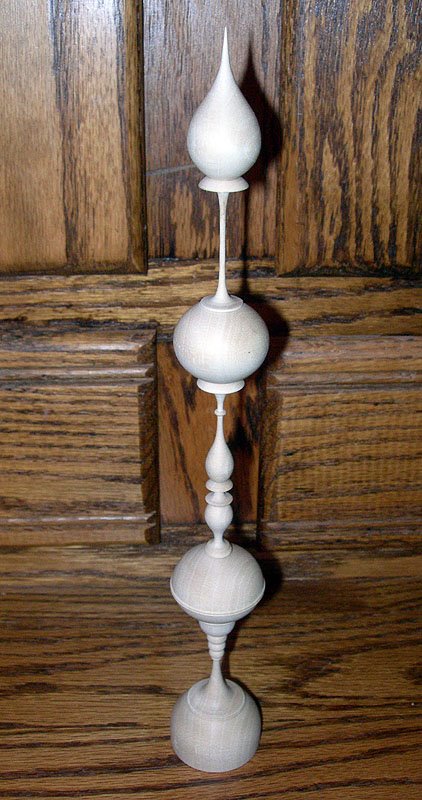
Speaking of charm, or Charme, here's a piece of Charme I gave to Jean-François to try for a trembleur. This is also known as European Hornbeam - a favorite wood of mine to turn. I thought it might be a good wood for these trembleurs. After Jean-François tried it, he agreed. I sent a supply of these blanks with him, and I now have a trembleur for my collection. This is about 12 inches tall, and the details are amazing.

Wednesday, July 12, 2006

Jean-François Escoulen class - Day 3

Stay tuned for pictures. I didn't have time to process my photos from today. We used the Escoulen chuck today and made a lot of interesting shapes. We started with what Jean-François calls, "golf clubs" and then progressed to spoons. Wow! This was soooo much fun to do! I took a lot of photos, but I spent the evening with Jean-François (dinner at my home and then a long walk with my family down by the Olentangy River).

Tuesday, July 11, 2006

Jean-François Escoulen class - Day 2

Today we played with multi-axis turning (two to five centers). I didn't have time to process all my pictures from today when I got home this evening because I had a band practice with Aisling. I'll post a few place-holder pics tonight and update this entry over the weekend.


The first project was between two centers. This was a good exercise to start thinking about how the edges meet in off-center turning. We used mostly our spindle gouges today, but I switched to the bedan to get some cleaner cuts on the poplar. I spent the first part of this morning working with the bedan to remember the motions to make it work. No catches for me today - woohoo!


Merde! Even the master breaks things sometimes. This was a five center turning that Jean-François was working 1,2,3,4,5,4,3,2,1. It broke on about the second "1" in the series.


Oops!


Here are some of my exercises for today. I really enjoyed playing with the multi-axis turning.


I like this little fellow - reminds me of Jimminy Cricket. This was turned on five centers.

Monday, July 10, 2006

Jean-François Escoulen class - Day 1

Today was the first of five days of instruction with Jean-François Escoulen. I've not done much spindle turning and so I've been looking forward to this class. We will be using the bedan tool for most of our work this week. This is a real challenge for me, which makes it kind of frustrating, but also very fun. I like learning new techniques. Unfortunately, "catch" is the name of the game at the beginning, but I'm getting the hang of it after a full day of practice.

We spent all of today learning how to use the bedan and in working on very thin spindles called trembleurs. I didn't have success with the long trembleur, but I did learn a lot in the process.

The first exercise today was to use the bedan to make beads along the length of a piece of poplar. Jean-François makes this look so easy and effortless. The motion and tool use is so entirely different than what one does in bowl turning.


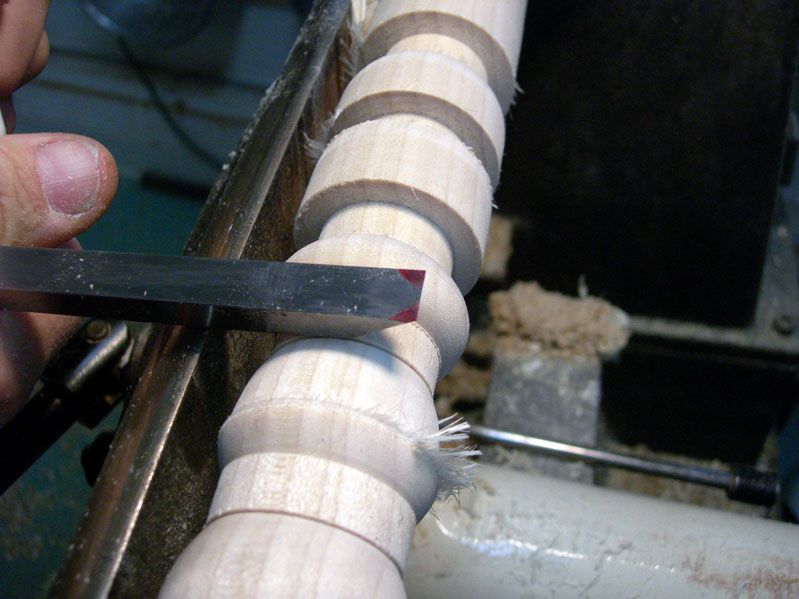
The cut is made with the slanted side up, which means that the bevel is on the flat part of the tool. In this image, Jean-François has marked the cutting edge for turning the bead - either on the right hand side or left hand side, depending on which edge of the bead is being worked. It's kind of like a skew in this regard if you think about the corner as being the toe of the skew.


To avoid having a pointed bead, the cuts begin at the edge and work toward the center. The movement of the tool and the coordination between hand and arm motion looks easy, but isn't in actuality.


After about an hour of learning how to use the bedan on making beads, we moved on to turning an egg shape. The exercise was in not only following a curve, but pushing the bedan along the tool rest in a sustained cut. This was really hard for me to do, and my egg kept getting smaller and smaller as the time went on. Jean-François went on a birding walk with me yesterday morning. He told me my egg was going to be hummingbird size if I kept getting catches (we saw a hummingbird yesterday).


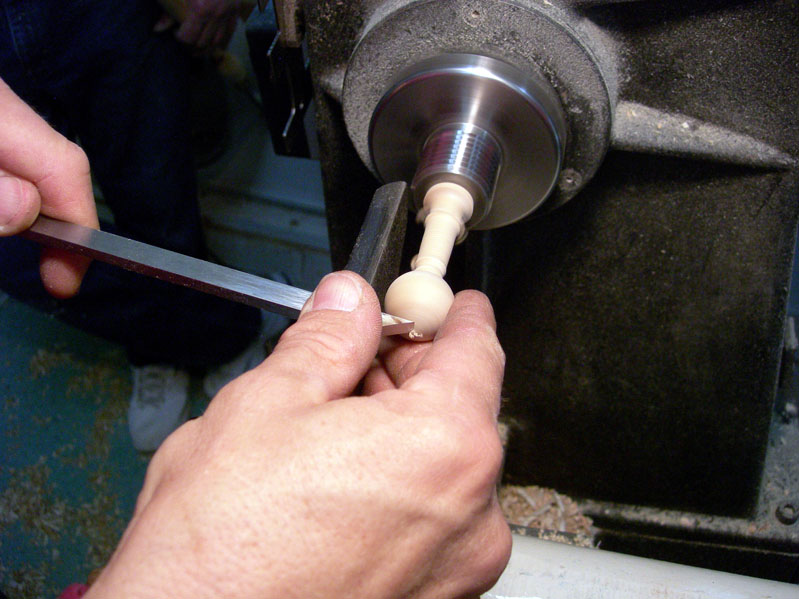
Next came the work on trembleurs. This is an exercise that makes one tremble, even if the turning doesn't quite fit the description of a trembleur. The first step is to cut a No. 2 morse taper to fit into the head stock for a jam chuck. There is a template in the Escoulen chuck kit for determing the correct diameter to use for initiating the taper.


The end of the project is turned into a ball shape. Notice how Jean-François is supporting the turning with his right hand and turning single-handedly with the left hand? I've come to the conclusion that lefties have an easier time with the bedan than do right handers.


This first project was an exercise in holding the work steady and turning a very small diameter stem. It takes practice.


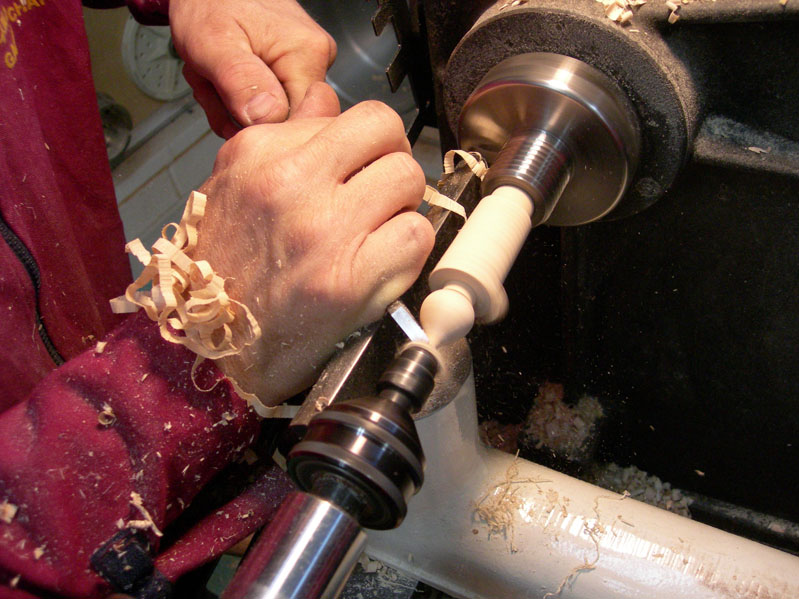
Next project was a slightly longer trembleur with a flame-shaped finial. This was for learning another cut with the bedan. We also added some other features along the stem.


 The final project today was a long trembleur, which required a string steady rest to support the piece. I had a catch in the middle section of mine and broke it, which was a shame since the stem portions were very thin and it was coming along very well until then. Oh well. I still learned a lot and felt much more confident in my use of the bedan at the end of the day. I hope it's like riding a bicycle and I won't have to start from scratch tomorrow morning.


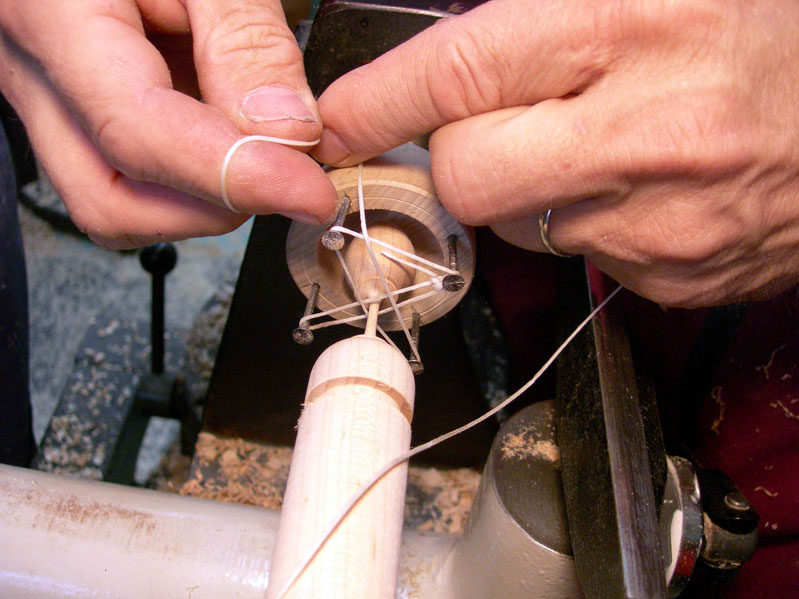
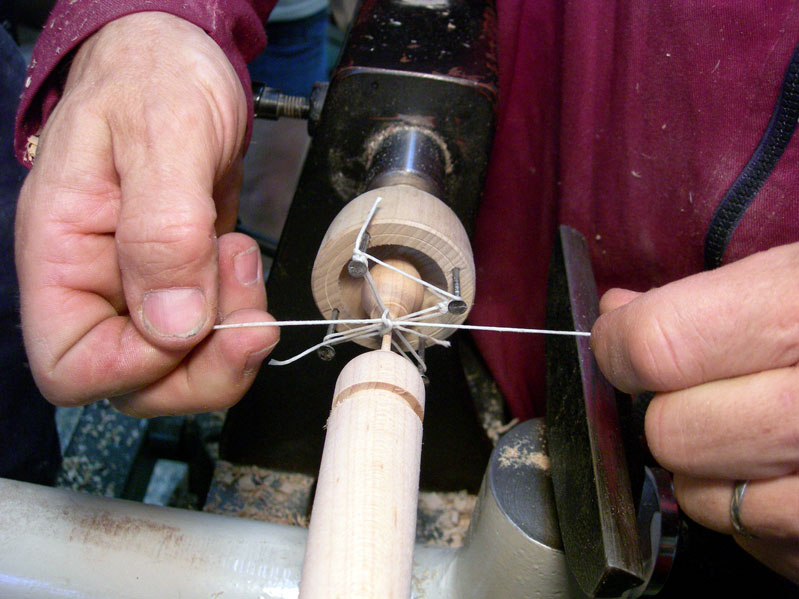
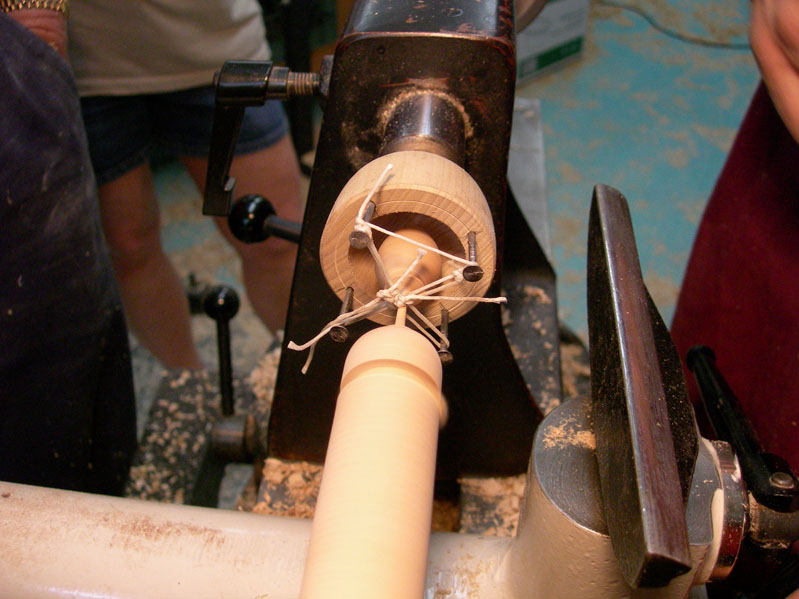
Jean-François showed us this string steady, which fits into the tail stock with a No. 2 morse taper. It's basically just a cup with four nails. The end of the piece fits into the hollowed area.


The string is wrapped across the corners and secured with a couple of knots.


I like the French scissors used to cut the string. BTW, the string is a waxed string used for leather repair.


The two crossed sections are tied - first, horizontally, and then vertically.


Now, it's ready to go. The work has less vibration than it would unsupported, but you still have to support the piece in one hand and cut with the other - especially at the beginning of a cut.


Jean-François makes this look easy, but it isn't! I think I will have to practice this technique for several weeks before I feel somewhat comfortable with it. I doubt if I'll have the hang of it by the end of this week.


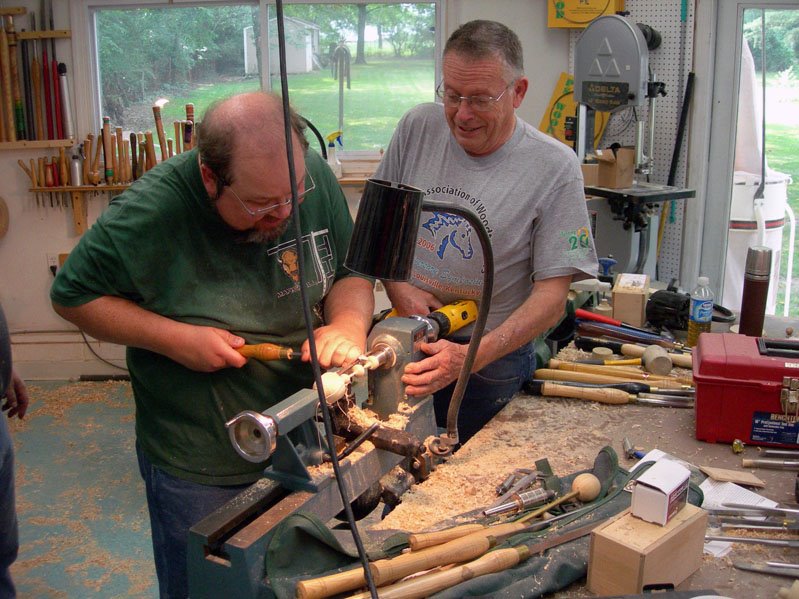
What do you do when you're near the end of the trembleur and your lathe dies? Scott Hogston's mini lathe quit on him toward the end of the day, just as he was nearing the end of his trembleur. He had a nice one going and didn't want to quit on it. So, Jim Burrowes, our resident farmer and jack-of-all-trades, put a drill to work to spin the work so Scott could finish it off.


Seems like it shouldn't have worked all that well, but it did the trick.


How's that for team work? Jim was very helpful to all of us today. Thanks, Jim.