Monday, July 10, 2006

Jean-François Escoulen class - Day 1

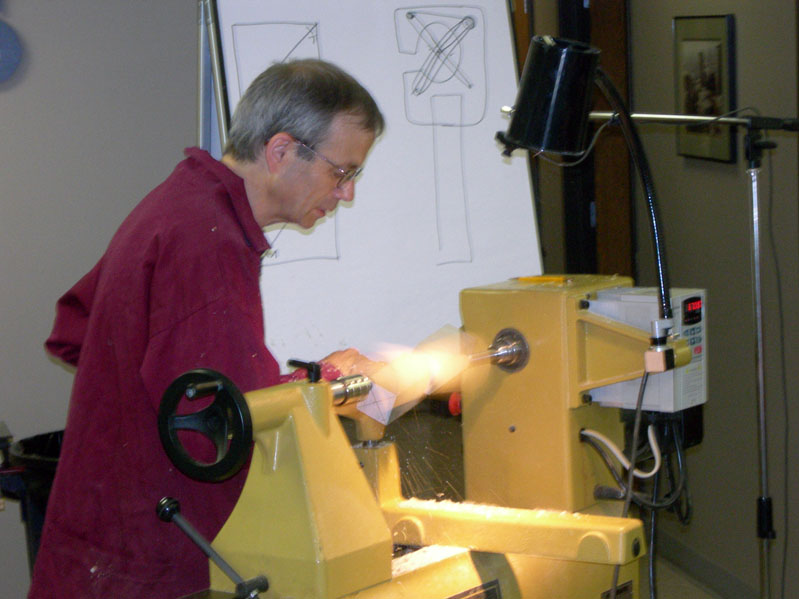
Today was the first of five days of instruction with Jean-François Escoulen. I've not done much spindle turning and so I've been looking forward to this class. We will be using the bedan tool for most of our work this week. This is a real challenge for me, which makes it kind of frustrating, but also very fun. I like learning new techniques. Unfortunately, "catch" is the name of the game at the beginning, but I'm getting the hang of it after a full day of practice.

We spent all of today learning how to use the bedan and in working on very thin spindles called trembleurs. I didn't have success with the long trembleur, but I did learn a lot in the process.

The first exercise today was to use the bedan to make beads along the length of a piece of poplar. Jean-François makes this look so easy and effortless. The motion and tool use is so entirely different than what one does in bowl turning.
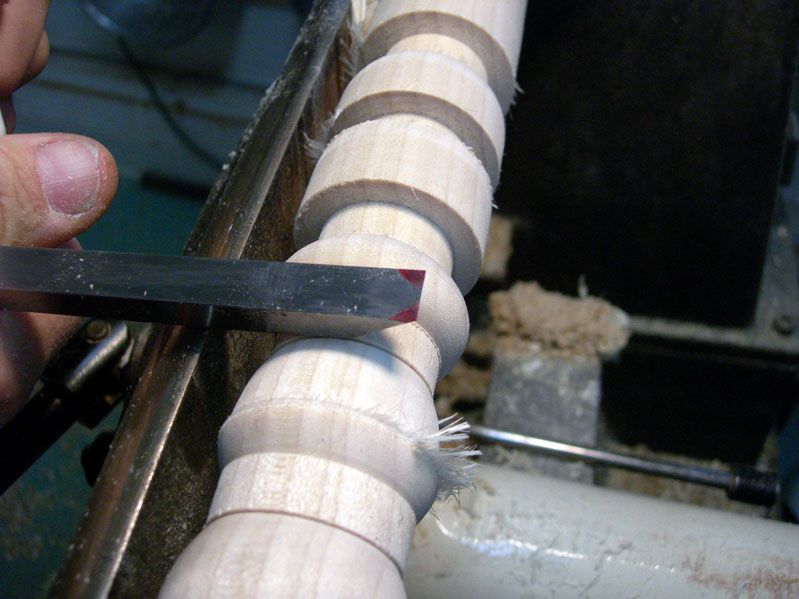


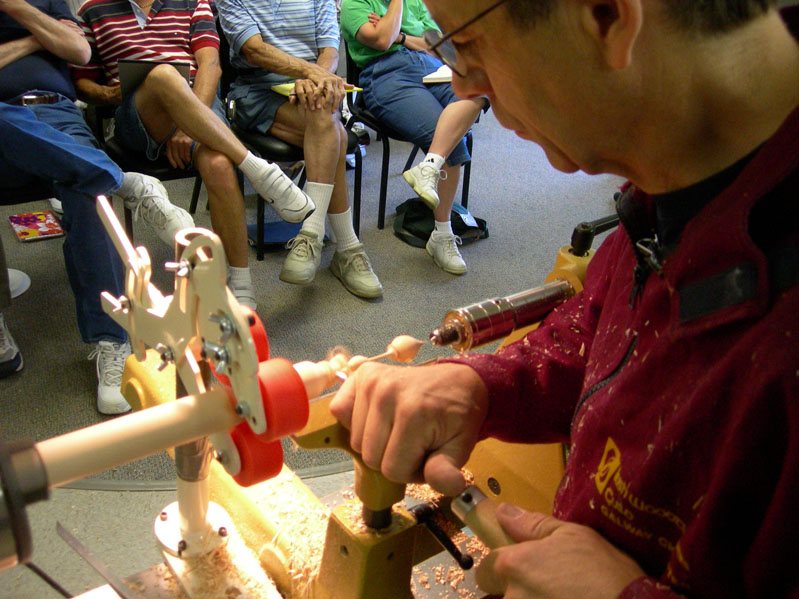
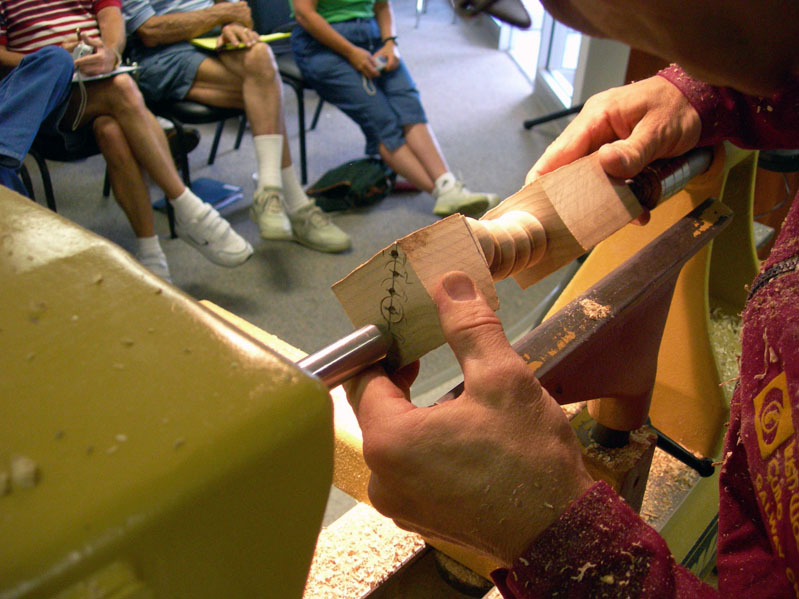
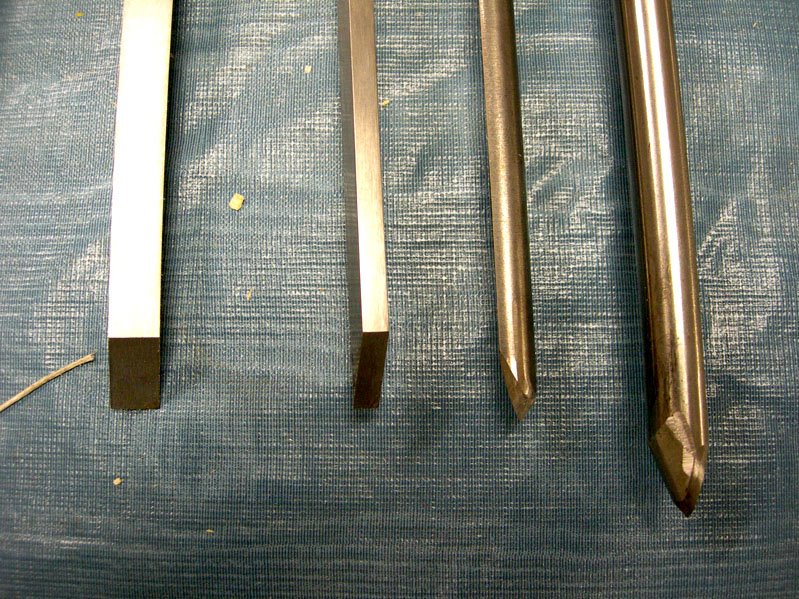
The cut is made with the slanted side up, which means that the bevel is on the flat part of the tool. In this image, Jean-François has marked the cutting edge for turning the bead - either on the right hand side or left hand side, depending on which edge of the bead is being worked. It's kind of like a skew in this regard if you think about the corner as being the toe of the skew.
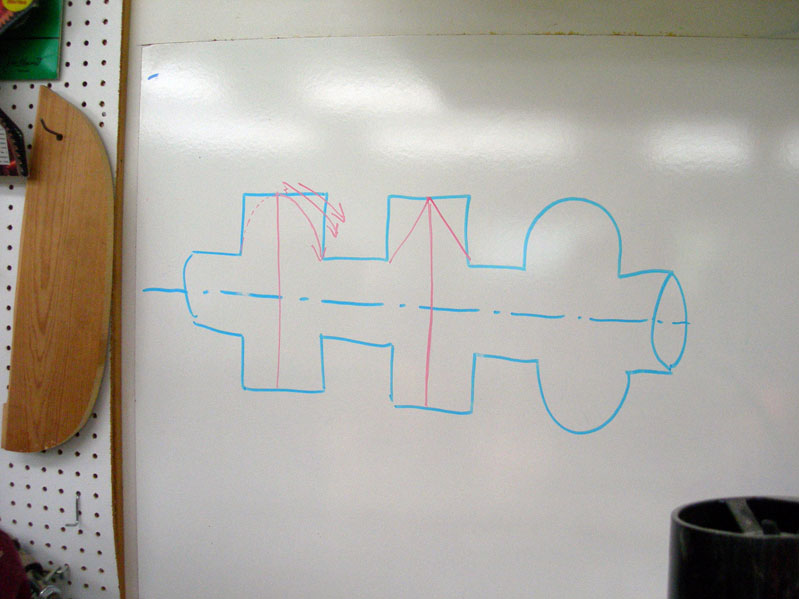


To avoid having a pointed bead, the cuts begin at the edge and work toward the center. The movement of the tool and the coordination between hand and arm motion looks easy, but isn't in actuality.
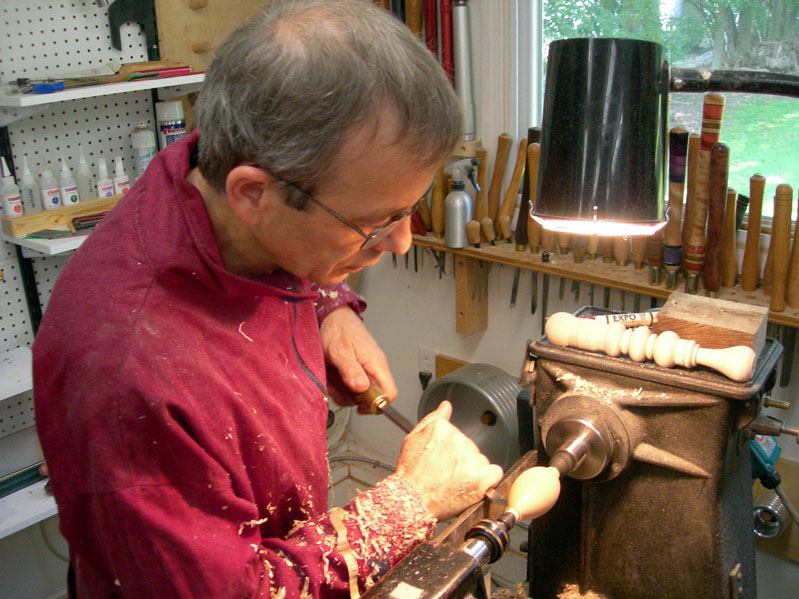


After about an hour of learning how to use the bedan on making beads, we moved on to turning an egg shape. The exercise was in not only following a curve, but pushing the bedan along the tool rest in a sustained cut. This was really hard for me to do, and my egg kept getting smaller and smaller as the time went on. Jean-François went on a birding walk with me yesterday morning. He told me my egg was going to be hummingbird size if I kept getting catches (we saw a hummingbird yesterday).
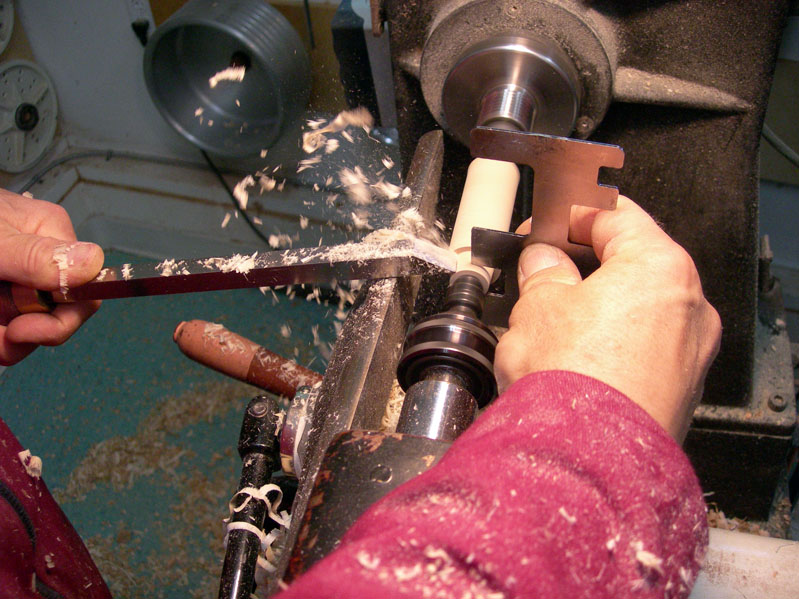


Next came the work on trembleurs. This is an exercise that makes one tremble, even if the turning doesn't quite fit the description of a trembleur. The first step is to cut a No. 2 morse taper to fit into the head stock for a jam chuck. There is a template in the Escoulen chuck kit for determing the correct diameter to use for initiating the taper.
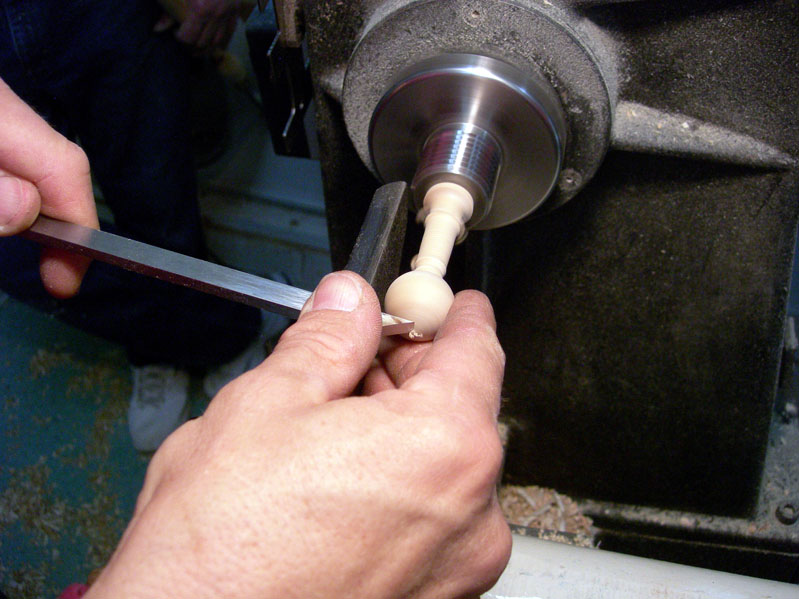


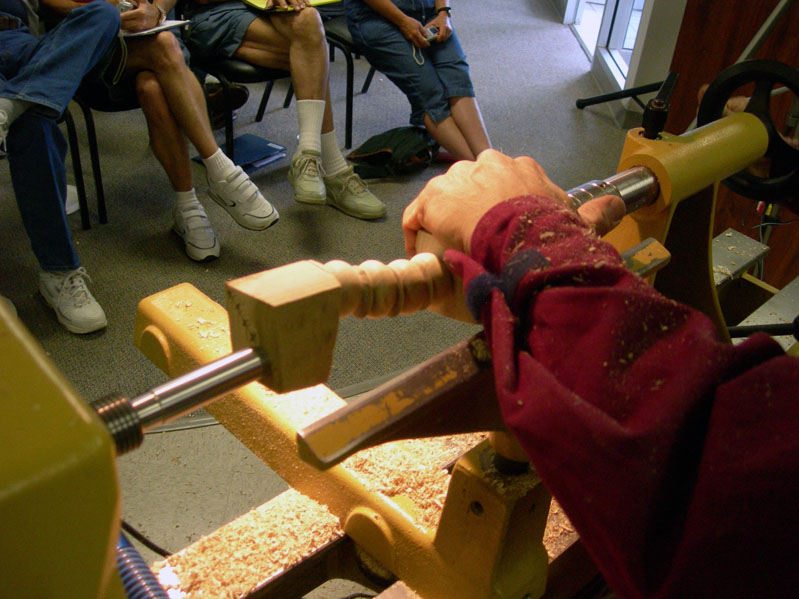
The end of the project is turned into a ball shape. Notice how Jean-François is supporting the turning with his right hand and turning single-handedly with the left hand? I've come to the conclusion that lefties have an easier time with the bedan than do right handers.


This first project was an exercise in holding the work steady and turning a very small diameter stem. It takes practice.
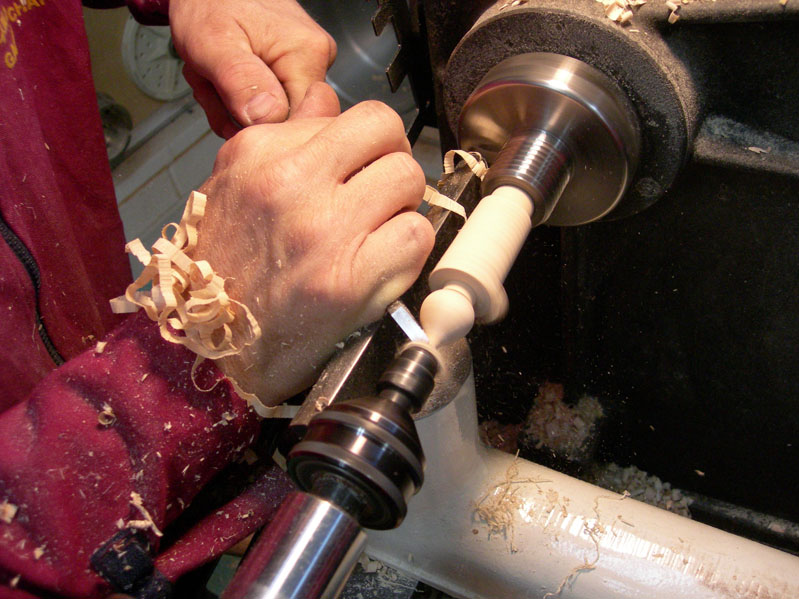


Next project was a slightly longer trembleur with a flame-shaped finial. This was for learning another cut with the bedan. We also added some other features along the stem.
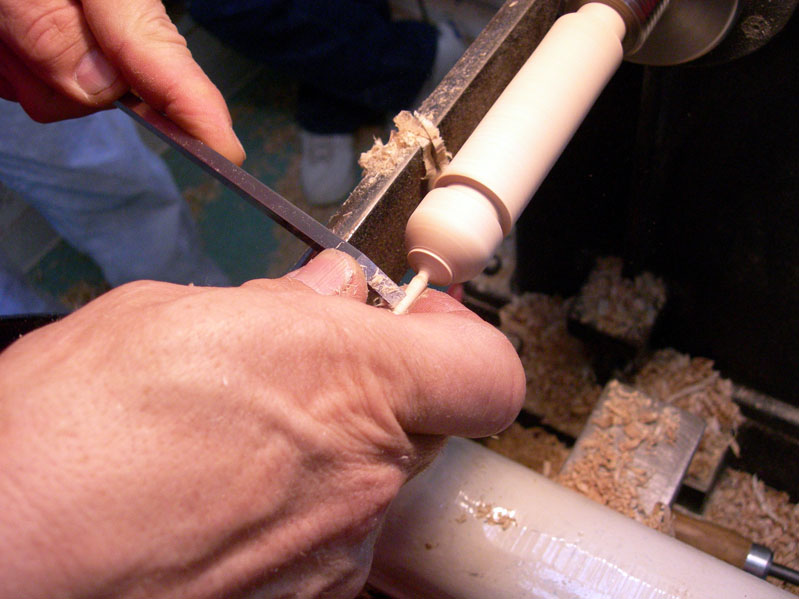


 The final project today was a long trembleur, which required a string steady rest to support the piece. I had a catch in the middle section of mine and broke it, which was a shame since the stem portions were very thin and it was coming along very well until then. Oh well. I still learned a lot and felt much more confident in my use of the bedan at the end of the day. I hope it's like riding a bicycle and I won't have to start from scratch tomorrow morning.


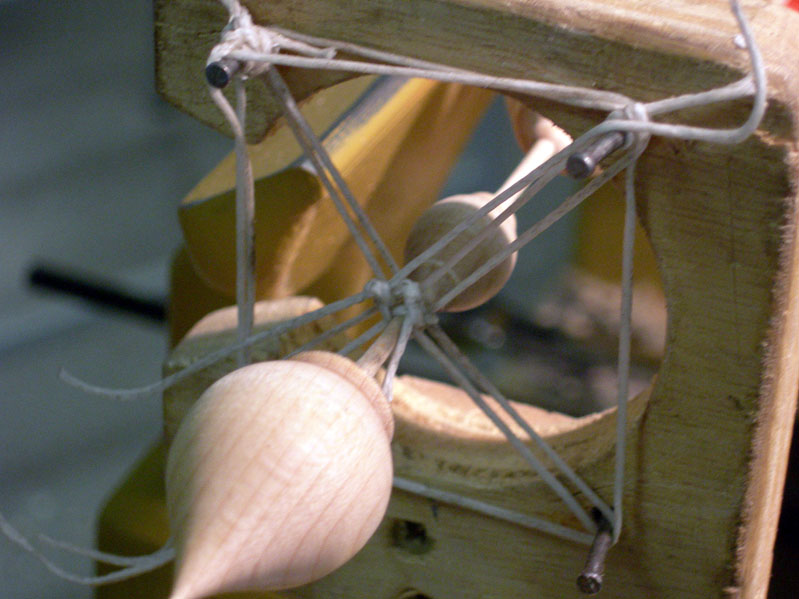
Jean-François showed us this string steady, which fits into the tail stock with a No. 2 morse taper. It's basically just a cup with four nails. The end of the piece fits into the hollowed area.
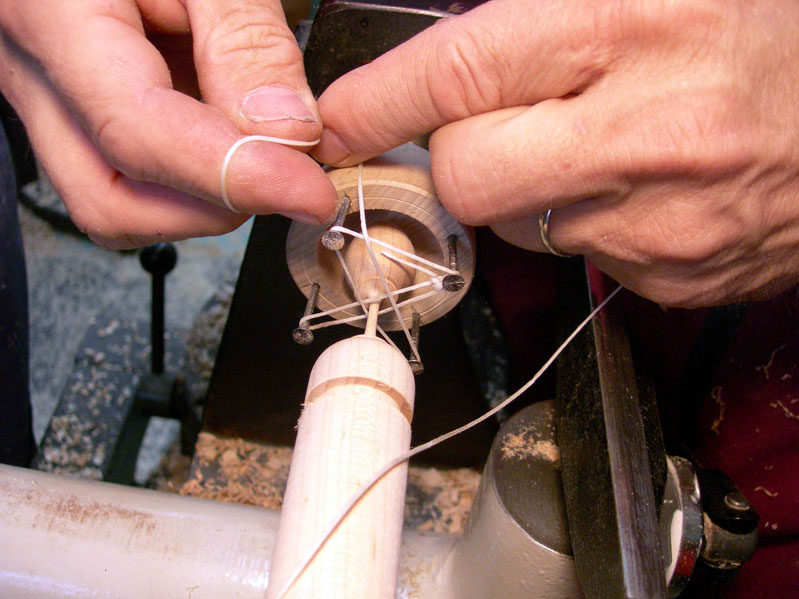


The string is wrapped across the corners and secured with a couple of knots.


I like the French scissors used to cut the string. BTW, the string is a waxed string used for leather repair.
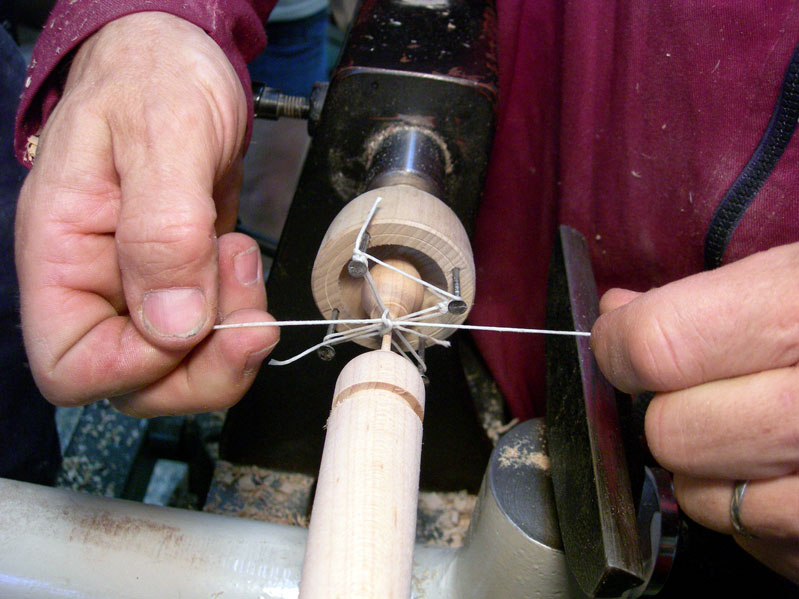


The two crossed sections are tied - first, horizontally, and then vertically.
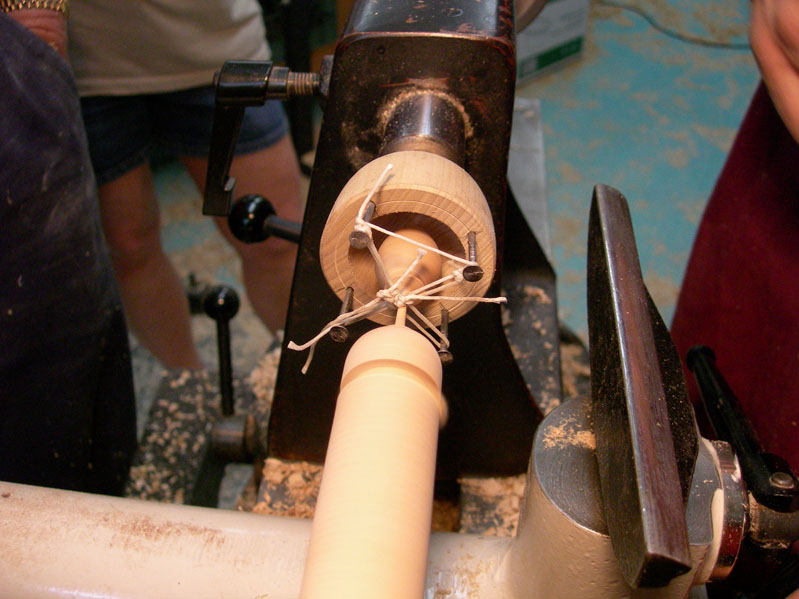


Now, it's ready to go. The work has less vibration than it would unsupported, but you still have to support the piece in one hand and cut with the other - especially at the beginning of a cut.


Jean-François makes this look easy, but it isn't! I think I will have to practice this technique for several weeks before I feel somewhat comfortable with it. I doubt if I'll have the hang of it by the end of this week.


What do you do when you're near the end of the trembleur and your lathe dies? Scott Hogston's mini lathe quit on him toward the end of the day, just as he was nearing the end of his trembleur. He had a nice one going and didn't want to quit on it. So, Jim Burrowes, our resident farmer and jack-of-all-trades, put a drill to work to spin the work so Scott could finish it off.


Seems like it shouldn't have worked all that well, but it did the trick.
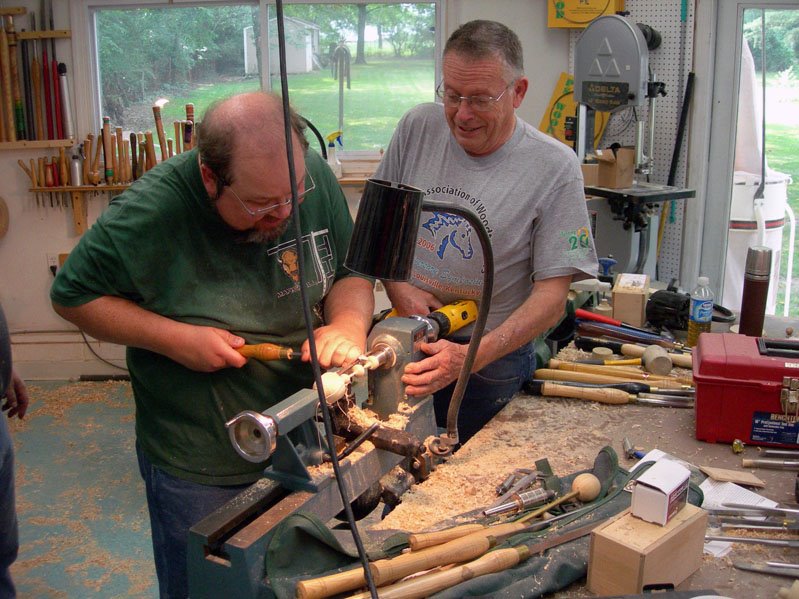


How's that for team work? Jim was very helpful to all of us today. Thanks, Jim.

Saturday, July 08, 2006

Jean-François Escoulen visits Central Ohio Woodturners

Jean-François Escoulen is here in Columbus, Ohio for the next week. He began his visit with an all-day demonstration for Central Ohio Woodturners, which was held at Wood Werks in Gahanna. We had visitors from the North Coast Woodturners and the Ohio Valley Woodturners
Guild.

Jean-François began his demonstration with a small trembleur, which was done between centers.


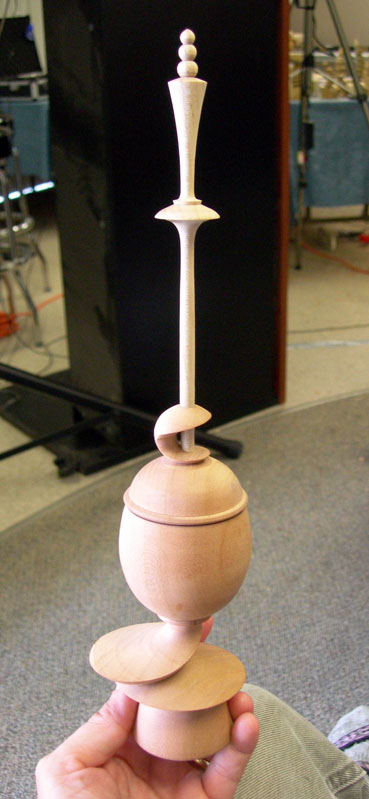
Here is the small trembleur he turned out of hard maple. This was done by turning a number 2 morse taper for the headstock, which was jammed into the headstock. The other end was initially supported by the tailstock. He worked the topmost 2 inches first and turned it off the tailstock end. From that point on the trembleur was supported by his right hand as he used the bedan or spindle gouge in his left hand.


The second project of the day was a long trembleur. This needed a spindle steady rest, first a one-way style one with wheels and then with the addition of a string steady rest.

The piece was held with pin jaws in a one-way stronghold chuck. Jean-François again worked two inches at a time from top to bottom.


Here is the string steady rest all set up and ready to go. The string is first tied off in the upper left hand corner and then wound around the lower right hand nail, then over to the upper right hand nail, down to the lower left corner and tied off at the upper right hand corner. The strings are tied together in the middle from side-to-side and top-to-bottom. The steady rest is shown in more detail below.


The top part is attached in such a way that it can be pivoted out of the way as the trembleur is removed from the lathe. Jean-François told us about the trembleur he made that was as tall as his height. This one required 24 string steady rests and two people to remove it from the lathe - one to cut the strings and move the steady rests away from the spindle and the other to slide a glass tube along the length to capture and support the trembleur.


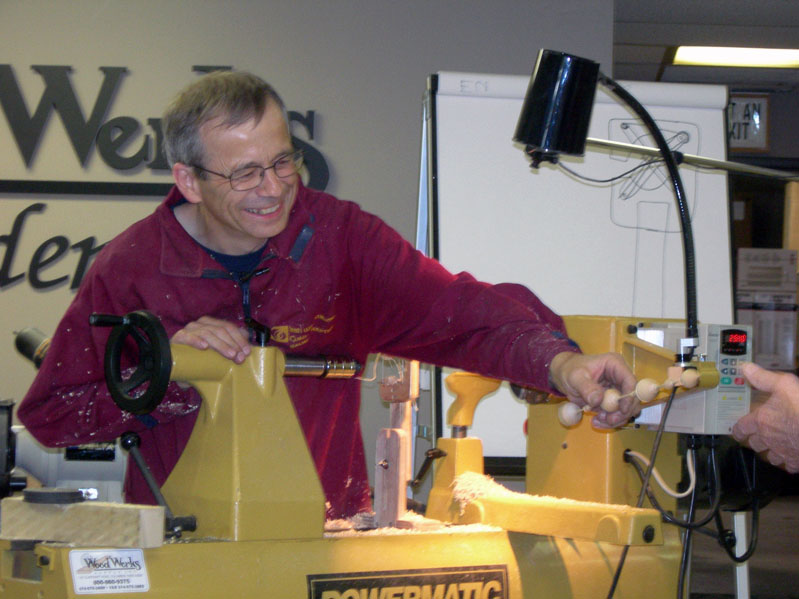
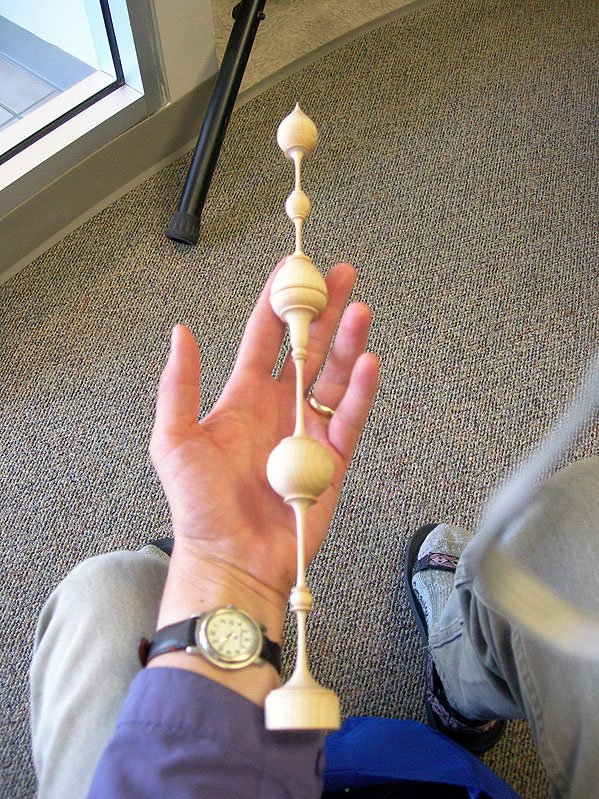
"Here - catch it!" We did get to look at each of these turnings closely as they were passed around the room.


Here's the one from today's demonstration. Jean-François kept apoligizing for the poor quality of his demo pieces, but I think everyone was suitably impressed by his work.

Jean-François told us that he thinks practicing on trembleurs is a good way to improve one's turning skills. "Everything else is easy."


Next it was on to multi-axis turning; first, between centers and then with the Escoulen chucks.

This one is on three centers. Looks pretty wild as the extreme ends are between centers. He started this one in the middle on axis 1, then did axis 2, axis 3, and then back to axis 1.


This one had seven axes, and it was started at one end and progressed along each axis to the other end.


Setting the tool rest is pretty critical as is working with tools in a long handle since the cutting edge is far off the tool rest for most of the cuts.


As the piece is spinning, the shadow lines are the areas where the shape will emerge. I'm looking forward to taking Jean-François' five-day hands-on class this week. I can't wait to try this technique.


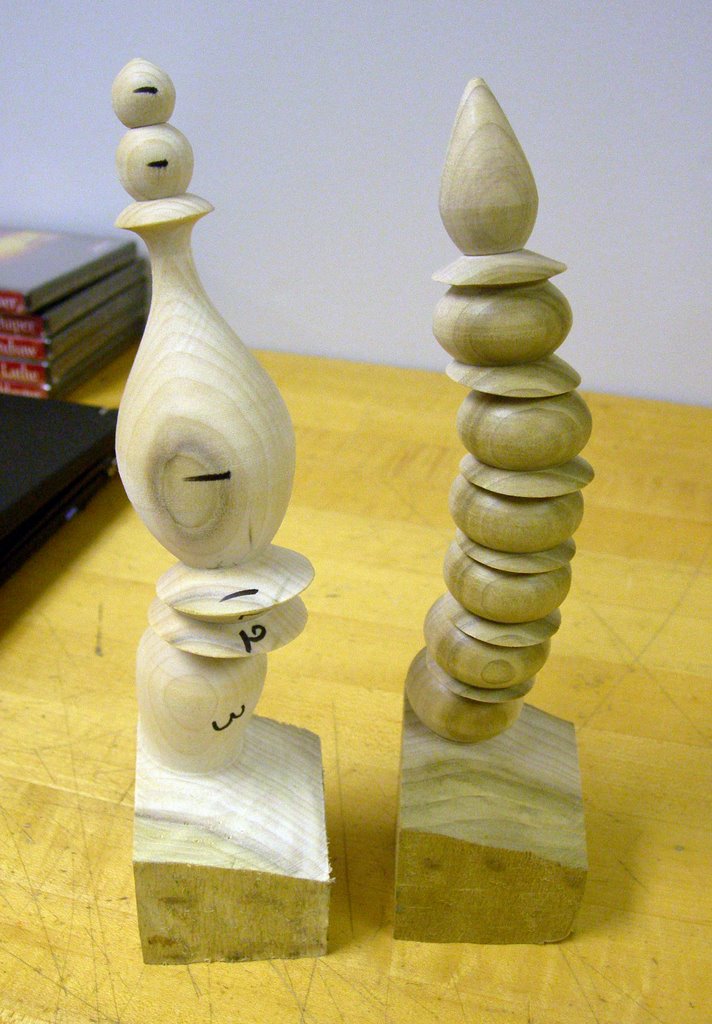
Here are the two multi-axis turnings that were done between centers. Jean-François numbered the one on the left so we could see which axis was used for each section.

"I numbered them in French, but you should be able to read them," he said.


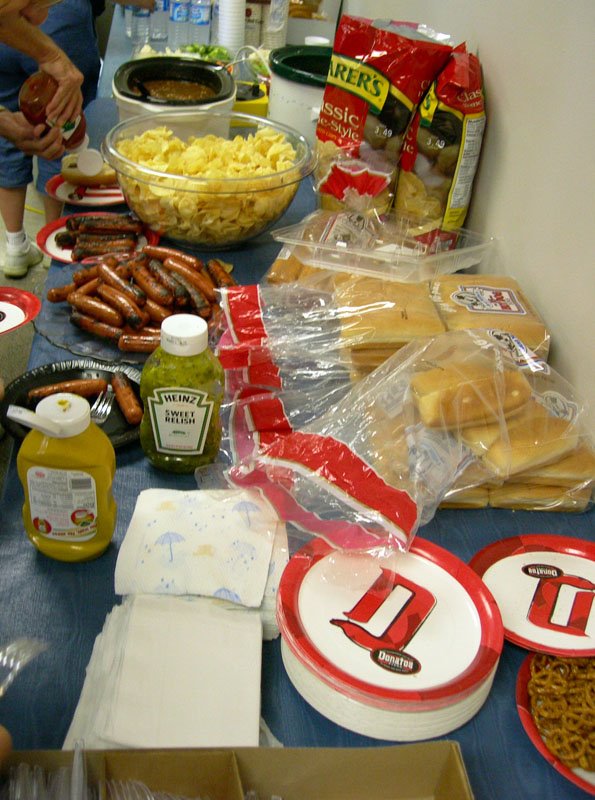
We had a lunch break after the between centers session for the morning.


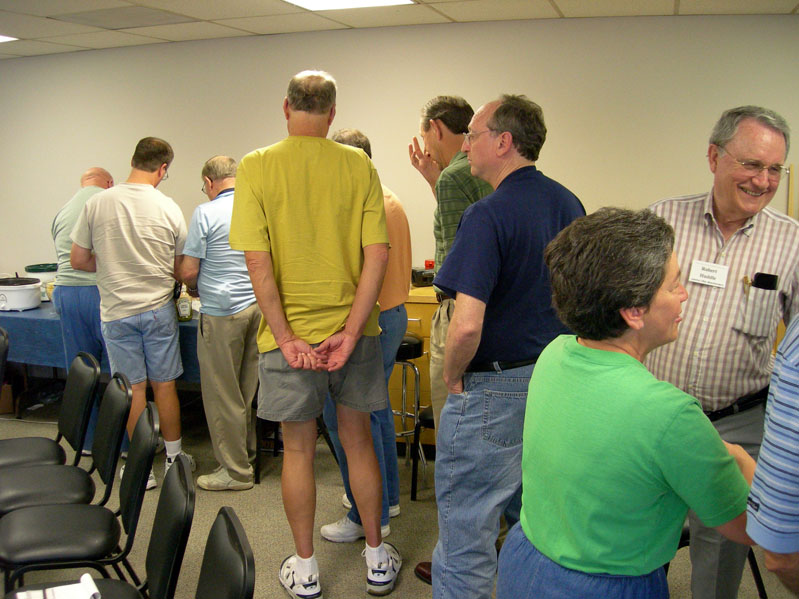
Bar-b-que on a nice summer's day, combined with an excellent woodturning demonstration. What could be better than that?


These guys looked happy.


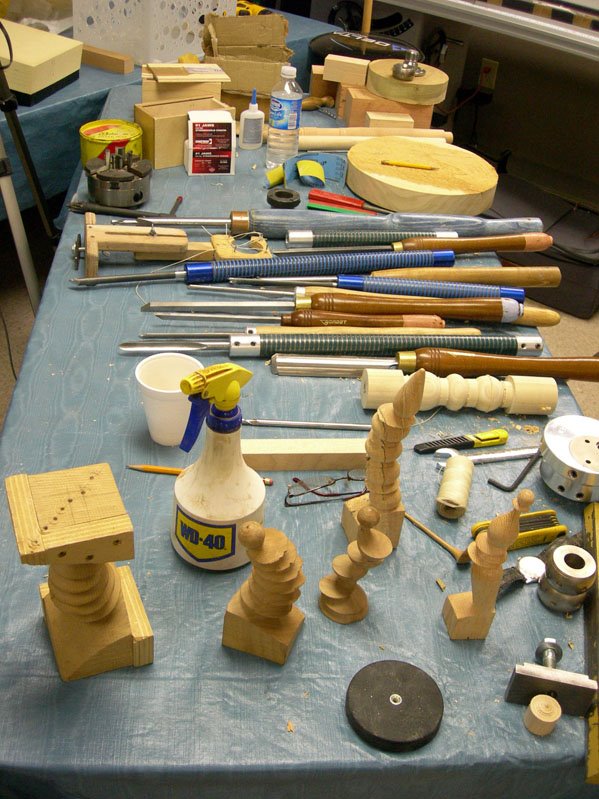
Here's Jean-François Escoulen's work table.


Here are some of the tools he used: two different sizes of bedans and spindle gouges. Notice the double bevel on the gouges? That's to help with the tight corners on multi-axis turnings. The bedans are used for most of his cuts - another technique I'm looking forward to learning this coming week.


This project is a multi-axis spoon. He's using his small ball chuck. I'll try to take some detail pics during the hands-on class to show the parts and how they're set-up for this type of work.


Hollowing out the bowl of the spoon is a bit of a challenge with the stem spinning around. The spoon is an end-grain turning, so the cuts are from the center toward the outside for the hollowing process. That makes it a bit easier to deal with the stem.


Here's the finished spoon.


The last project of the day done between centers was one of his classic multi-axis boxes. This was really fun to watch.


Jean-François apologized for how thick the finial is, but he was limited by his drill bit size. He had several offers to take that ugly box off his hands. . .


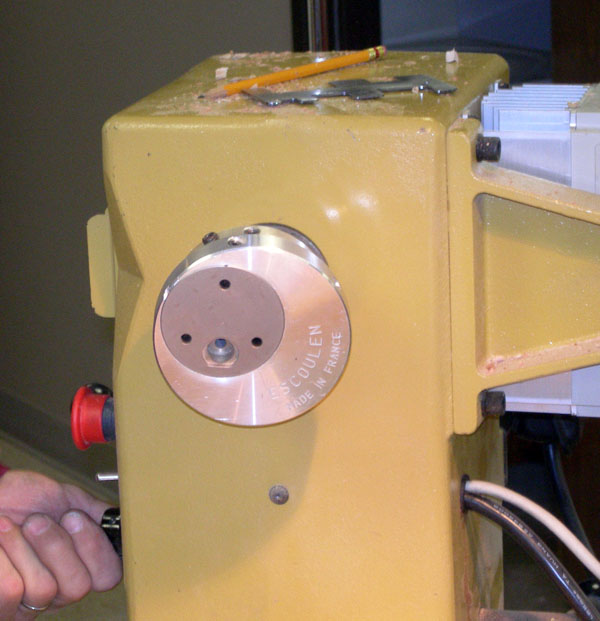
The last hour of the demonstration focused on multi-axis face-plate turning. Jean-François has also designed a couple of chucks for this type of work. The axis can be changed from side-to-side and front-to-back. The ball part of the chuck is threaded onto the headstock rather than for holding the wood.


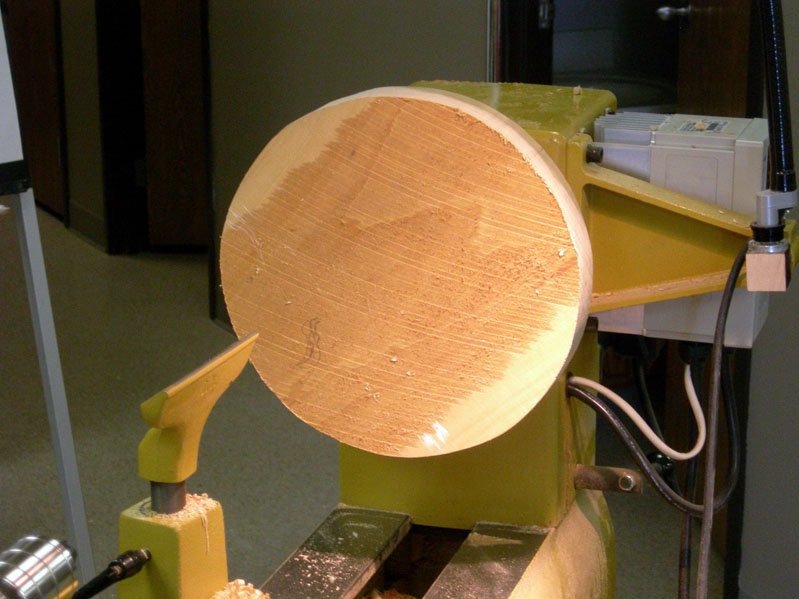
The project starts out on center and looks like any regular ol' platter.


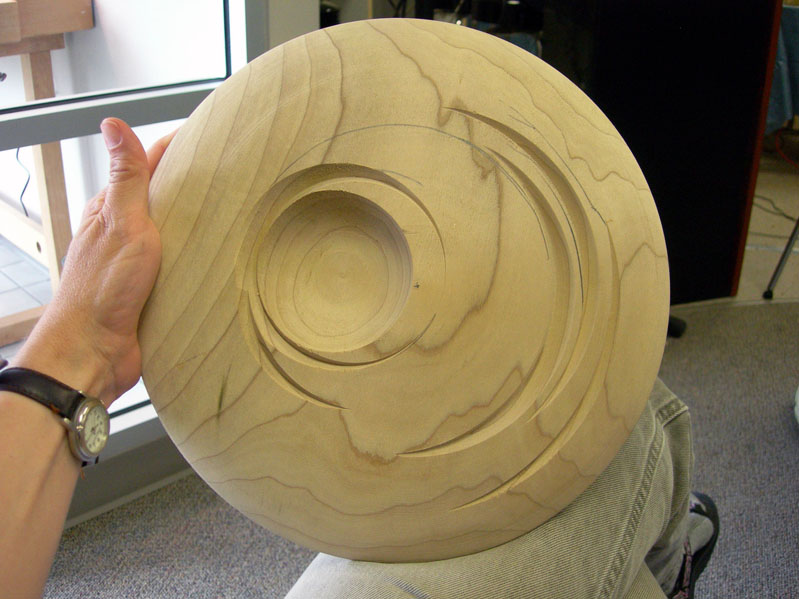
The bowl part of it is turned off-center and then the grooves are made by changing the axis front-to-back. Lots of possibilities come to mind with this technique, but it's probably not something I will be exploring anytime soon.

I'll try to take a lot of pictures this week and update the blog as I have time.

Thursday, July 06, 2006

Home again

Wow - that vacation sure flew by. We arrived home today - a little worn out from getting up at 3 a.m. to catch an early flight. I spent the last hour of my flight time today reading Shakespeare Sonnets - trying to come up with some ideas for titles and projects. The fun thing about reading Shakespeare was the translations that were provided side-by-side in the edition I recently purchased. Some of the sonnets don't translate well, but some are pretty insightful and relevant to today's society. I only made it through a couple dozen, so it will take me a couple of weeks to get through the volume.

Monday, July 03, 2006

Columbia River Gorge

One afternoon of our vacation was spent in driving along the Columbia River Gorge on the old Highway that starts at Troutdale, Oregon. It's a windy, twisty kind of road. It's currently under construction, so it's also very bumpy. One of the first scenic stops is at Crown Point.

I purchased a Woodcentral hat from Ellis Wallentine at the AAW symposium. So, I'm starting a series of hat photos for my blog. This is the lookout view toward the gorge as seen from the west.


Our first walk was at Bridal Veil Falls. It's 2/3 mile loop, down from the highway to the falls. The highway passes over the top of the fall. Of all the stops on the old highway, this always seems to be the least crowded. Maybe it's because you have to go downhill to see the falls and then back up to parking lot.


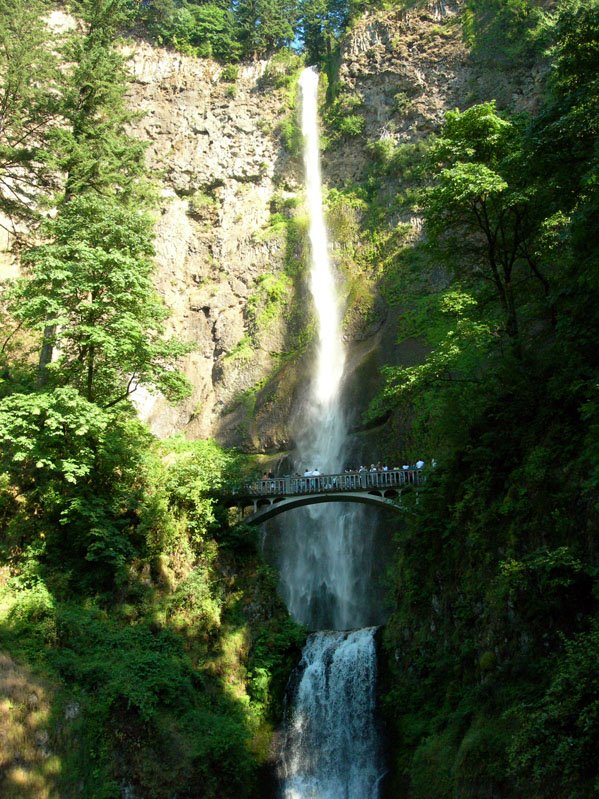
We couldn't park at the next several waterfalls, including Multnomah Falls, which is shown here to the left. We drove to the next on ramp for I-84 and came back to the freeway parking area, which was also full.

Thousands of tourists are here at any one time during the summer season. You can hardly move at the base of the falls, so we decided to take the walk up to the top of the falls. These falls are about 650 ft high and the trail is about a mile up to the viewpoint, which is just to the left of the top of the falls (at least the top that you can see here - the actual top is a little beyond what you can see in this image).


The trail is actually paved all the way to the top. I wondered about this until we had to back up to the inside wall as an emergency response team ran a gurney up the trail. Someone had fallen or done something stupid up above after we had come down from the viewing platform. That's quite an impressive scene to see when the rescue crew is jogging uphill with a stretcher on bicycle wheels.


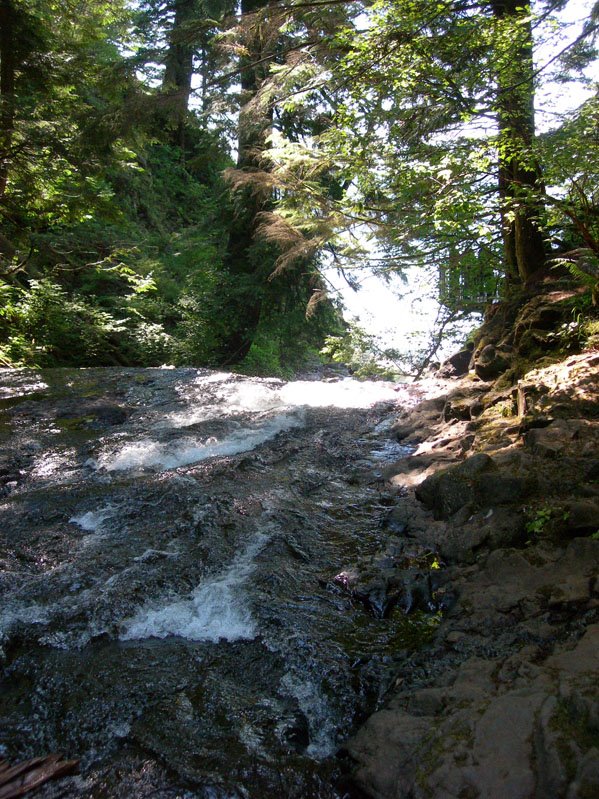
Here is the beginning of the falls - just a few meters upstream of the big drop off at the viewing platform.


Here's the view leading up to the edge of the falls. You can see the viewing platform on the right hand side.


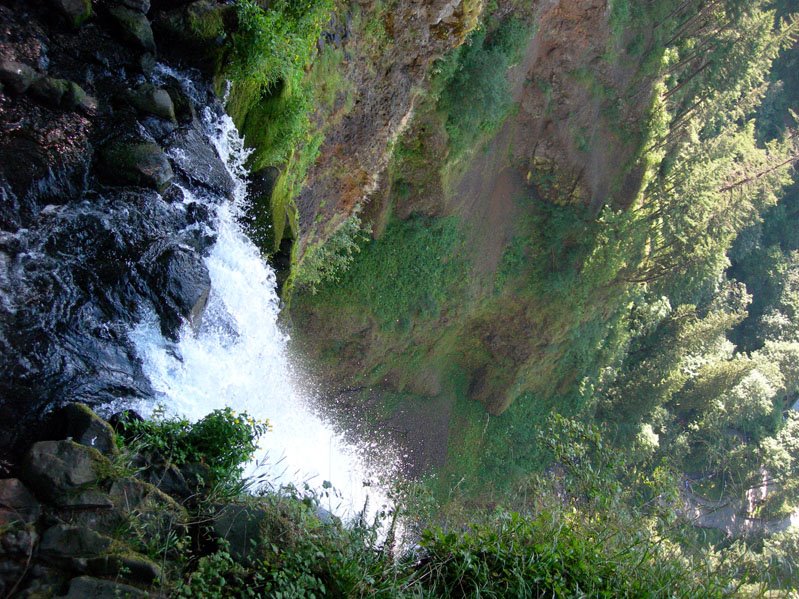
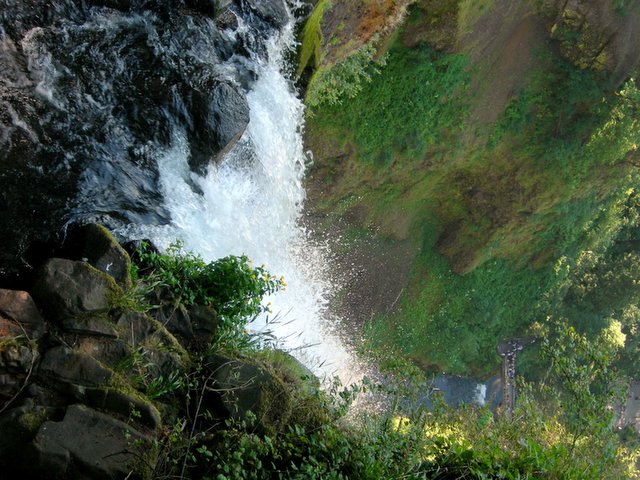
Here's the view over the top, looking down. It's a long way to the bottom.

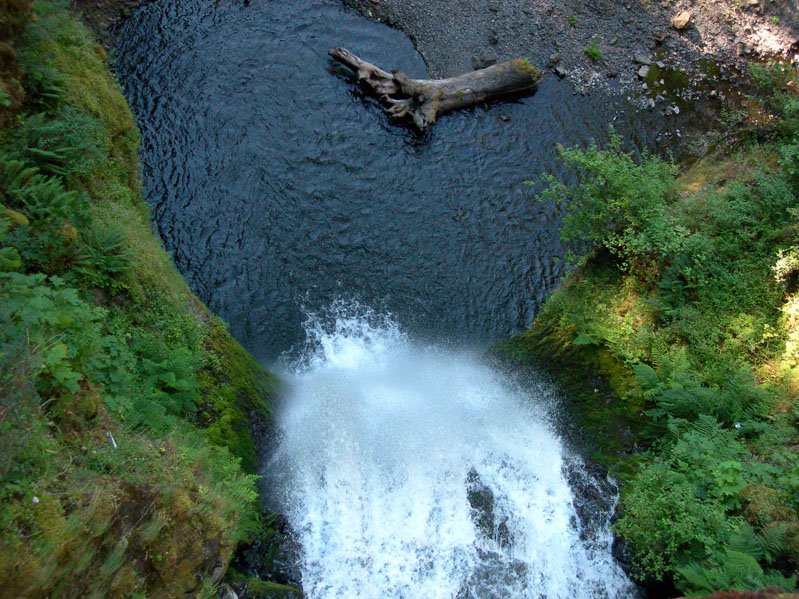
Steve has longer arms than I do, so he was able to take a picture of this view that showed the bridge over the lower falls. Check out his blog to see it.


The view down to the Columbia River and the parking area for the falls.


If you look back to the first picture of Multnomah Falls, you'll see the picturesque bridge above the lower falls. It's always packed with people, including Steve (front, right) who's looking over the falls.


This is the view he was seeing.


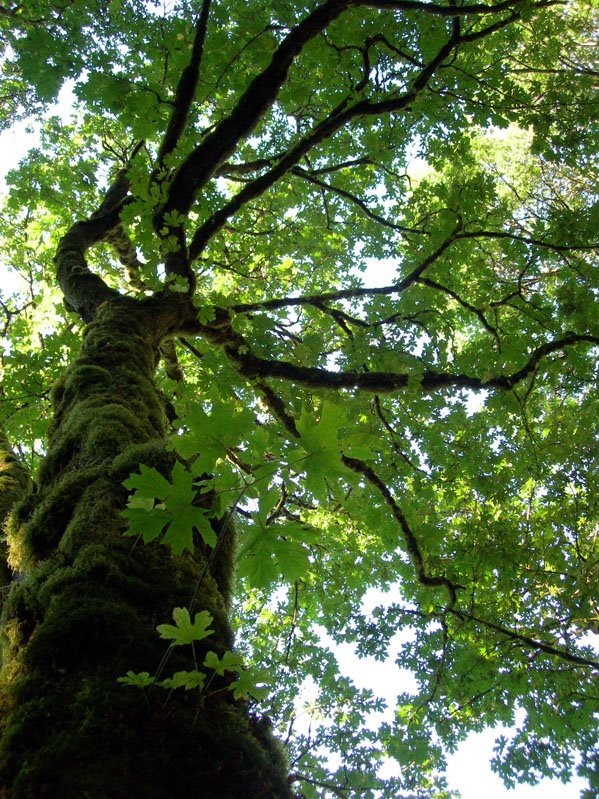
Here's my favorite woodturning tree - Big Leaf Maple. I love the wood of this tree for my leaf bowls. Look at all those burls growing on the bole of the tree!


Maidenhair ferns growing on the trail rocks.


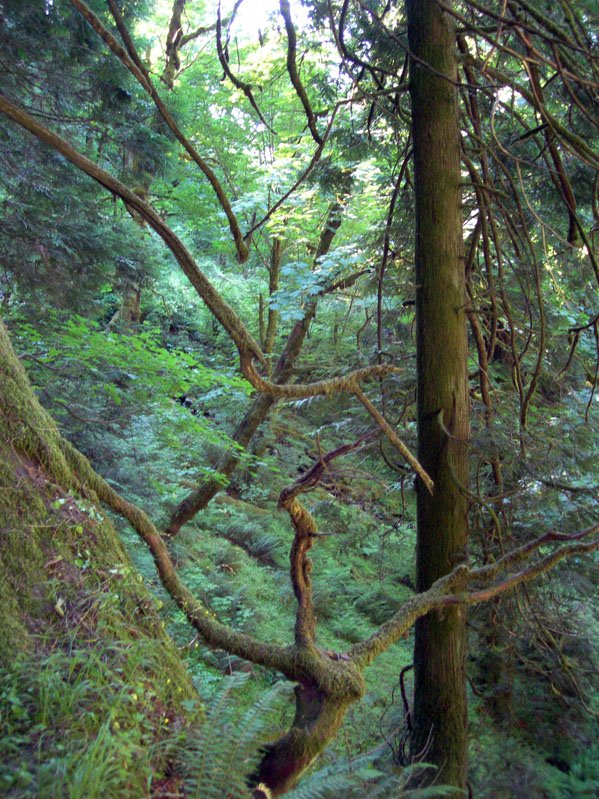
Typical scenery from the Pacific Northwest. I grew up in this kind of habitat - playing in the woods as a kid. I loved it!


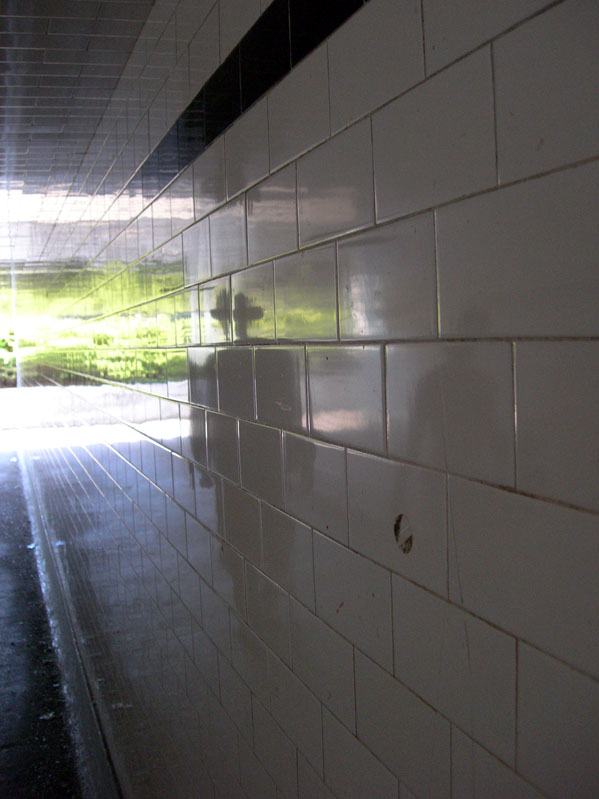
Steve's reflection on the wall of the pedestrian tunnel as we were returning to the car.

I have a few more days to spend in the Pacific Northwest. We're in Seattle, Washington for the rest of this trip. When I get home I will be taking a hands-on class with Jean Francois Escoulen, who will be visiting the Central Ohio Woodturners from July 8 - 14.