
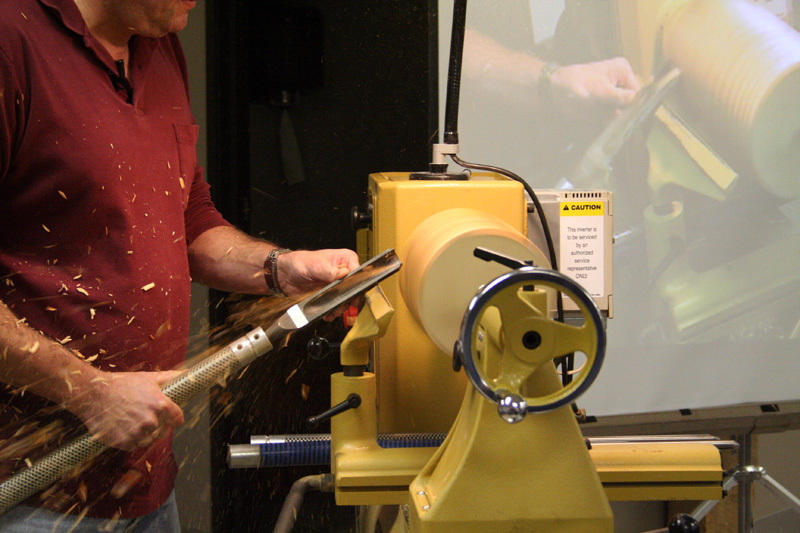
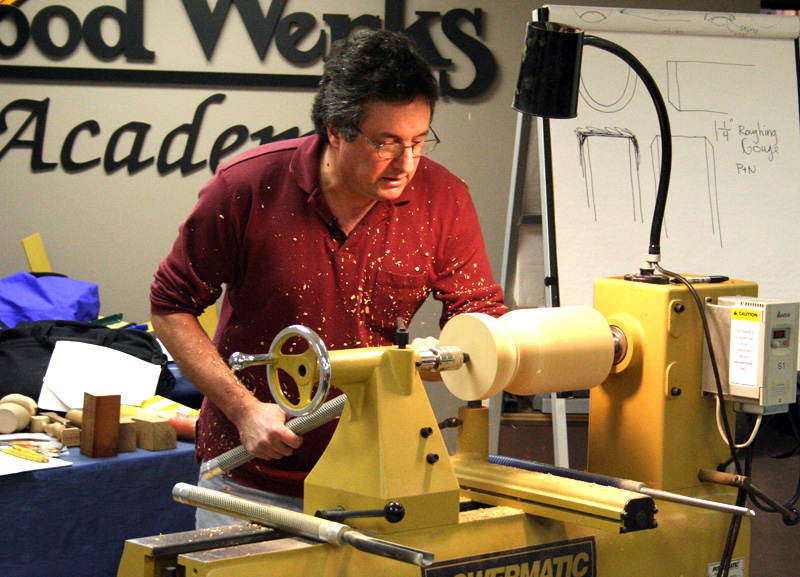
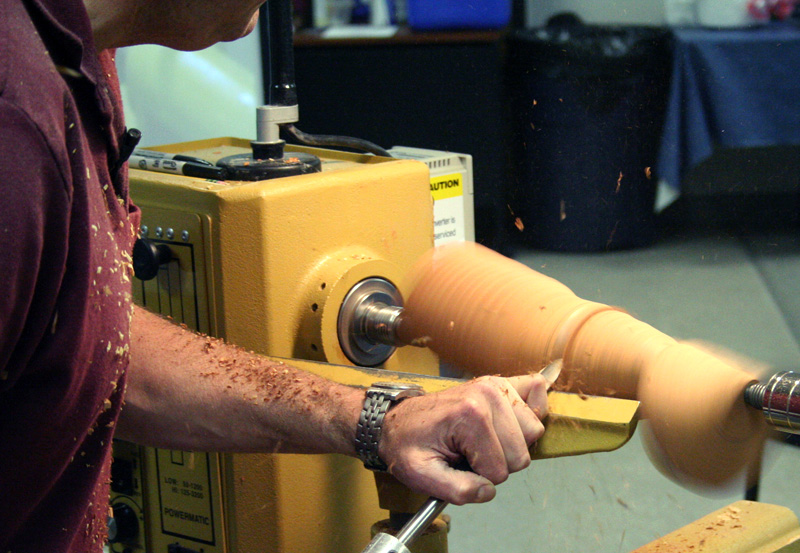
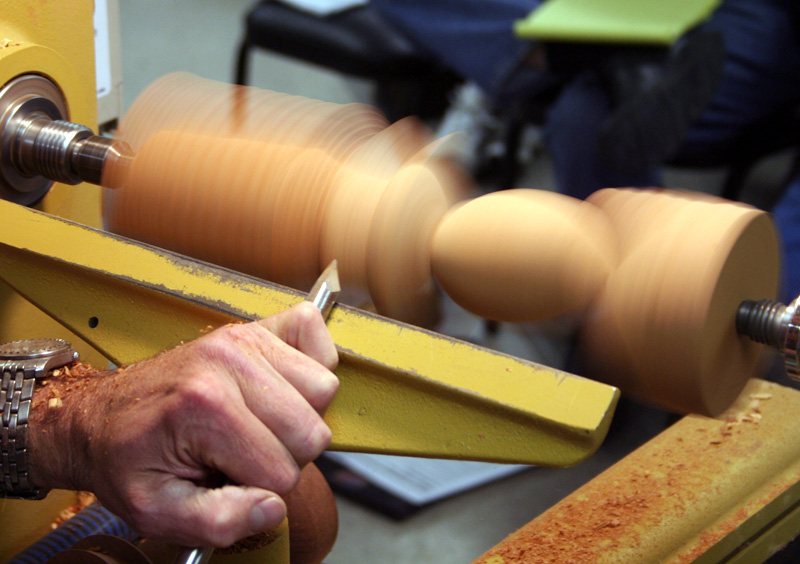
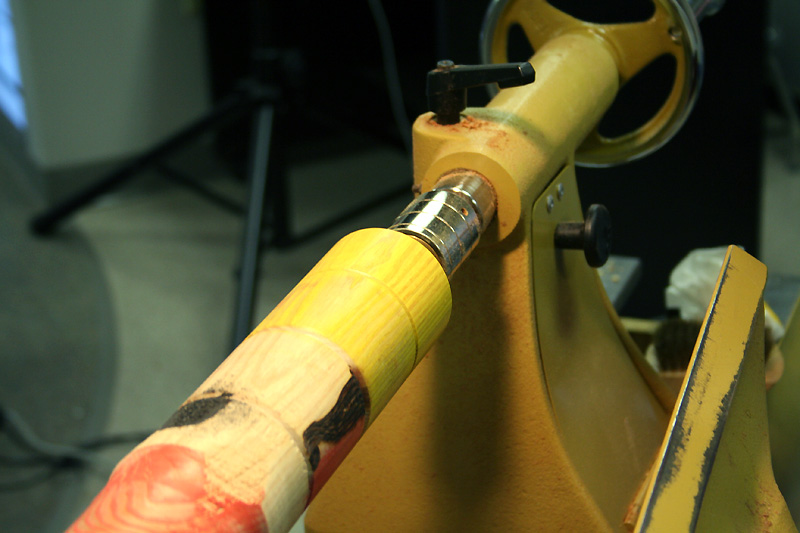
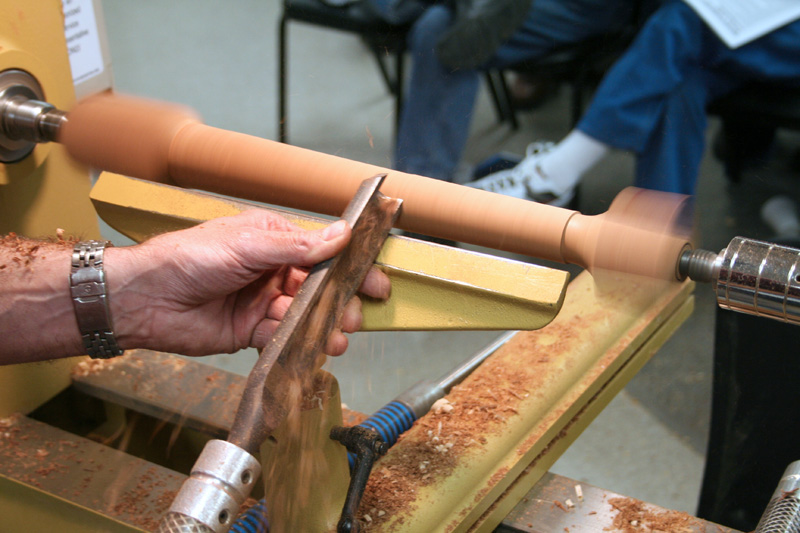
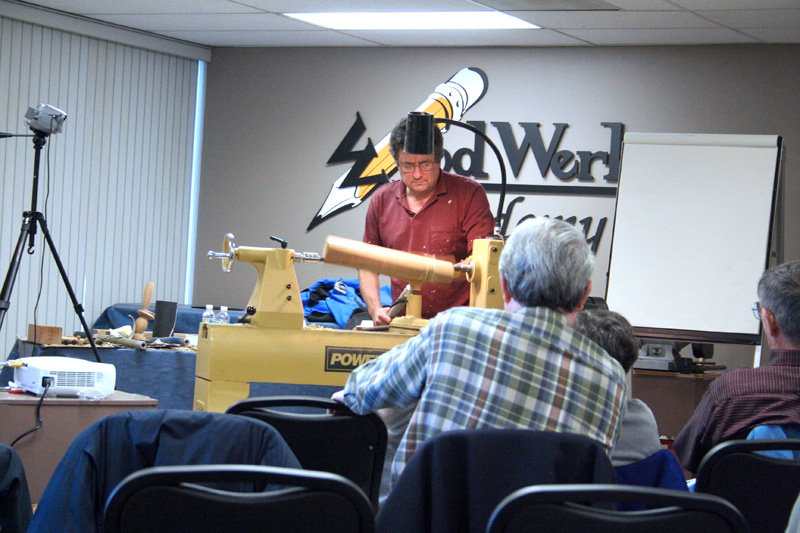
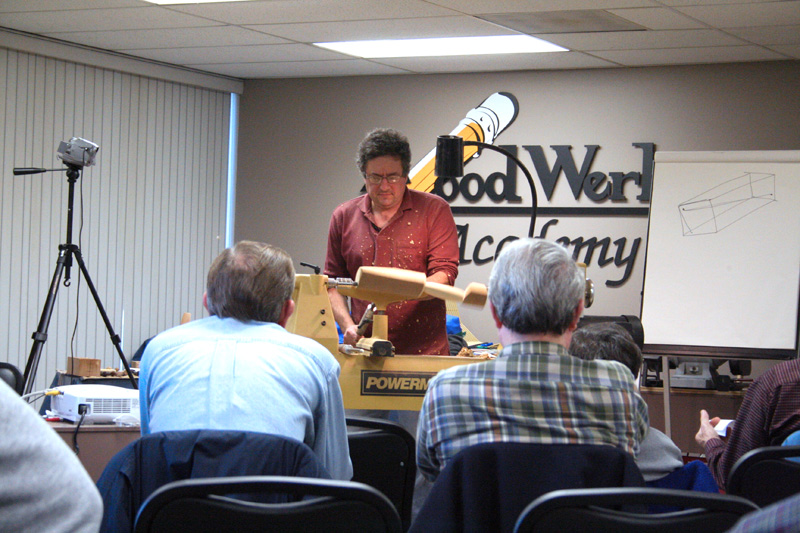
Mark is setting up the lathe for his first project of the day. The large block of wood is actually two pieces glued together with a piece of paper in the joint.
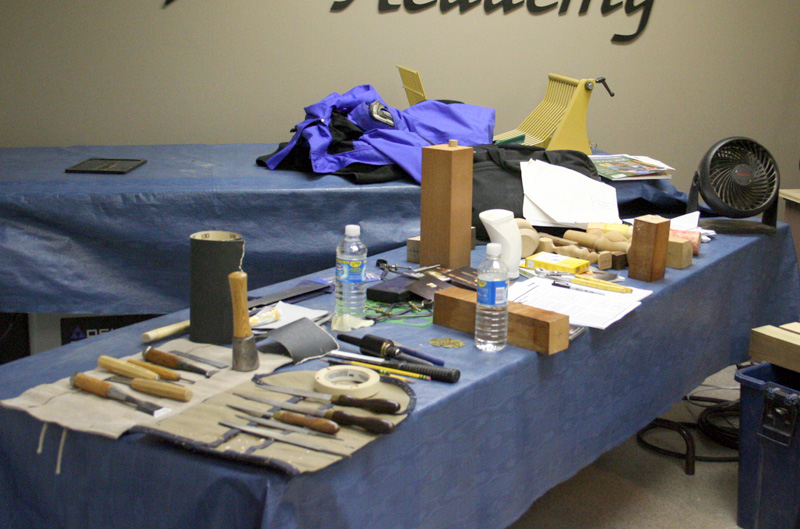
Mark's work table is the most organized of any I've seen. That probably comes from his experience as a teacher at Bucks Community College over the past two decades.
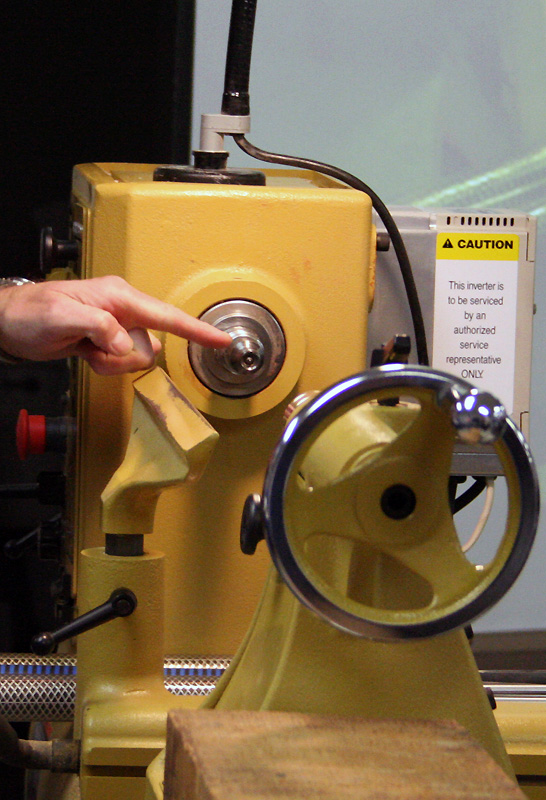
Before starting his turning demonstration, Mark reviewed some basics for our club. He uses a cup center rather than a spur drive because it's a much safer one to use for spindle turning. If you have a catch with this drive, the piece of wood will stop instead of flying off the lathe.
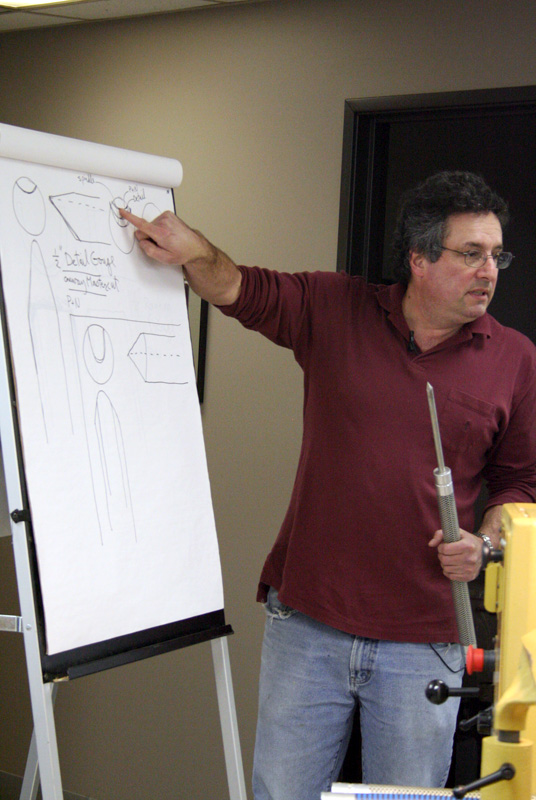
He also discussed the three tools he uses: a 1 1/4 inch roughing gouge, a 1/2 inch detail gouge, and a 5/8 inch bowl gouge. His sharpening angle is around 30°.

He showed us these angle gauges that are pretty handy for determining the bevel angle of a gouge.
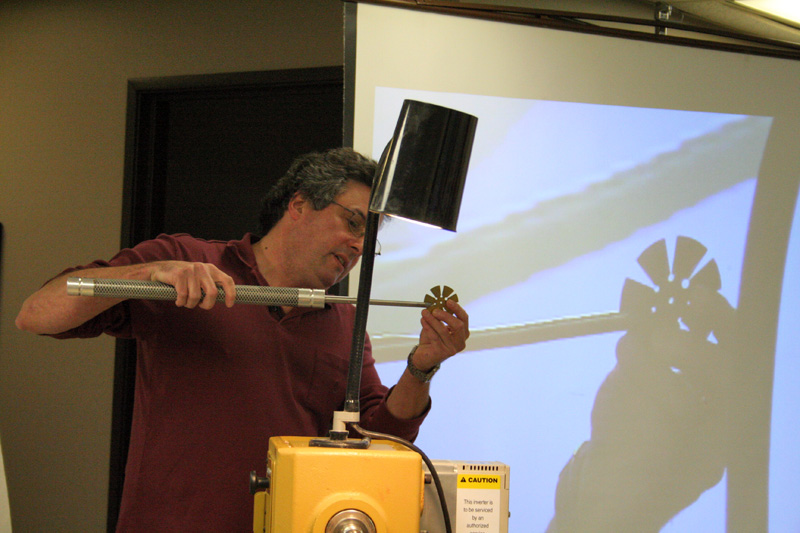
Flute side up and slide the tool into a slot to check the bevel angle. Pretty simple.
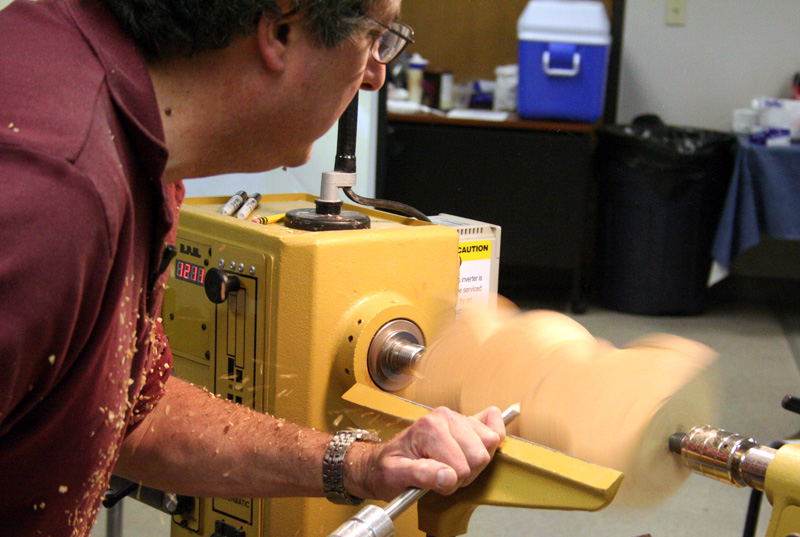
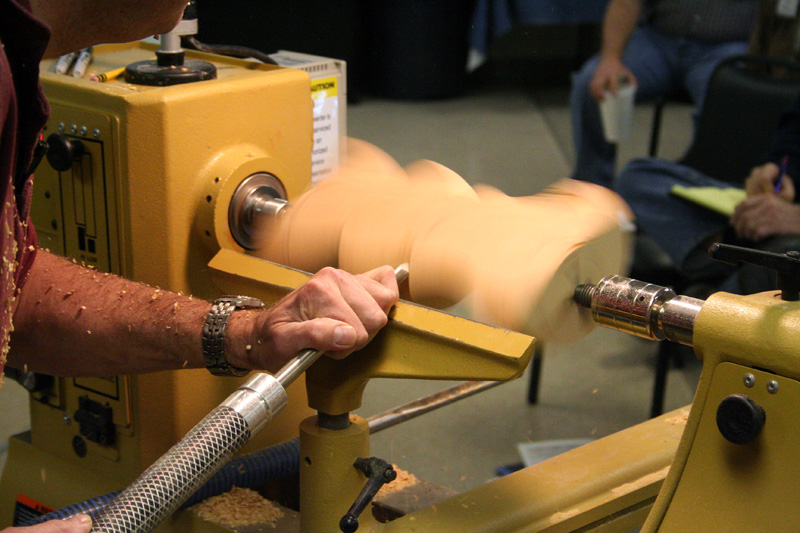
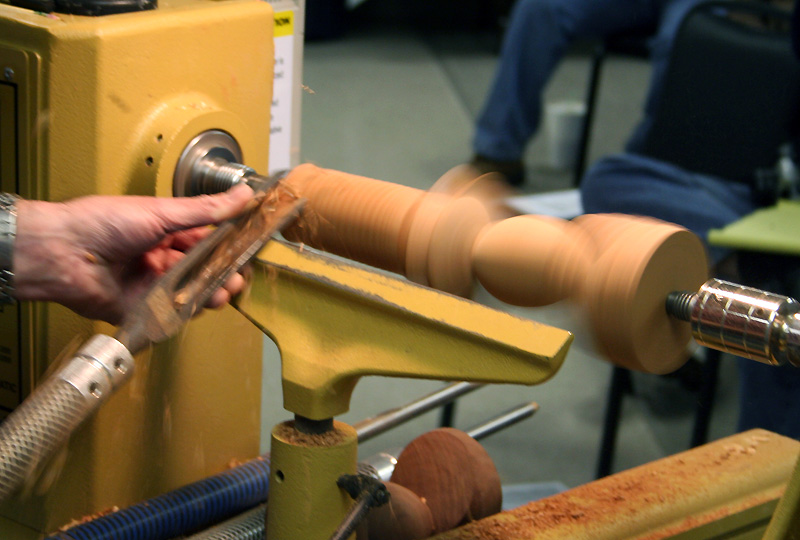
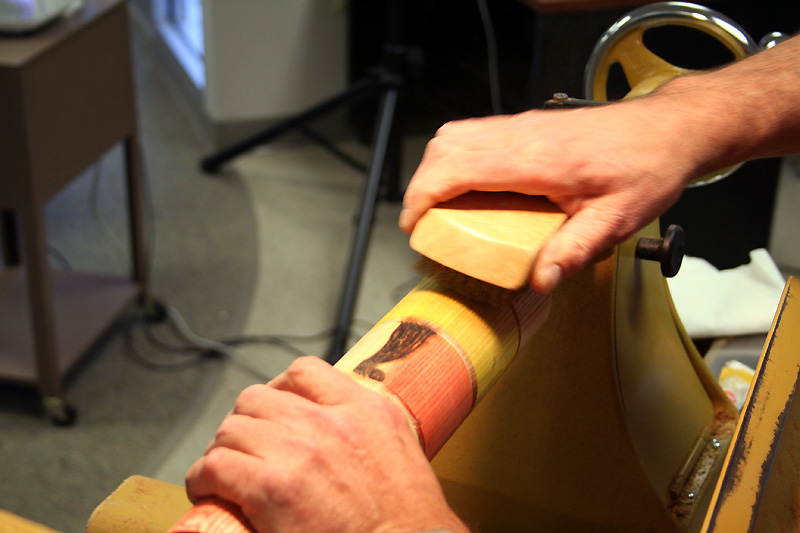
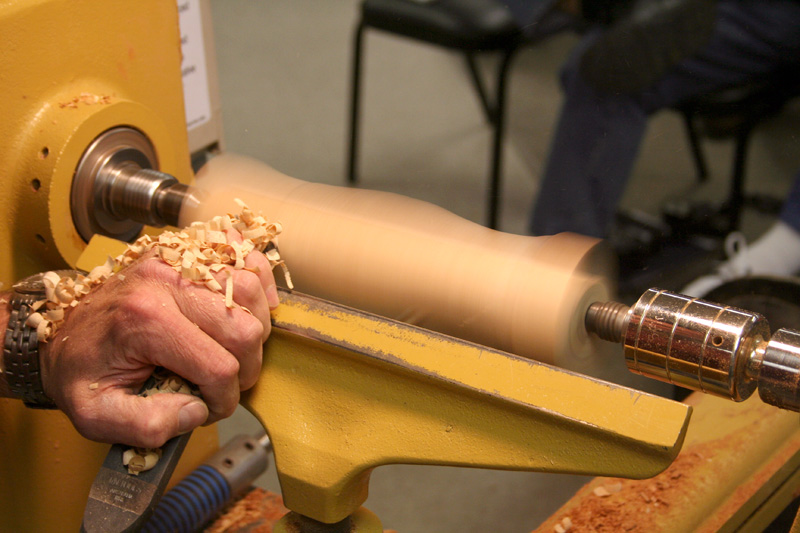
The first project starts with the use of the roughing gouge.
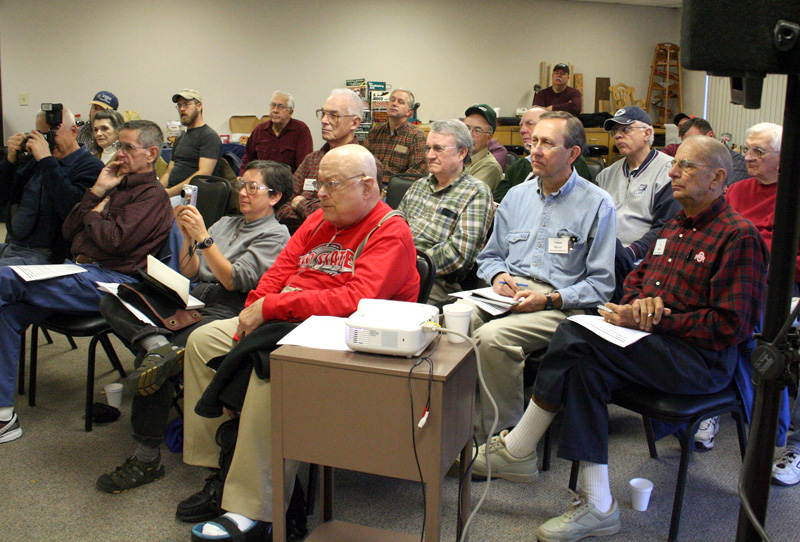 We had about 30 (of our 200+) members in attendance. I'm not sure why it is that most woodturning club members don't jump at the opportunity to attend an all day demo with a pro, but it seems to be a national trend. We charge $25 per person for an all-day demo, and that includes lunch. Given all the novel techniques and projects demonstrated by our pros, that price is a real bargain. Oh well, the smaller group makes for a more lively interaction with our guest turner.
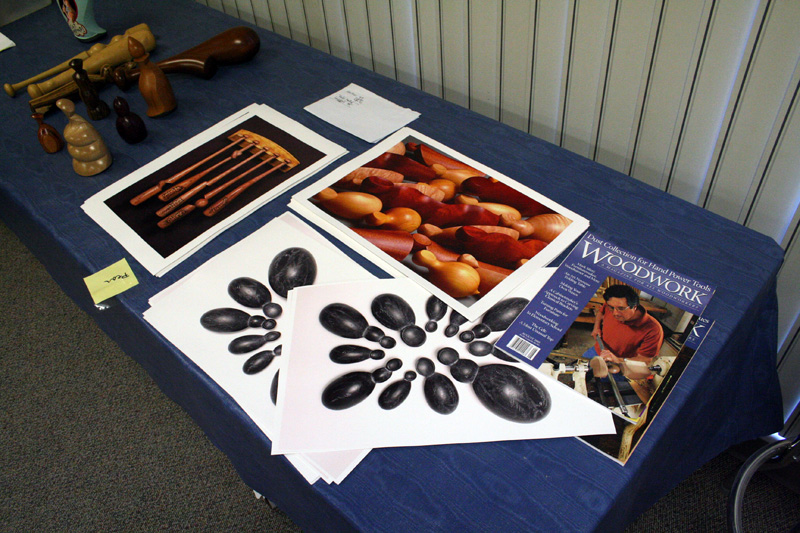
Mark brought an assortment of items for sale, including these lovely posters of his work and a couple of different issues of Woodwork Magazine. One of these included a feature story on Mark and the other had an article he wrote about this past AAW symposium.
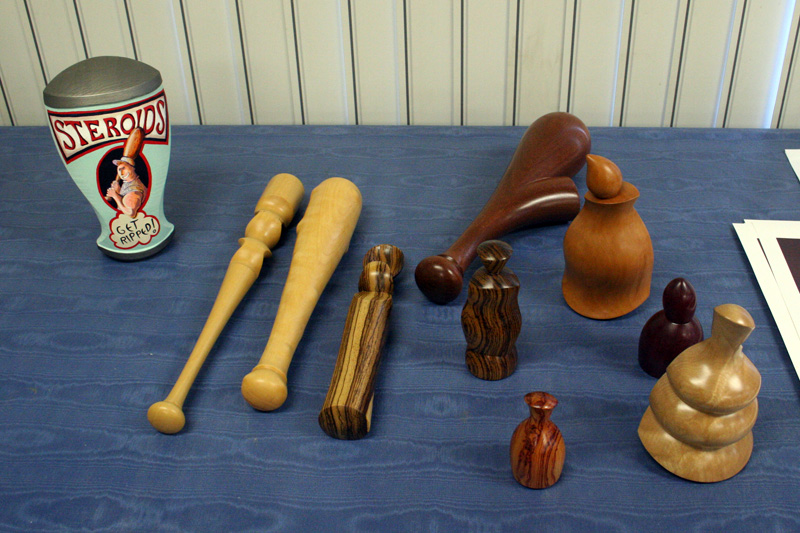
Here are some of the turnings Mark brought that were for sale.
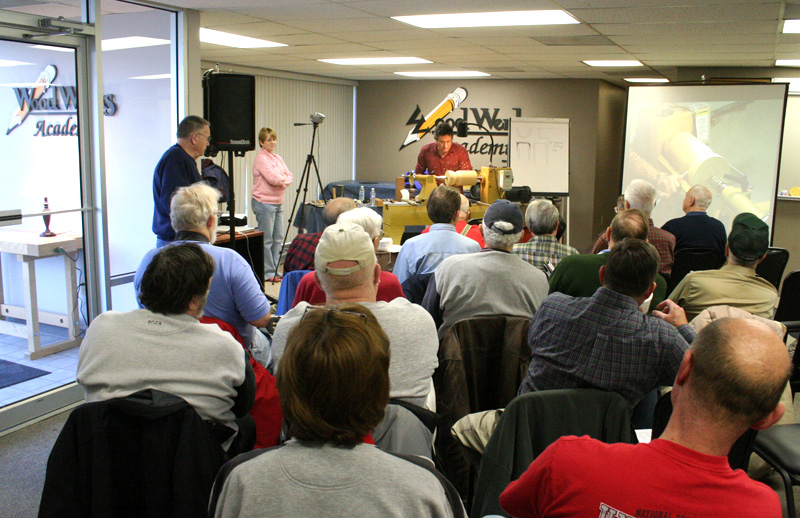
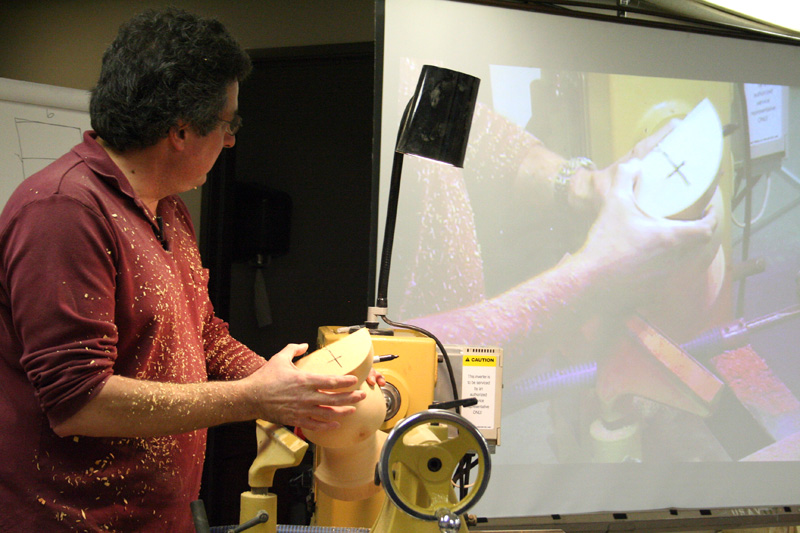
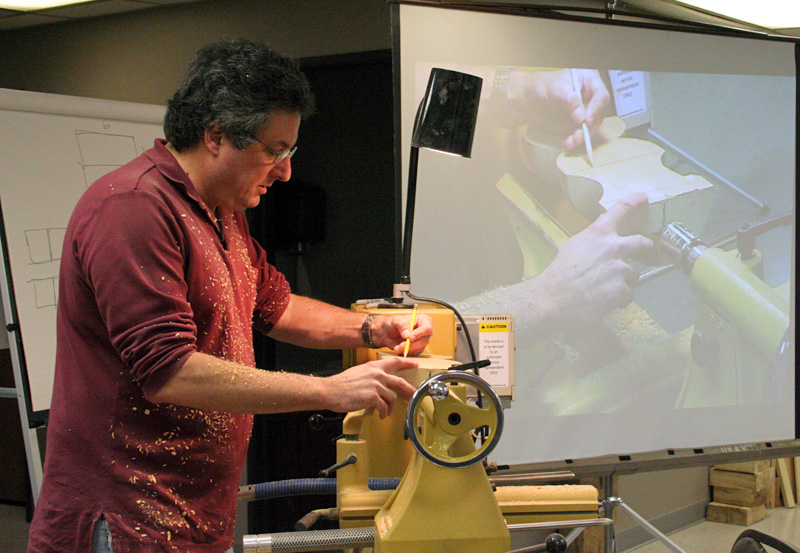
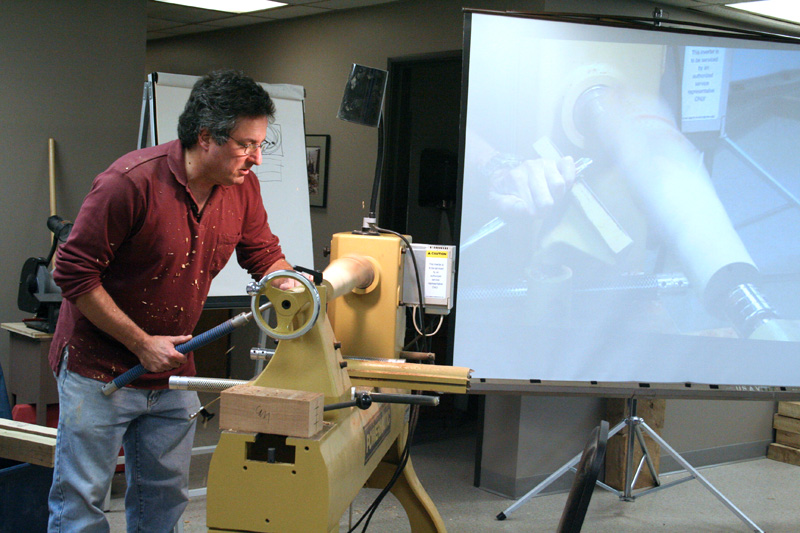
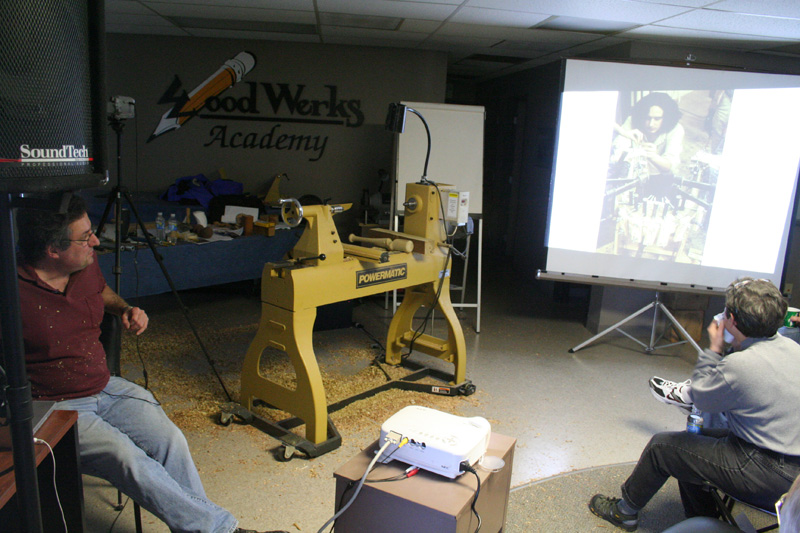
The classroom at Wood Werks is really a nice demonstration space. We used our new LCD projector to give everyone in attendance a good view of the details. Barbara Crockett did an excellent job on the camera. Thanks, Barbara!
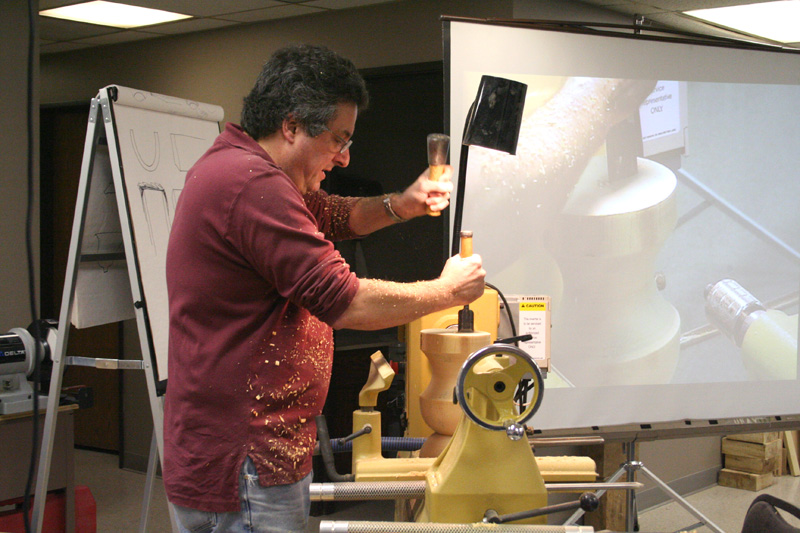
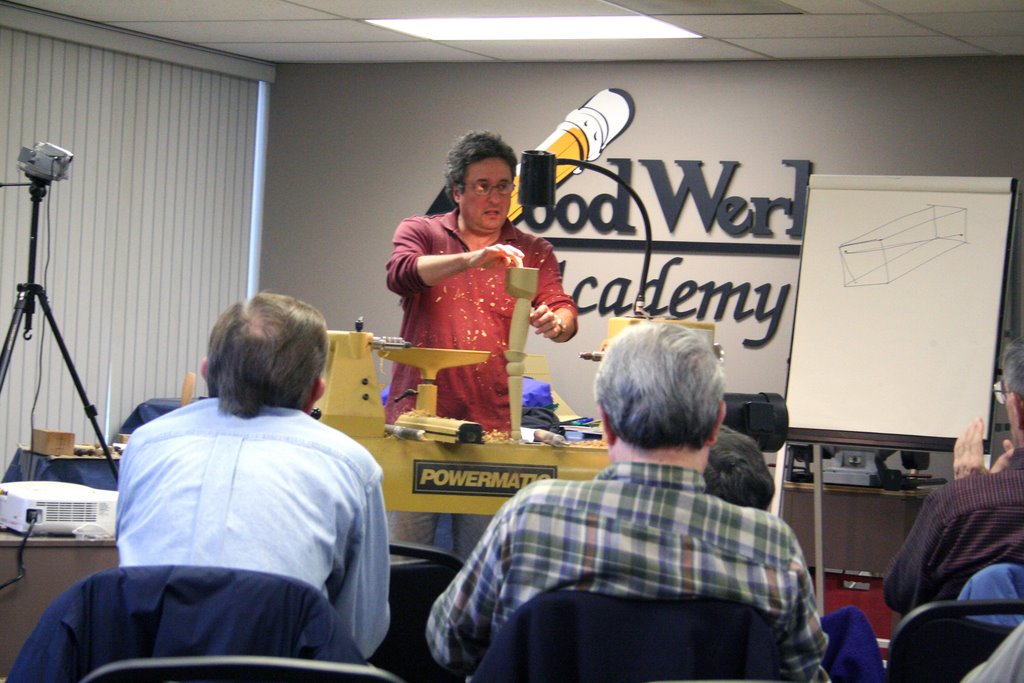
The first project Mark did started with a cove and two beads.

You can see a glimpse of what is being projected on the big screen next to Mark.
After the outside turning was complete, Mark split the glued up block along the glue line. Having a piece of brown wrapping paper between the two halves made this task much easier.
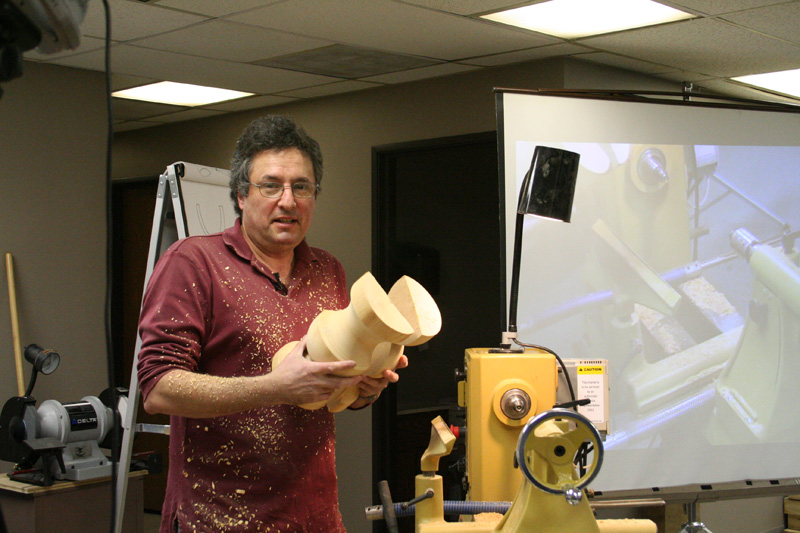
I asked Mark to explain the paper glue joint and he said, "You use paper and glue and stick them together." That was the sarcastic answer. He then went on to explain that you have to spread yellow glue thoroughly on both halves of the block and then add the paper. The joint is held together with clamps. He also talked about how the sides that are being glued have to be flattened on a jointer.
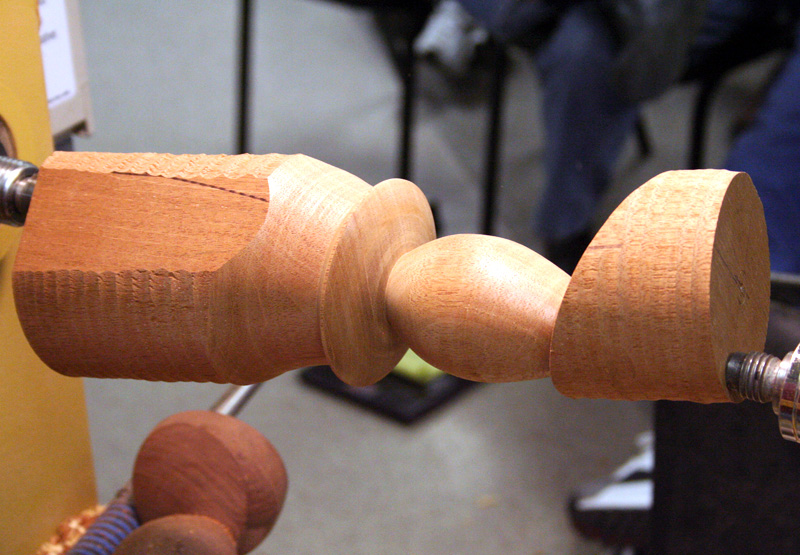
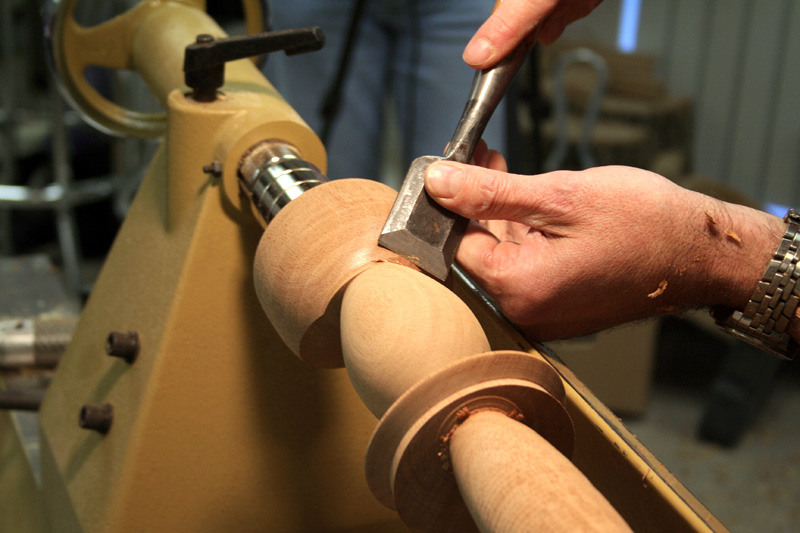
After the glue joint is split, each half can be turned, either on the balanced center or on an offcenter axis.
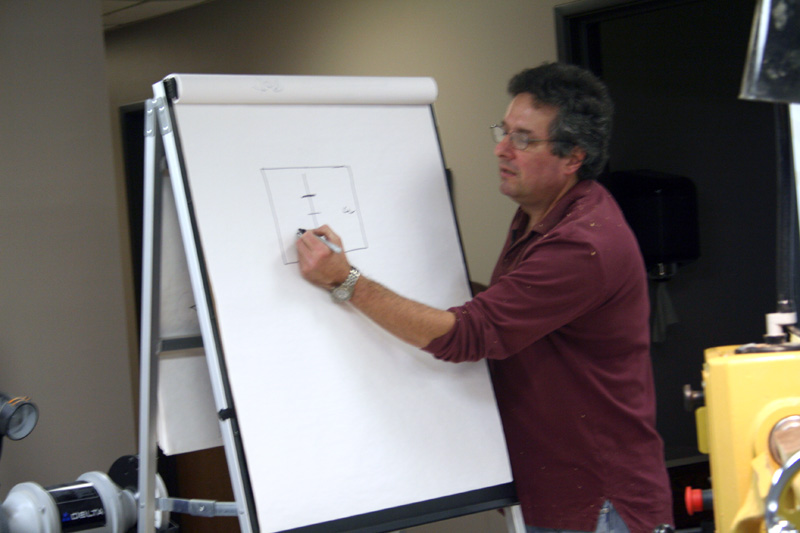
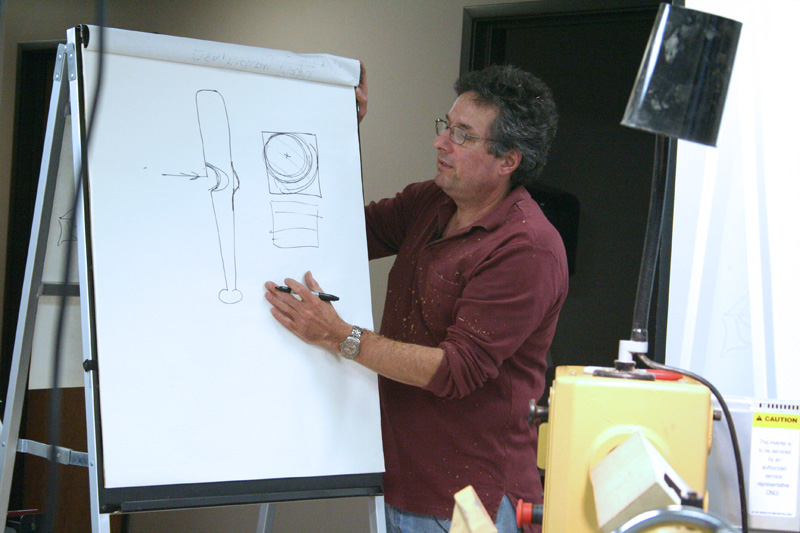
Mark sketched the outline of the profile he intended to turn on this piece.

The profiles to be turned are two large beads that will separate the previously turned elements.
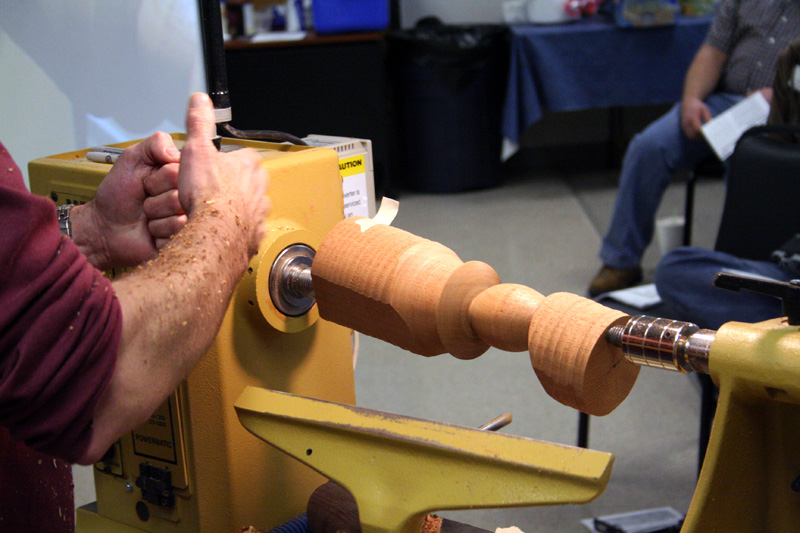
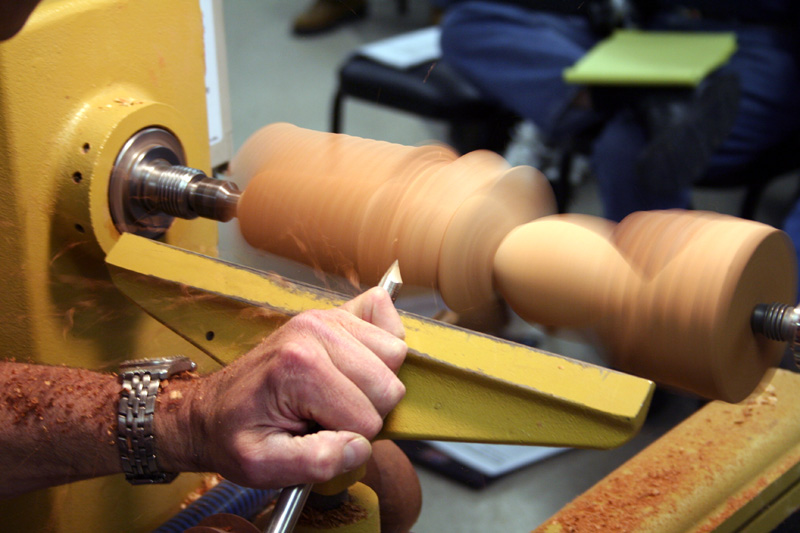
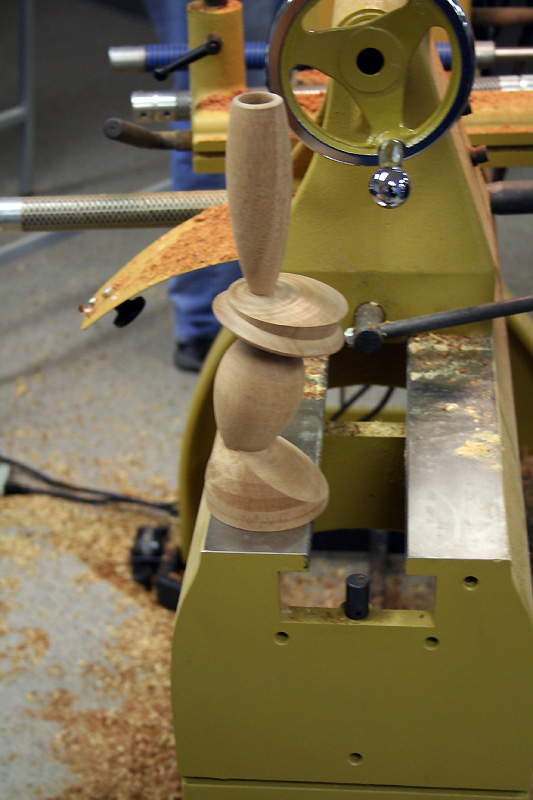
The shadow lines are where you see the profiles emerge.
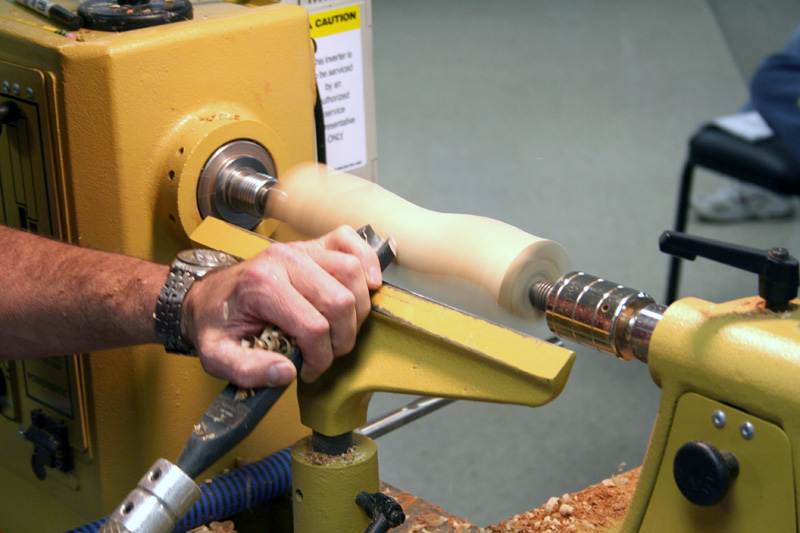
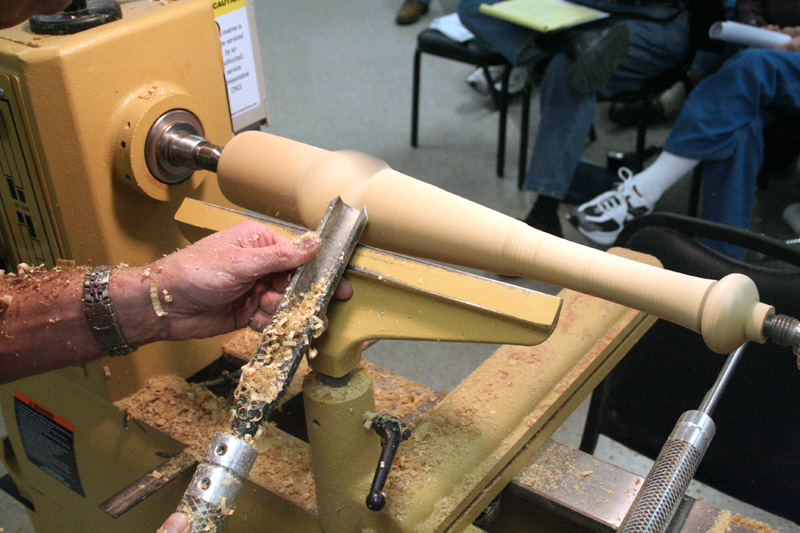
You can see the profile of one of the beads he's turning. Given how narrow the blank is, there's a lot of empty air in each rotation. You have to have a gentle pressure on the bevel. Most of the pressure is down on the tool rest and the bevel floats into the cut rather than rides on the wood.
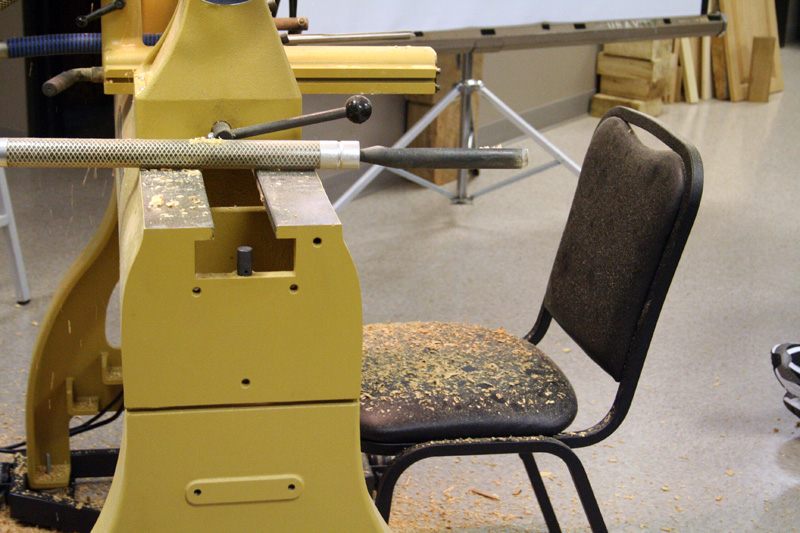
This chair was used as a backdrop for visualizing the shadow lines. Mark said that he uses a dark background for light colored woods and a light background for dark colored woods.
The original profile is on the left and the one he just turned is on the right. Wow, what a difference! This technique is useful for architectural or furniture turnings where you want a feature that can be mounted flush against a surface.
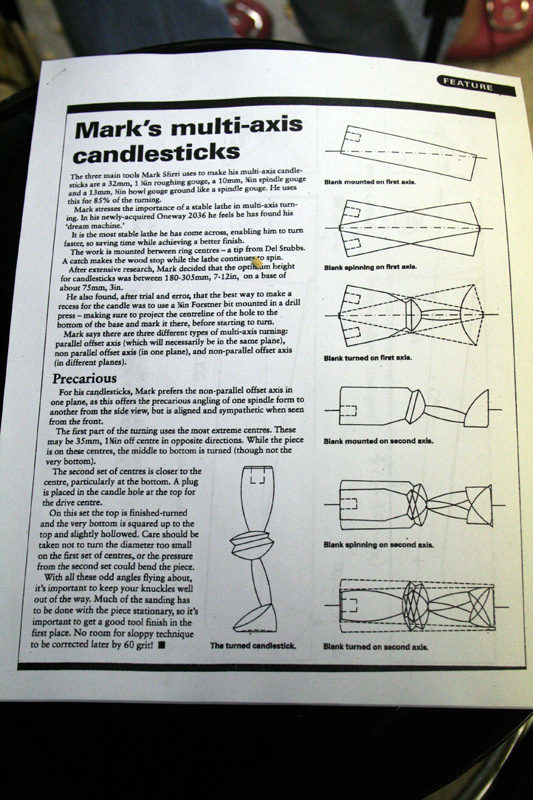
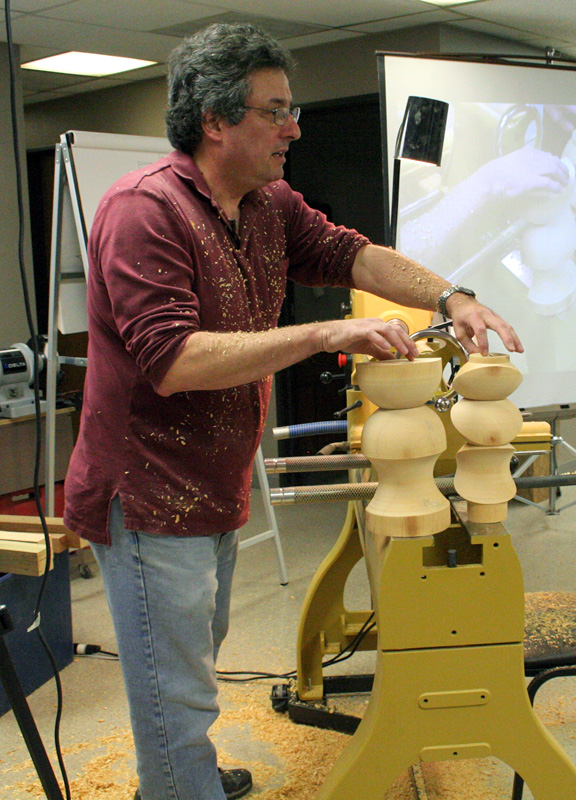
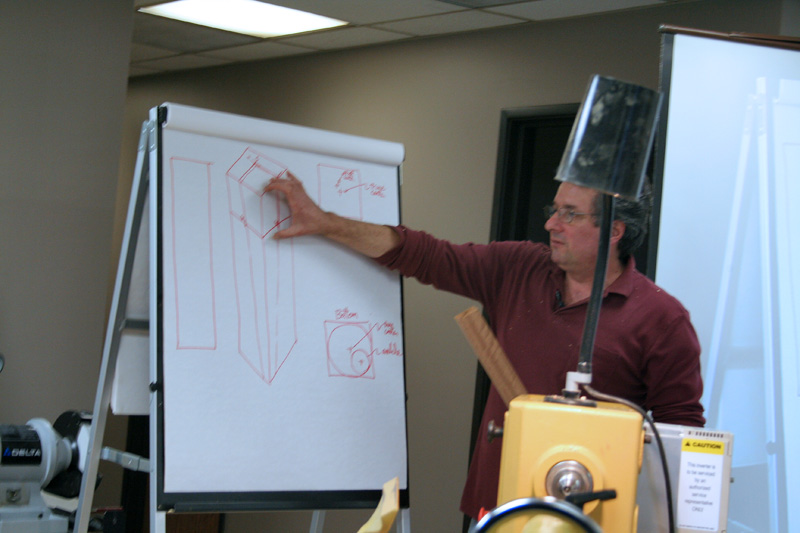
Mark's second project was his signature off center candlestick. He provided a very nice handout that included step-by-step instructions for this project as well as layout diagrams for other projects, finishing techniques and tips, and a very thorough resource list.
The candlestick is turned on two axes. The blank is prepared by drilling a hole the diameter of the candle. This is at the angle of the second axis relative to the blank of wood. A dowel the diameter of the hole is inserted there for mounting the blank on the second axis.
The first feature ring is also turned on the first axis as is the bottom of the second feature ring.
Here's what it looks like after the first axis has been turned.
Before sanding, Mark put a piece of masking tape on the headstock end of the turning. This end has the wildest swing of rotation, and it will definitely bust knuckles if your hand contacts it while sanding. However, if you have a piece of tape flapping about, you have a bit of warning to move your hand away.

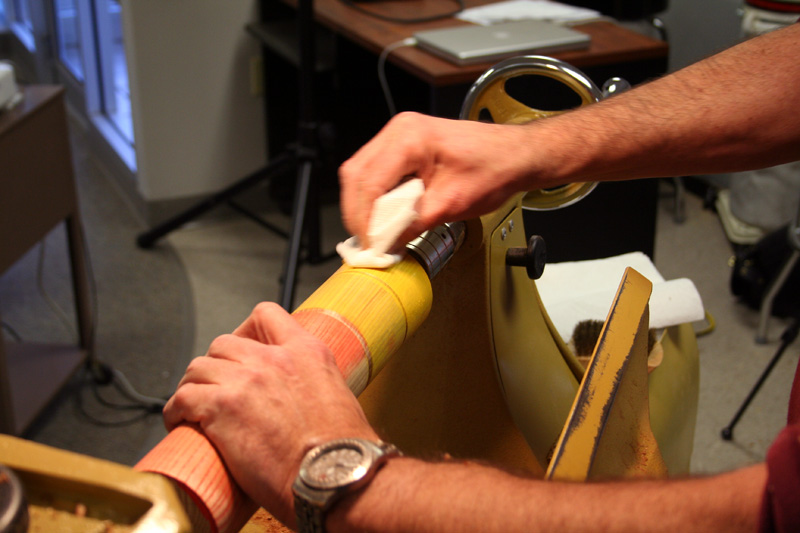
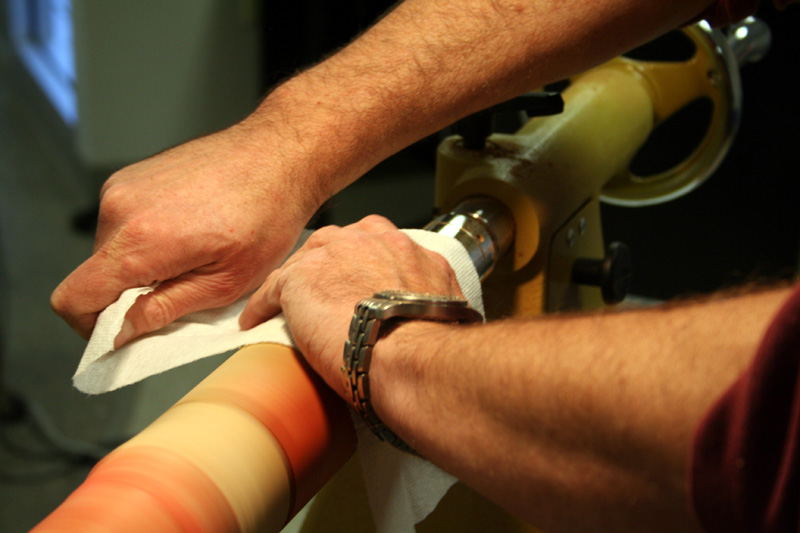
Mark sands up to 400 grit and then uses a mix of a tung oil and tung oil gel.

"Sit, stay!" Actually, he's pointing out something on the turning, but it looks like he's reprimanding a bad dog here.
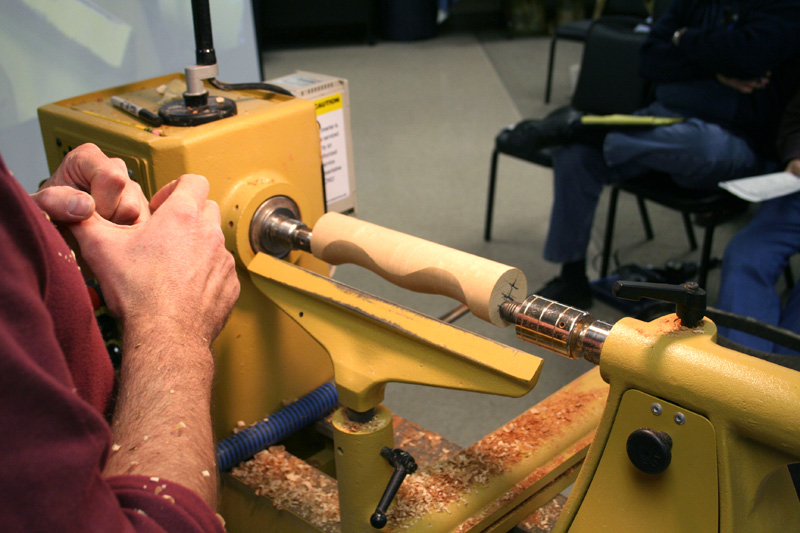
The blank is moved to the second axis, which is in line with the dowel in the middle of the candle hole.
The top of the second feature ring is turned first on this axis.
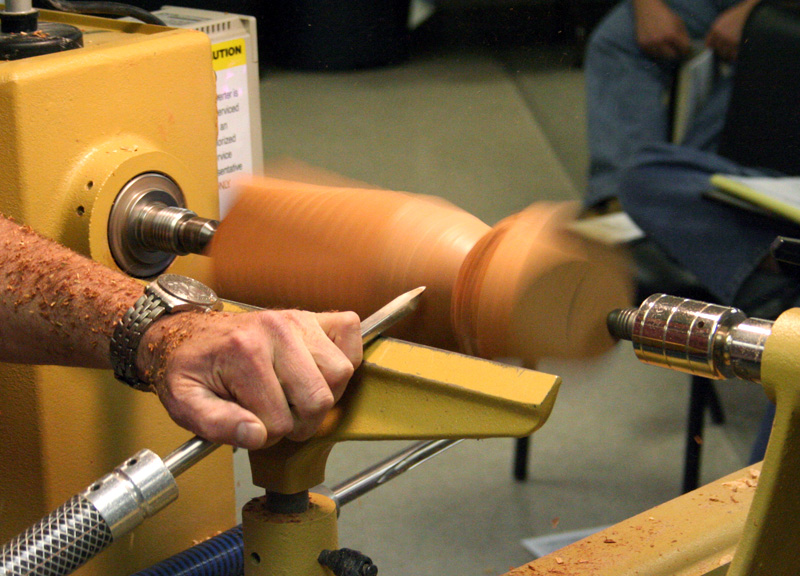
Then the rest of the candlestick is rounded with the roughing gouge. Much of the shaping is also done with this tool. The base is rounded over on the top side to meet up with the previously turned feature.
The problem with turning the base curve on this axis is that you can't make the two curves match via turning. You have to do just a little bit of hand carving to blend the two curves together. Mark used a 3/4 inch flat chisel. The turning was secured with the spindle lock.

The top section of the candlestick has the last bit of shaping done. You can see the dowel sticking out from the top of the turning at this stage.

A small nub is removed from the base with a flush-cut saw. The base has been slightly undercut and the saw can flex into the shape to saw off the nub close to the base.

Whatever is left can be easily removed with a small carving gouge that has a slightly curved profile. Notice how Mark's hand and fingers are safely out of the way. The cutting motion is similar to a paring slice rather than a push through cut.
Here's the finished candlestick.
Mark then did a quick coloring demonstration. He brushed along the grain lines of a turned piece of ash using a brass wire brush - the kind you would use to clean a barbque grill.

Oil paint from a tube is squeezed onto a cloth,
and rubbed into the grain of the wood.
The paint is still wet at this point.
A soft cloth or paper towel is used to buff the paint dry and into the wood.
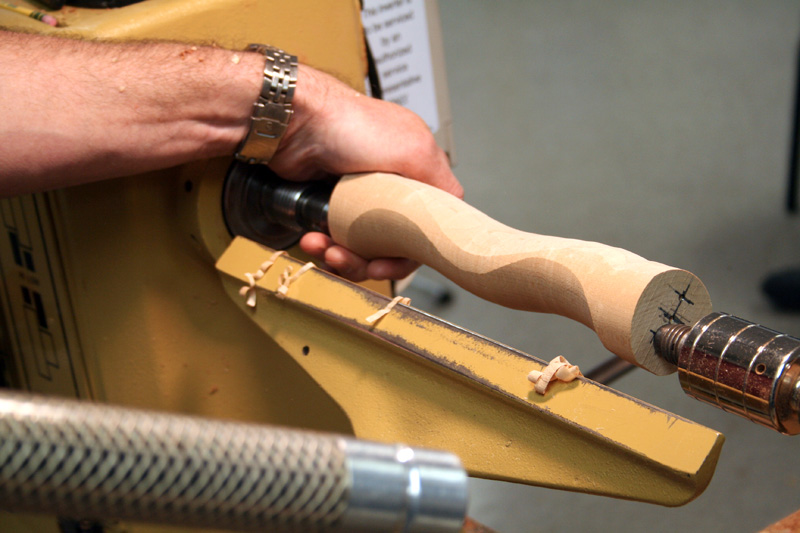
Next project: A wave form. This is turned on two axes.
The first axis is in parallel on one outside edge. A bead is turned in the center and two coves on either side blend into the bead.
The profile and orientation of the axis is pretty clear in this picture.

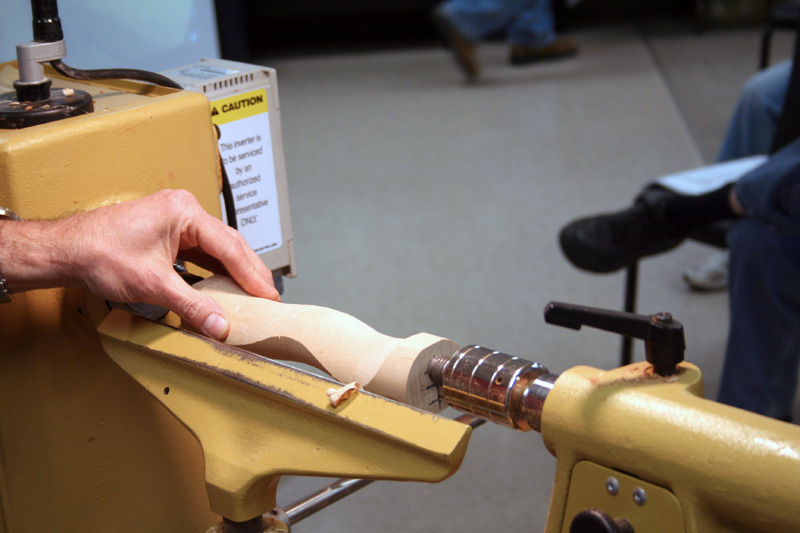
The second axis is on the other edge of the blank. A cove is turned where the previous bead was turned on the original axis and beads are turned at the places where the coves were previously turned.
You can see the shape emerging here.
It's getting close here.

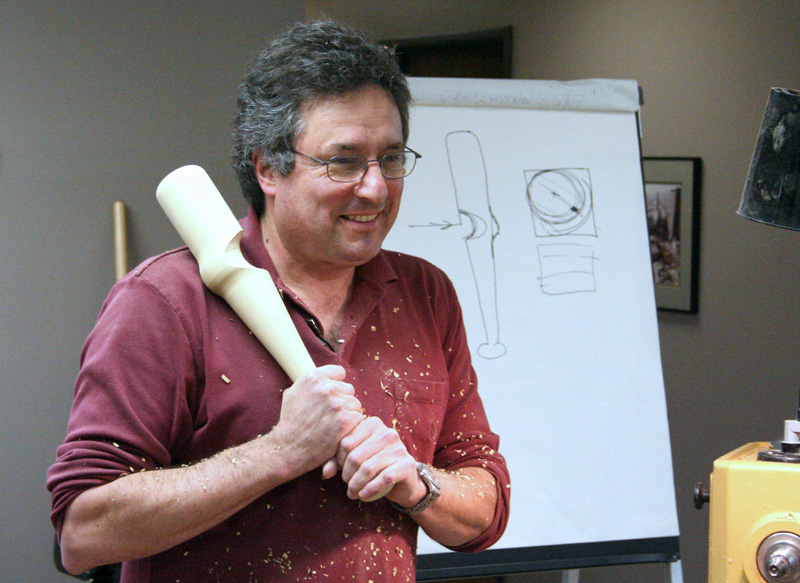
Mark showed a photo of his "Rejects from the bat factory" where one of the handles includes this sine wave motif.
There's the form.

The wave form can be refined with a bit of shaping with a hand file. Mark uses some handmade Auriou rasps from France. These are the same ones Jean-Francois Escoulen used in his demos.
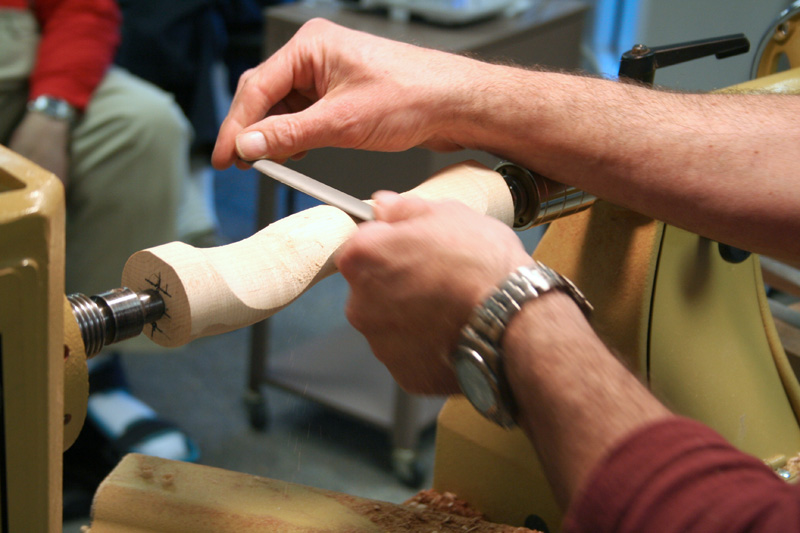
Mark used a small, fine Auriou rasp to refine the curve.
Another project was a classic cabriole table leg. This is also turned on two axes.
The roughing gouge is used for most of this project.
Hmmm, I think this is project number 6 for the day: Mark's signature warped bat, one of his "Rejects from the bat factory." This one has a dent in it.
This is also turned on two axes. The dent is turned on the first axis.
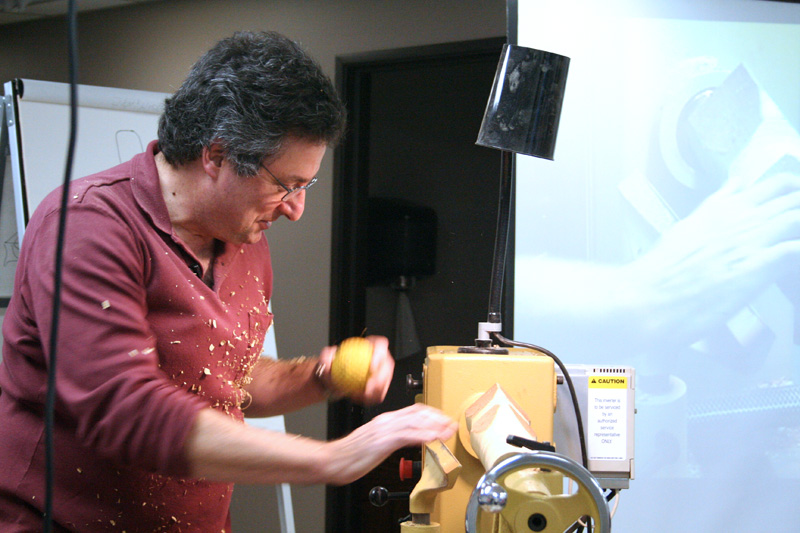
Mark checked the size of the dent with a baseball-sized ball.
The bat shape is turned on the second axis and the bump on the other side of the dent is turned as a bead.

The nub is removed with a Japanese pull cut saw.
Batter up!
Mark did a short slide presentation to show us some of his work: furniture and turnings, plus some of his students' work. The first slide was of Mark many, many moons ago as a young lad with long hair, working on his degree from the Rhode Island School of Design.
Last project of the day was an offcenter table leg. This is turned on two centers and I'll have more details on this in the next blog post from my Sunday hands-on class.
The top of the leg is turned on the first axis, including the pommel cut where the apron of the table will fit into or around the tops of the legs. The features that join the two axes are turned similar to those of the two-axis candlestick.
Here's the finished leg. Thanks, Mark, for a wonderful demonstration. We all enjoyed your visit!


No comments:
Post a Comment