Tuesday, July 18, 2006

Jean-François Escoulen class - Day 5

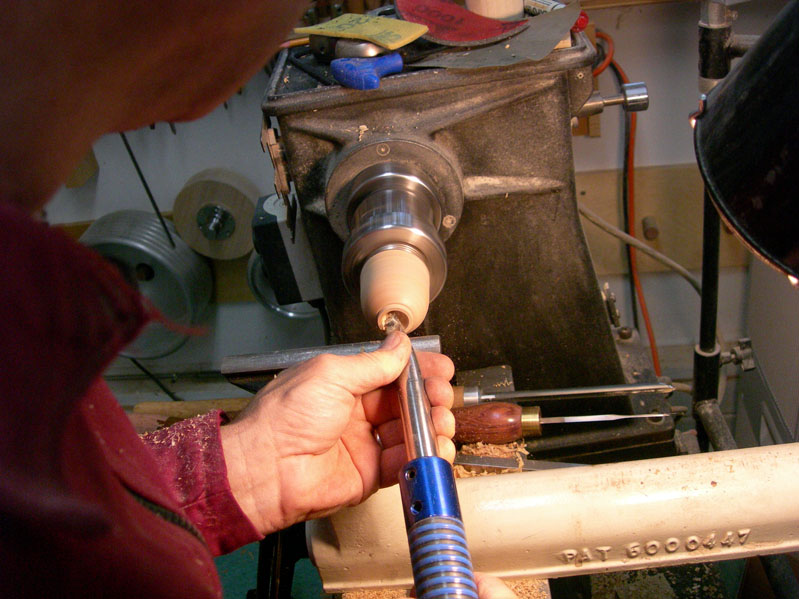
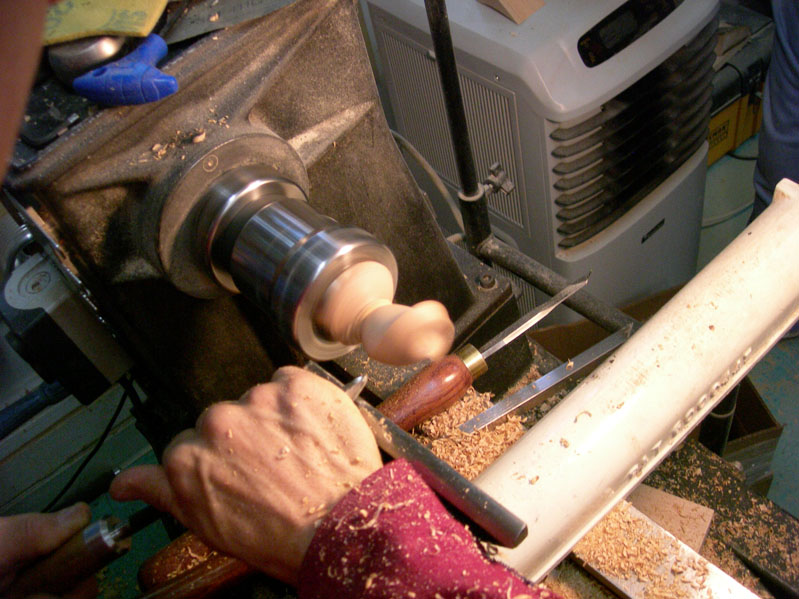
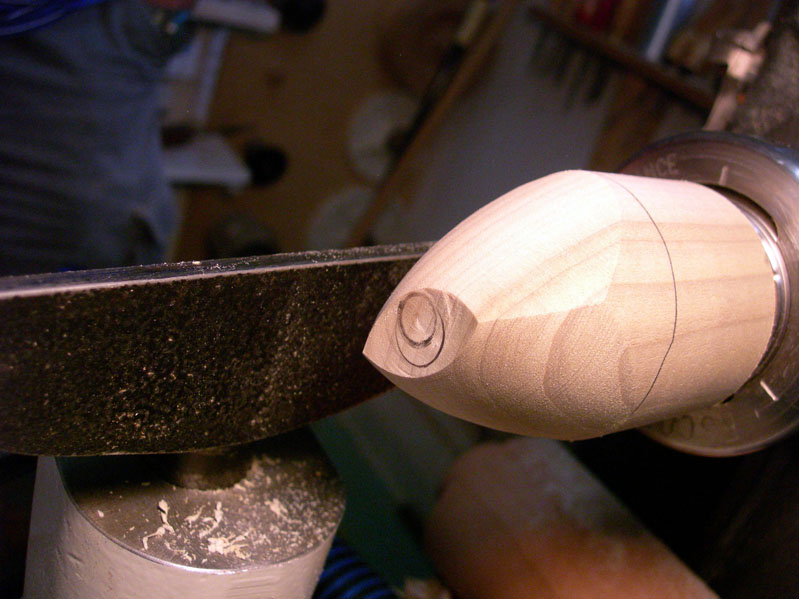
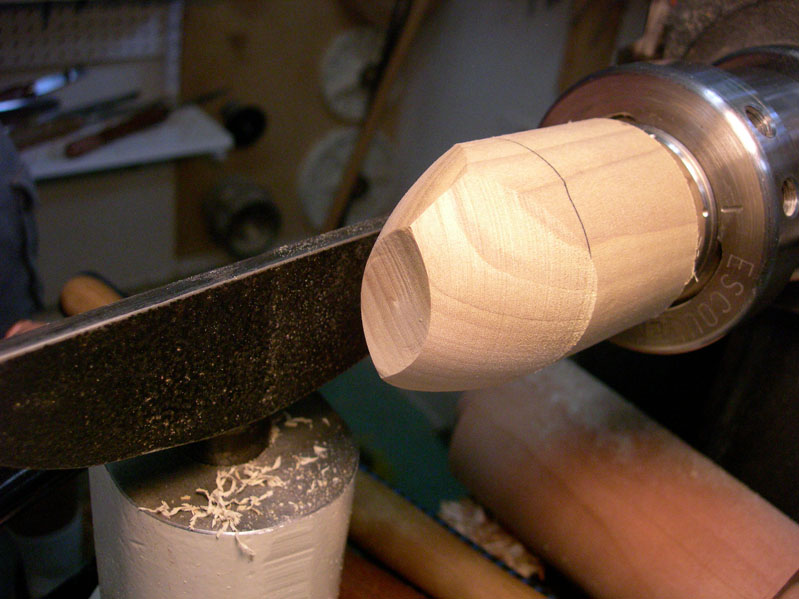
Friday was a day to try all the different techniques we had learned from the first four days of the class. Jean-François began by doing a demonstration of a simple two-axis box. This starts between centers and stays on the first axis until the final shaping of the lid.

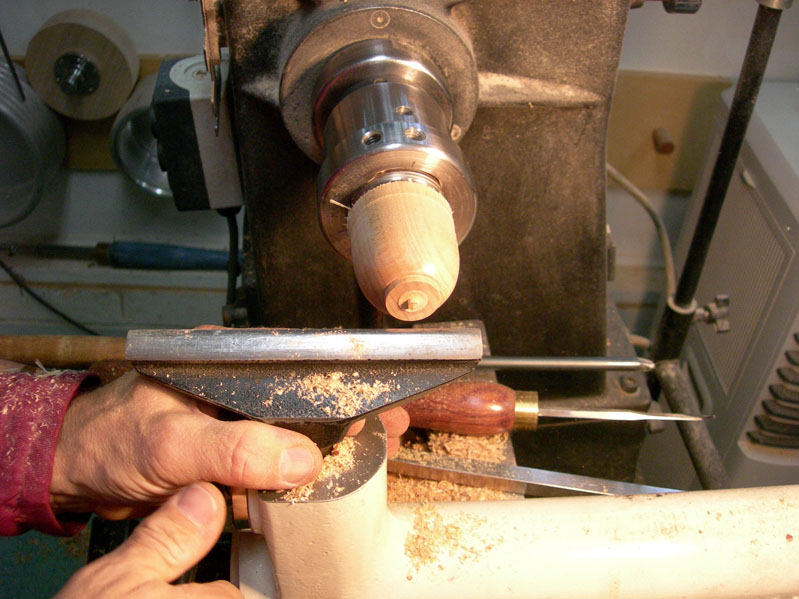
The two tenons are made to fit into the Escoulen chuck. I don't think I mentioned before, but you wet the tenon before pushing it into the chuck using the tailstock as a lever.
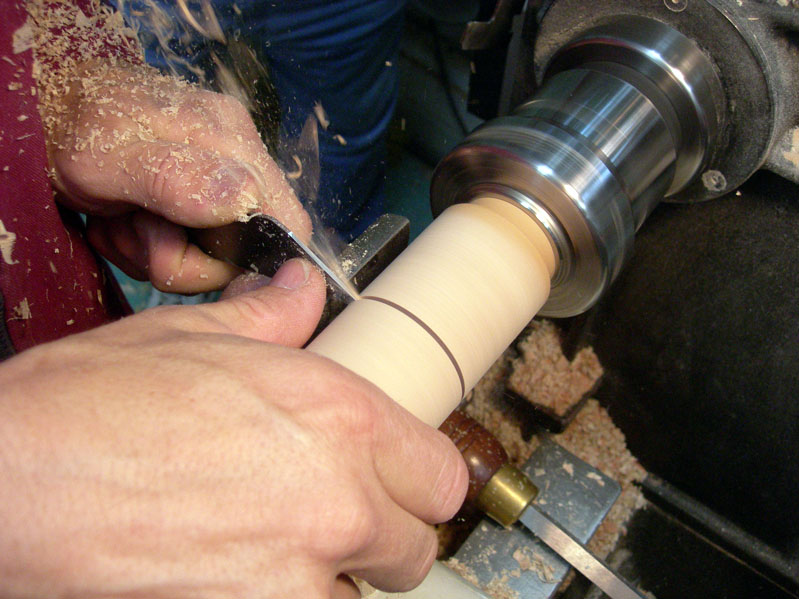


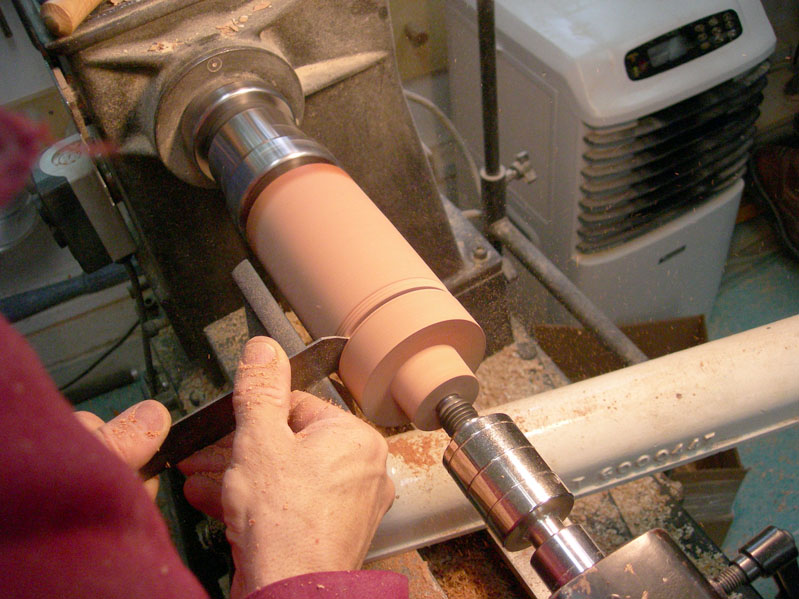
The lid is parted off from the base section of the box.


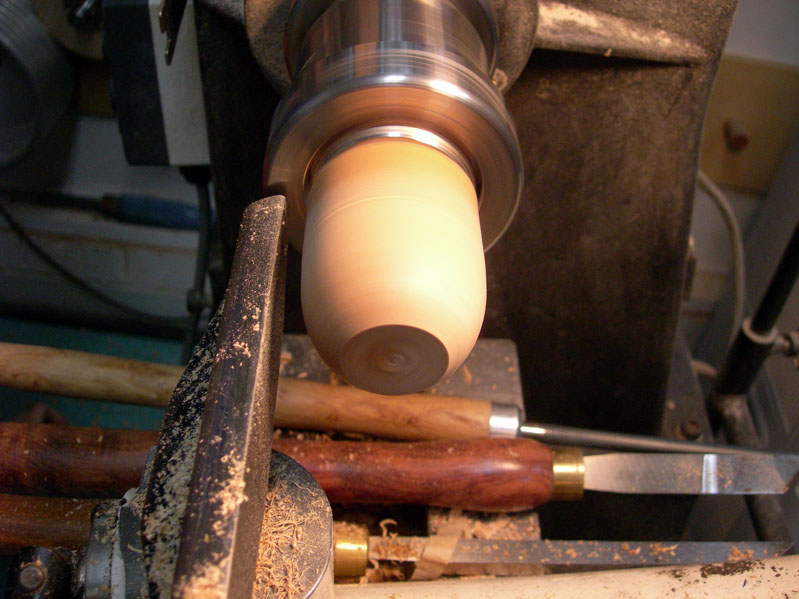
The front face is trued.
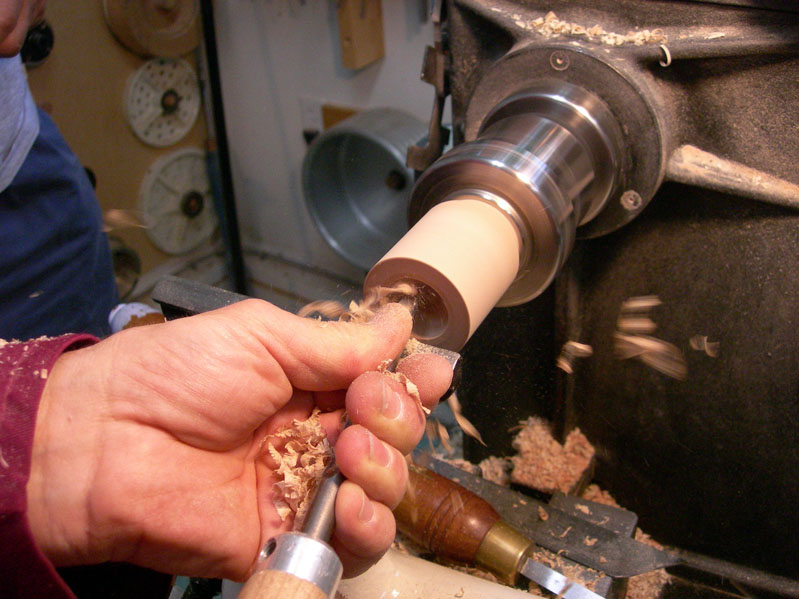


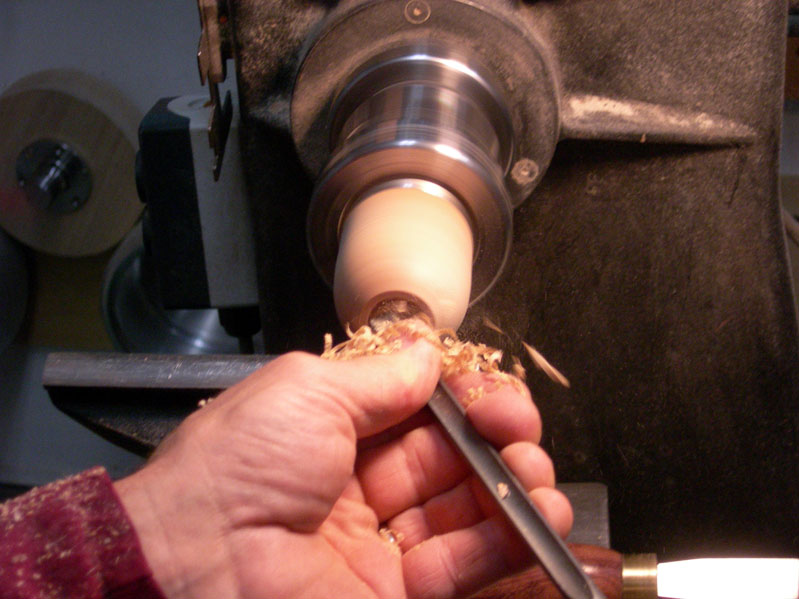
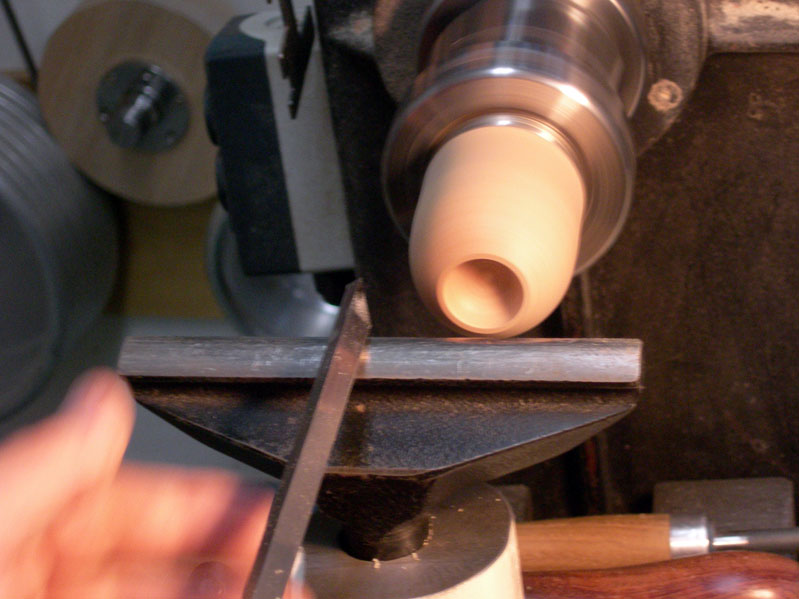
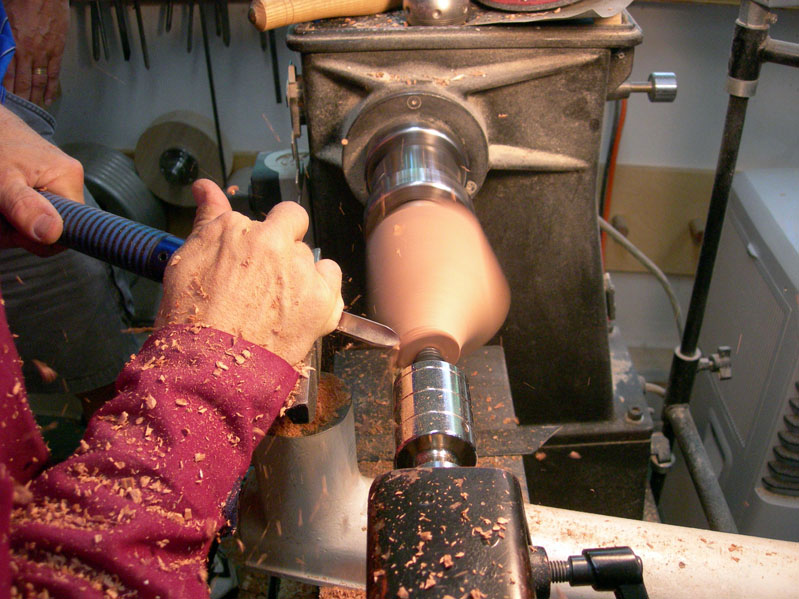
Then the base is hollowed and a lip is made to seat the lid.


The base isn't finished at this point. The final shaping will be done after the lid has been hollowed. The lid is used as a jam chuck for the base and the two are shaped together prior to the finial being made.


A good fit is essential because the lid will become the jam chuck. Jean-François showed us how to size the tenon by testing the fit as you're going. This was always a mystery to me before this class - I haven't done more than a couple of boxes, but now I feel I have a better idea of how to do them after taking this class.
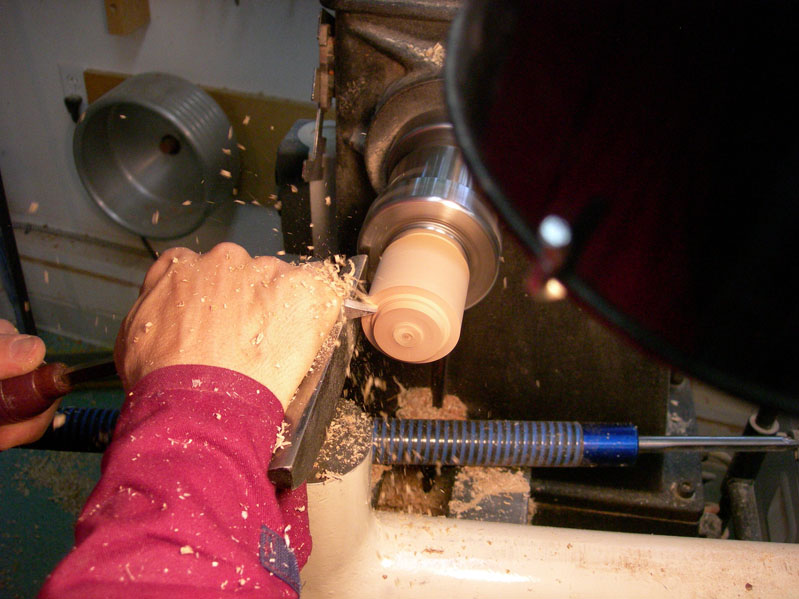


After the fit has been measured, the tenon is finished with a slight taper. The key word is "slight."
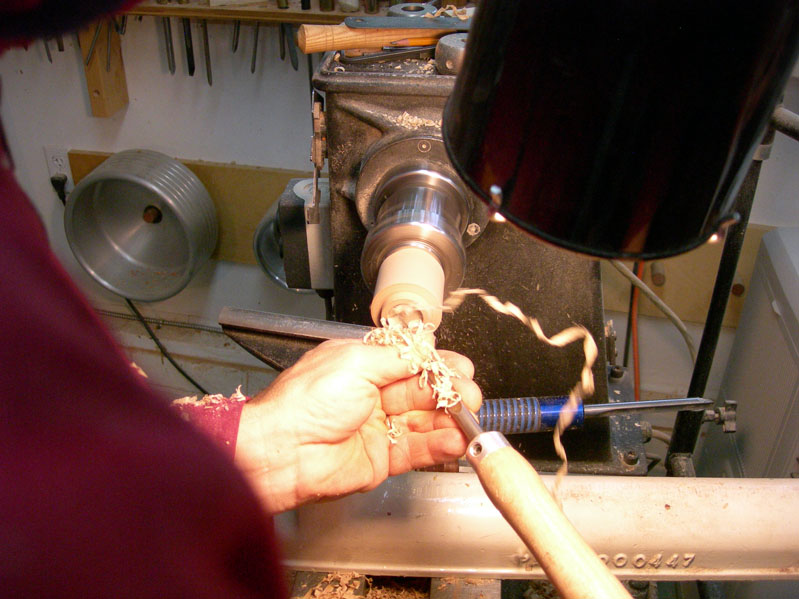


The lid is then hollowed. On a larger box, the hollowing would be done before the final fitting of the tenon to the base. That's because wood moves as the tension is released through hollowing. It's not a big deal on a small box, but can make a difference on a larger diameter one.


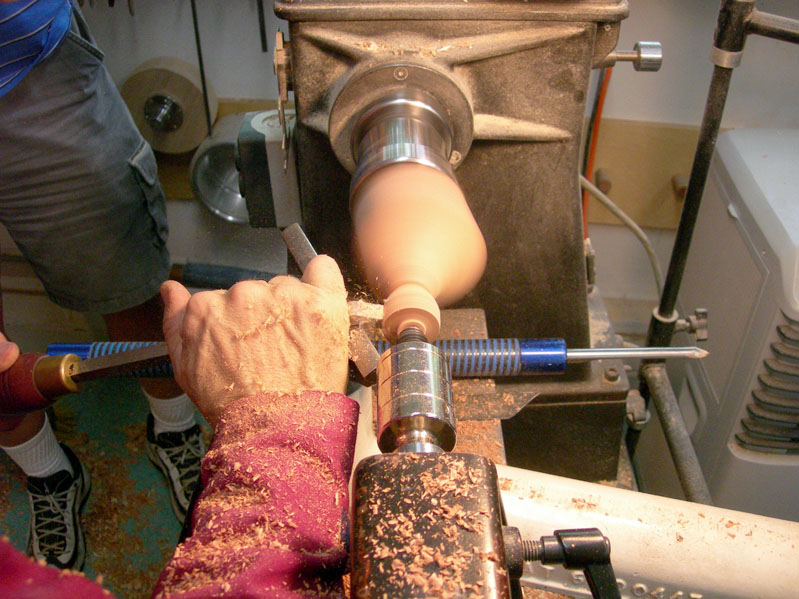
The base is then put onto the lid and the two are turned together to do the final shaping.


Jean-François uses the bedan tool to clean up the surface. I really enjoyed watching this master woodturner work at the lathe. I think he has an advantage in being left handed for the spindle work we did all week. He can work toward the headstock much more comfortably than us right handed turners.


That's a nicely fitted lid, don't you agree?


A few detail features on the base after it's been cleaned up. This is a custom ground tool - basically a diamond point scraper with a second indentation to the right of the point. There's another shot of it below. It's a good tool to use for etching clean lines into a surface.
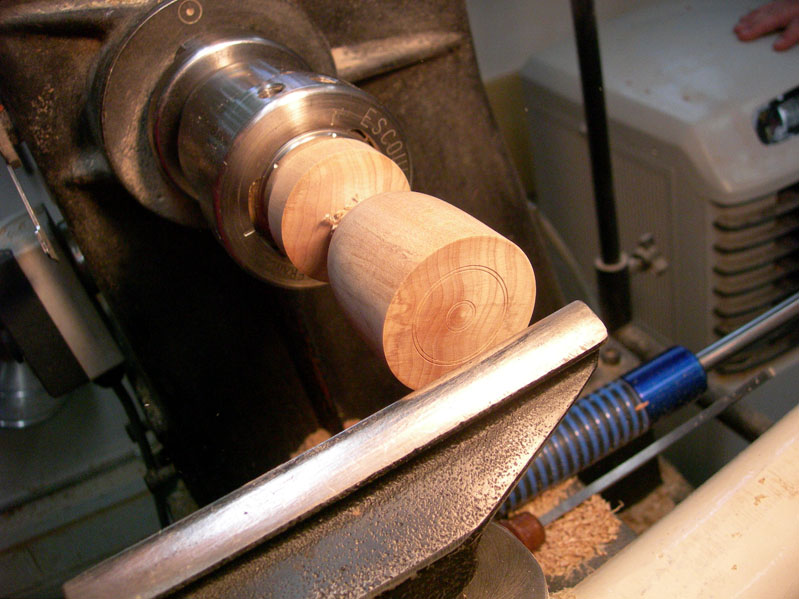


The base is now finished.


With the Escoulen chuck you can also do some interesting surface enhancements by putting the box off center and cutting a line into only a small part of the surface. Rotate the box one index point and do the same, except just above or below the original line. You have some interesting lines around the box - kind of like ornamental turning without the mechanical setup of an ornamental lathe.
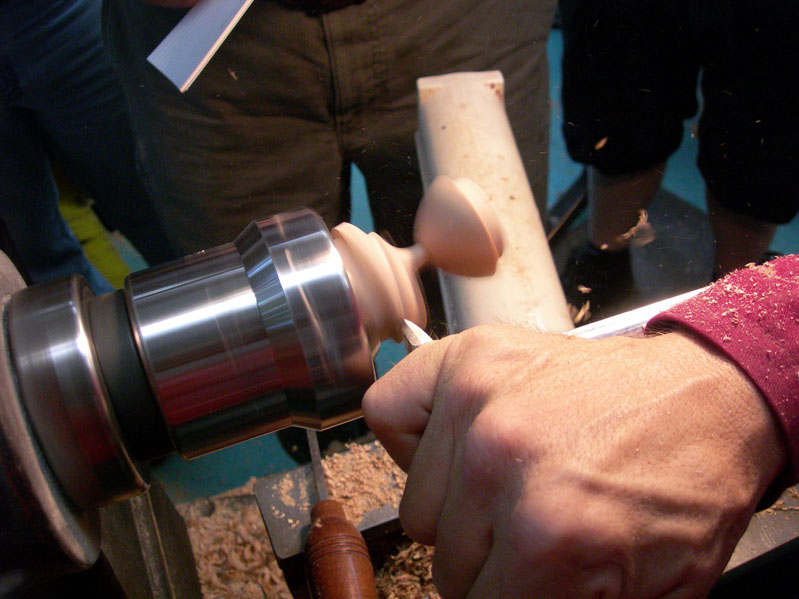


The lid is then turned on the second axis - just like making the golf club shape. I forgot to get a picture of the final box, but you can imagine what this finial looks like.


Friday of the class was also Bastille Day so we decided it would be a good idea to have a lunchtime party to celebrate. Barbara Crockett has hosted us in her shop all week, and she knew that Jean-François had never had an American-style birthday celebration, so we decided that Bastille Day was a good excuse to throw a surprise belated/early birthday party.


Here's Barbara delivering the cake (not enough candles!). That's Booker Brooks trying to get out of the way on the right. Jean-François is looking puzzled. We're all singing "Happy Birthday" to him.
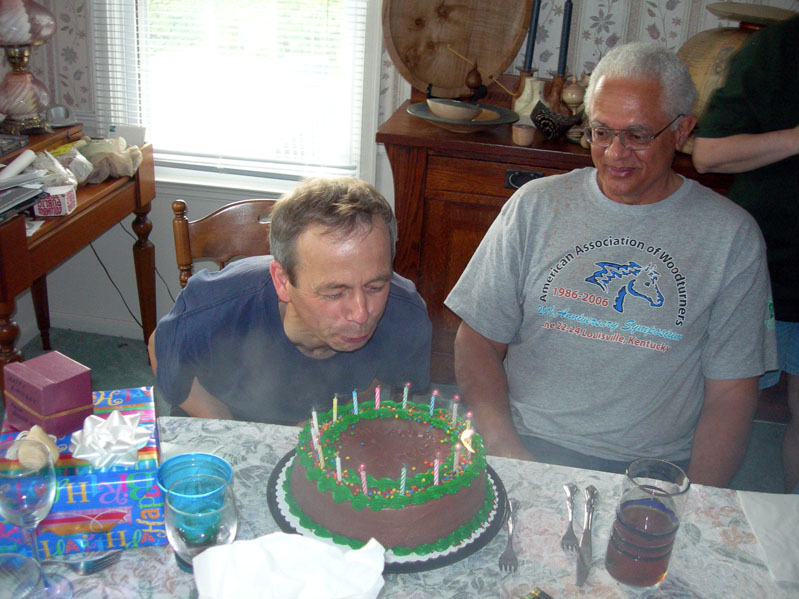


He was a good sport and blew out the candles, only the candles didn't cooperate all that well. They were those trick candles that only go out if you drown them in water.
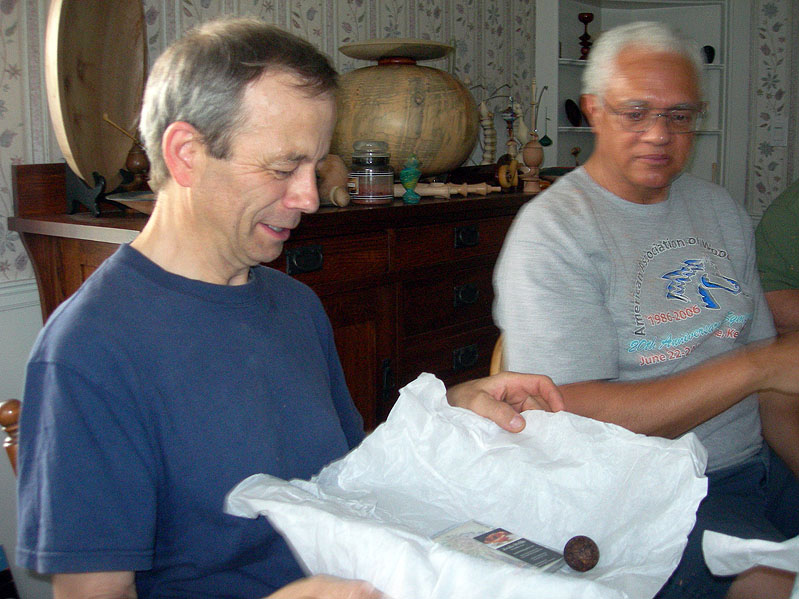


It's a "thing." Huh?


What is it?

Jean-François kept borrowing pencils and sharpeners all week and then pocketing them as he walked away. He received a set of pencils and a sharpener (as show here).
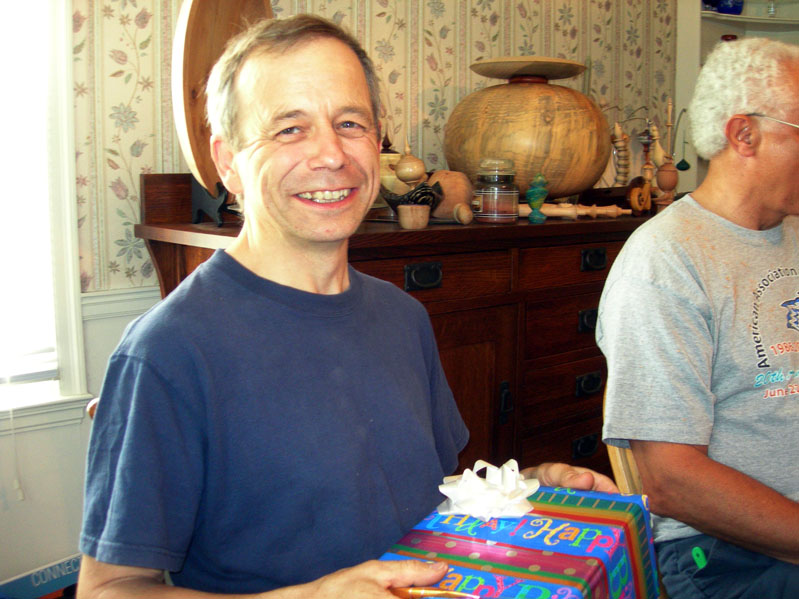


Ok, so this is pretty fun. Not Bastille Day, but an acceptable substitute.


A couple of more pics to end the week. This was a platter Scott Hogsten was working on with Escoulen's new faceplate eccentric chuck.


Here are some of my hollowing exercises.
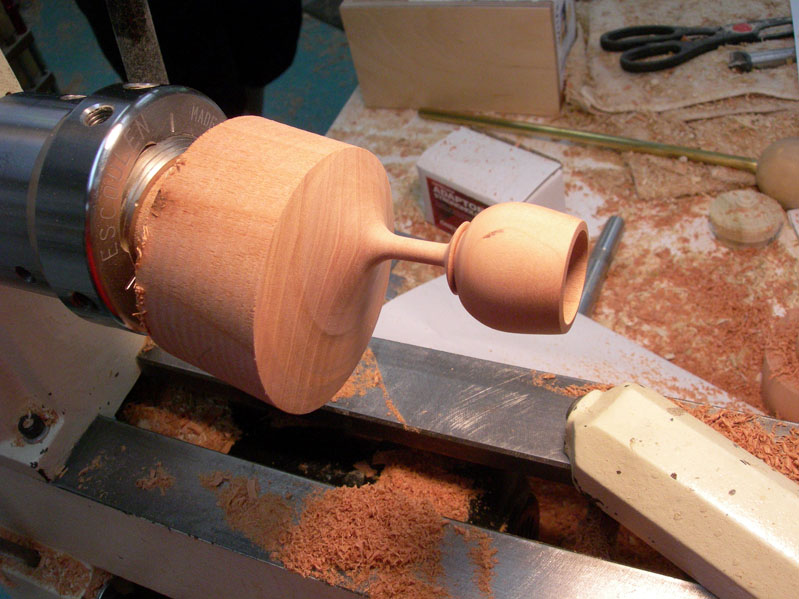


I also decided to tackle the double box, which was really a lot of fun to do. It does take some nerve to get inside to hollow the lower box. The upper box is swinging around like a club as you're moving the hollowing tools inside the shadow tube that forms.


Here's what it looks like before the base and lids are made.
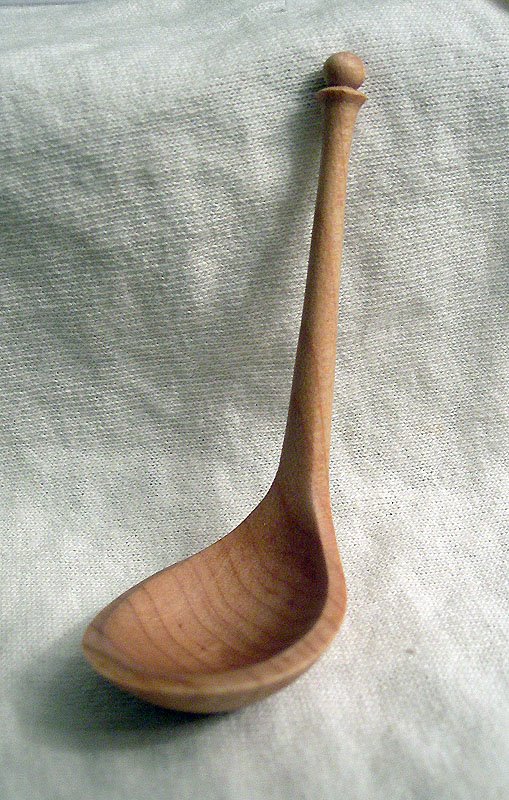


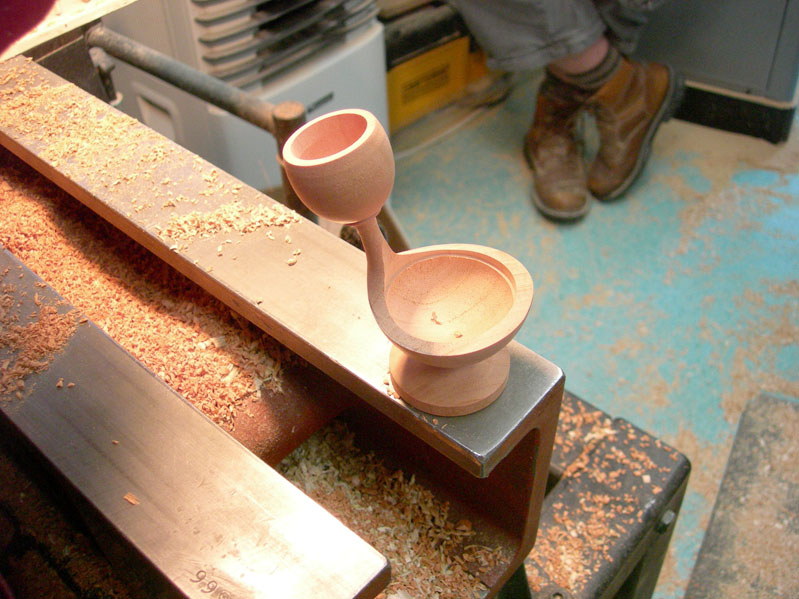
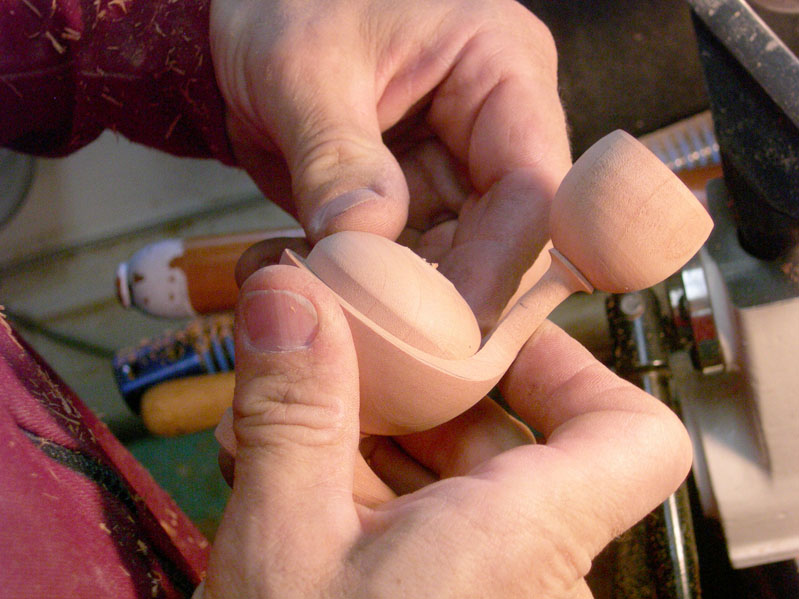
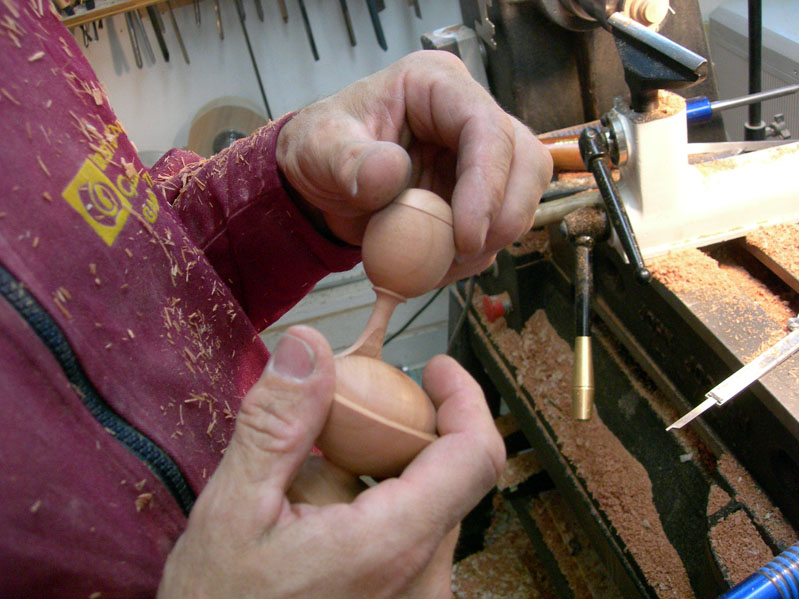
Silly as it seems, my favorite project of this week was this simple spoon. I made it for my small sugar bowl - the only project I actually made to completion and intend to use.

I had such a good time all week! Jean-François is a delightful teacher who has a good sense of humor and who is a master woodturner all rolled into one package.

Sunday, July 16, 2006

Jean-François Escoulen class - Day 4


Thursday was box day in the Escoulen hands-on class. Jean-François sketched the basic principals on the board. The first project was a "sensuel" box where the base and lid were turned on two centers. The last project of the day was a double box. At the end of today I was complaining that "my brain hurts!" alá Monte Python's "Nurse! My brain hurts!"

These boxes combined all the elements that we had learned up to this point, and it was a lot of fun to work on them as well as watch Jean-François demonstrate how to do them correctly.

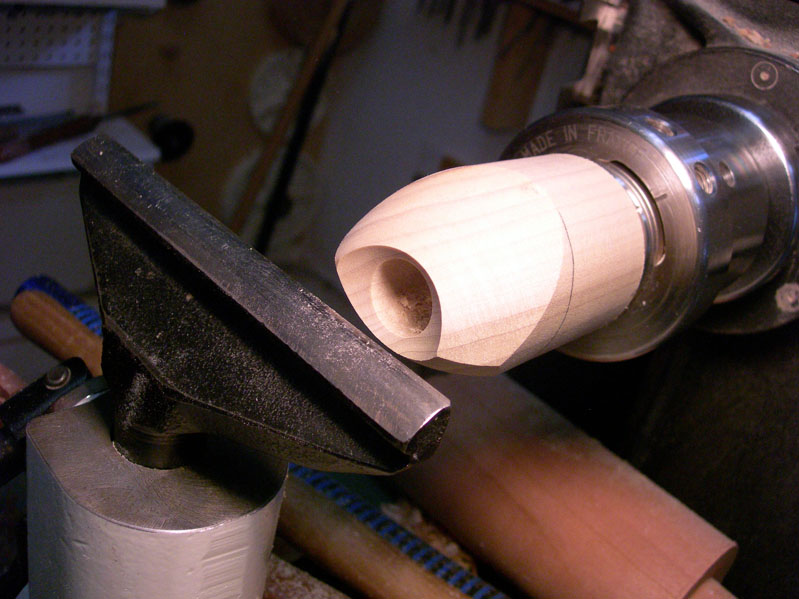
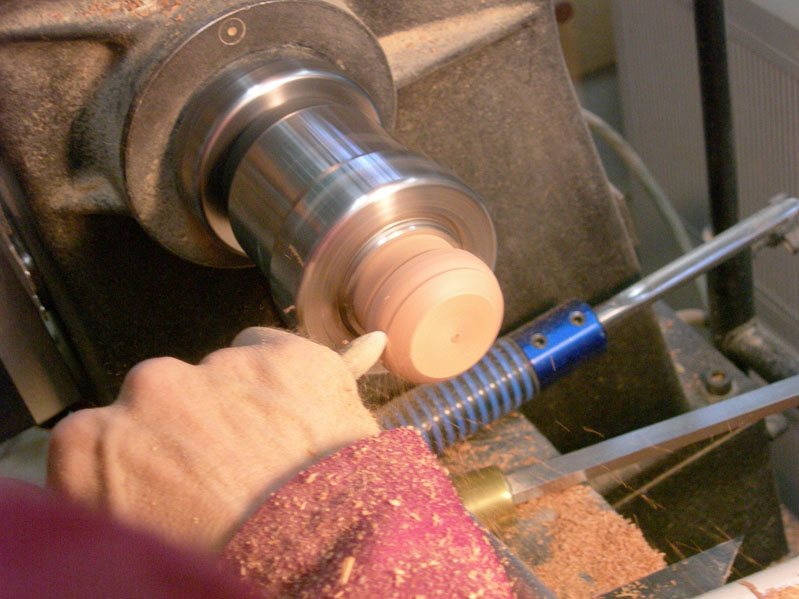
The sensuel box starts on center by forming the shape near the opening. The front face is trued and then the hollowing process is done.


These are end-grain pieces so a spindle gouge can be used for the hollowing process.


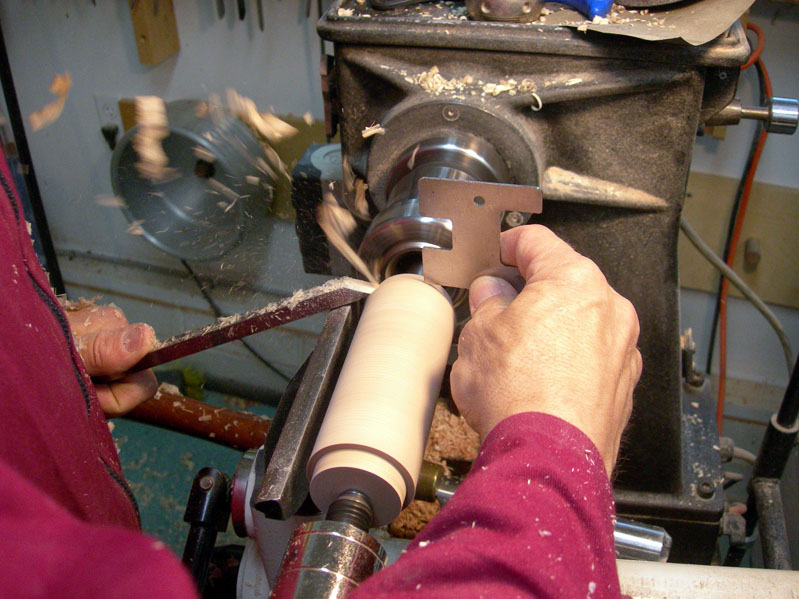
The surface is refined with a scraper worked at a 45° angle. This scraper is very nice - it's from Australia, but I don't know the manufacturer. It looks like a circular disk with a raised rim. It cuts very cleanly and leaves a surface that doesn't need to be sanded.


The bedan is used upside down to put a small lip at the rim of the opening. The lip needs to be vertical with no taper for a proper fit.


Here's what it should look like. The next step is to move the center and do the shape of the base. You'll be able to see this with the pictures I have of the top being made.


The top begins in the same way, on center. You make a tenon to fit the base so that the lid will have a nice "pop" when the box is opened.


For these small boxes, you can go directly to the hollowing step. For large boxes, you'd do the hollowing first and then adjust the fit.


When the fit is correct, the axis is changed to the second center. We used about 10° offset from center.


The turning looks lopsided. You have to make sure you leave enough wall thickness to avoid going through the hollowed out part of the box.


Here's the finished "sensuel" box. Barbara Crockett nicknamed these to be "gonad boxes." One of the guys said they were too small to fit that description. I won't repeat the rest of that "discussion."


The second project of the day was a simple box turned on three centers to make a two-faceted box. I say, "simple," but the process takes some thought to match up the two facets of this box.


 When both facet surfaces are turned, you have to go back to the first axis to center the hollow part of the box.


After facing off the front, you adjust the axis until the circle is centered. Then you can do the hollowing.


If everything looks right, the center is in the middle and the facets are of equal length.


Hollowing is the same as in the previous box. You have enough room to turn off the base and put a decent surface on the bottom. The nub is carved off and sanded. You can also do a jam chuck to put a feature on the bottom.


A lid is turned to fit the base. You can do this on multiple centers, too.


Here's the demonstration piece.


The most challenging project of the week was a double box. You start between centers and put a tenon to fit the Escoulen chuck on each end of the cylinder. Place one tenon into the chuck and part of about 1/3 of the length for the lid.


The remainder is turned off center to about an inch from the edge. You need to have enough material toward the top to turn the first box.
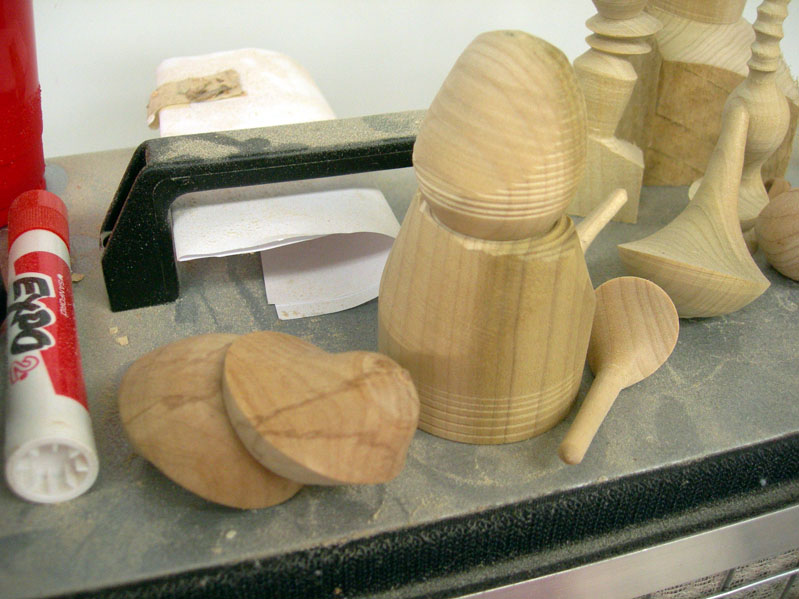


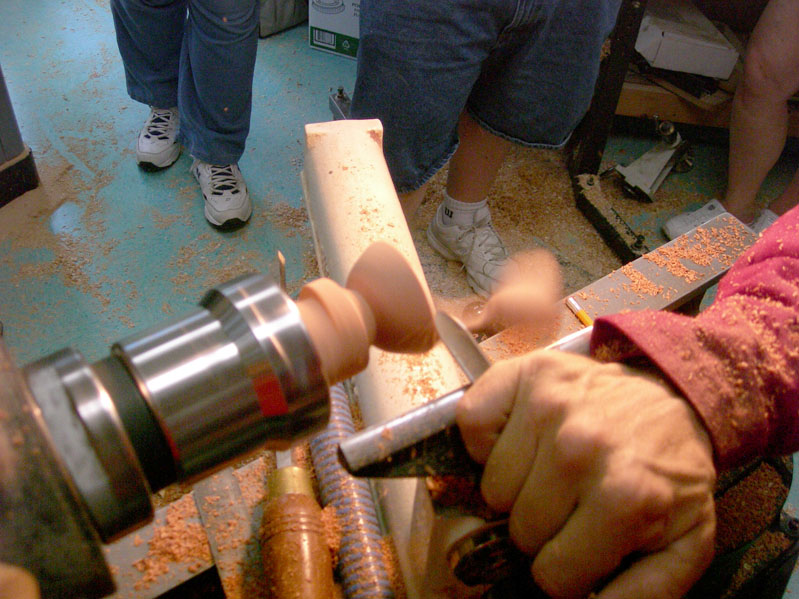
A cylinder is turned near the top.


The box shape is turned and most of the mass of the piece is left intact for the hollowing process.


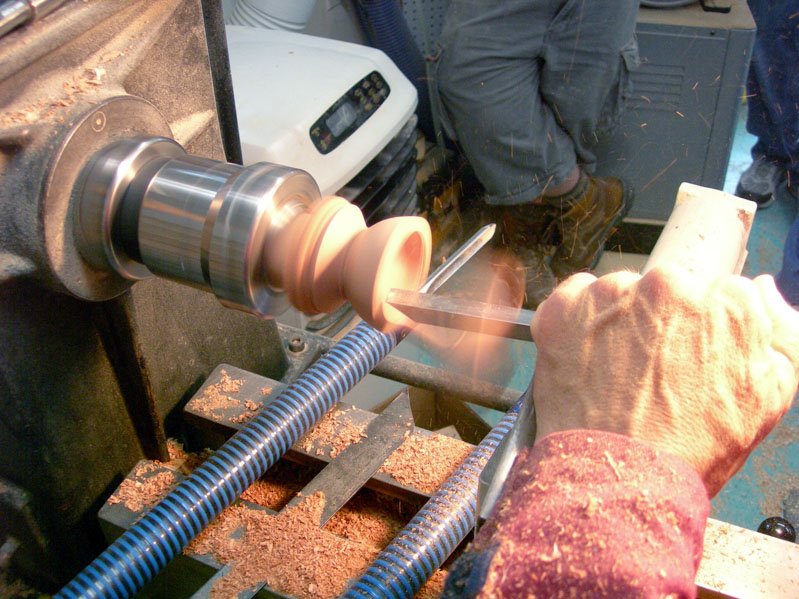
The top box is hollowed with a ball end mill bit and then finished off with the scraper.


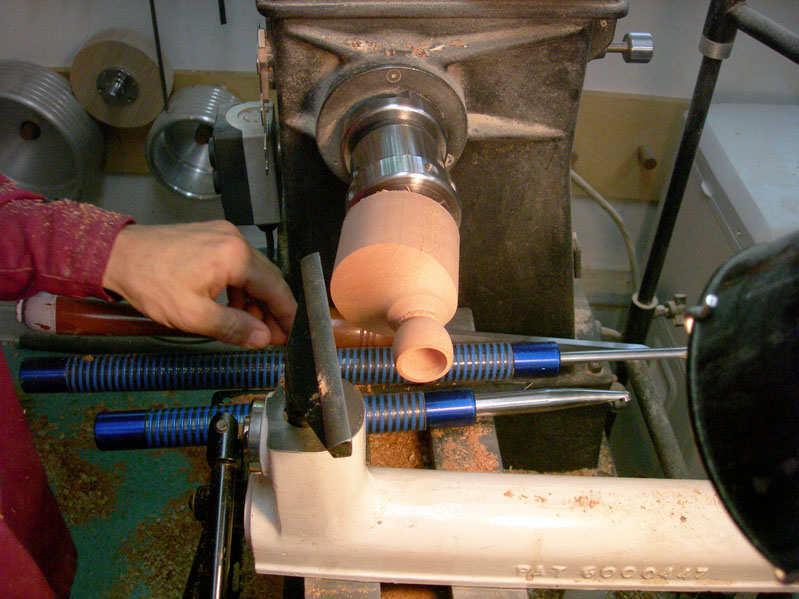
After the hollowing is complete, the stem of the box is turned.


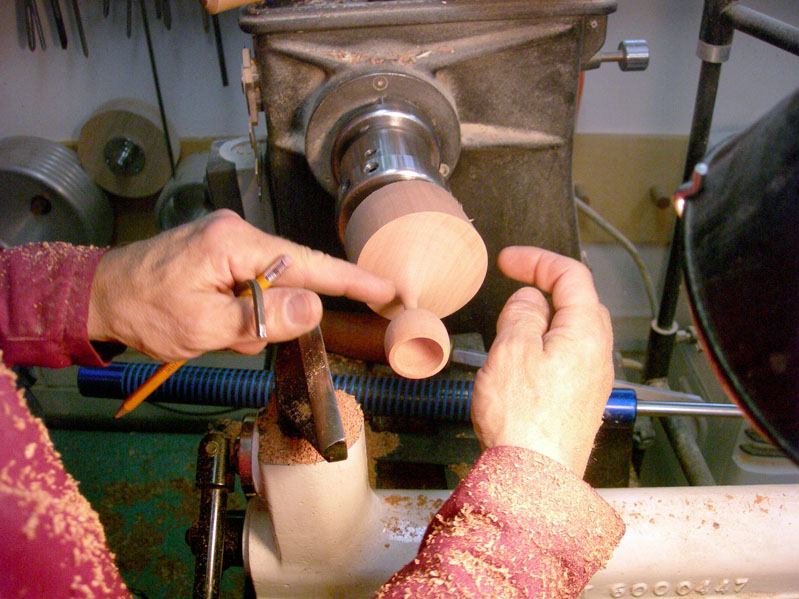
And the surface for the lower box is refined. This is just like what we did in turning the "golf club" shape, except that the top is a small box rather than a narrow stem.


The base is put on an axis that maximizes the diameter of the base. Again, this is just like what we did in turning the "golf club" and spoons in the previous sessions.
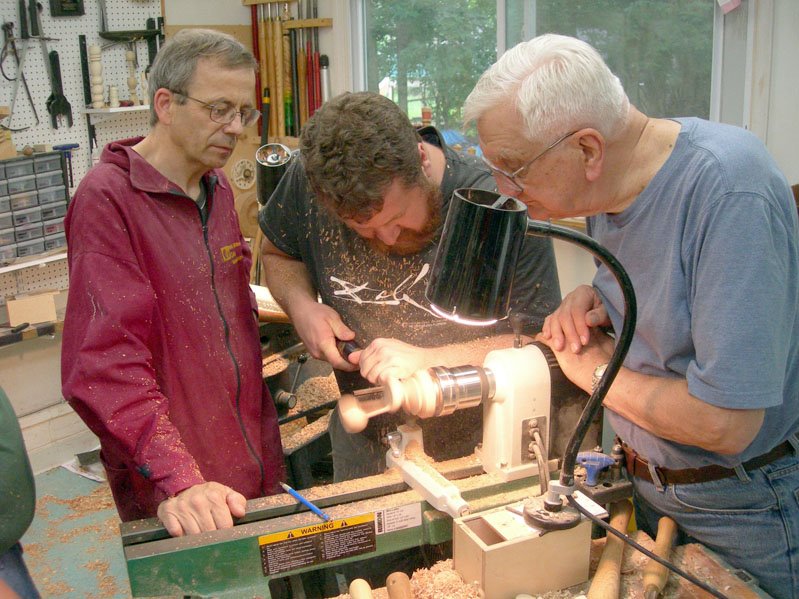


The basic box shape is turned, but not completed. You need to have some mass at the base for the hollowing process, but you also need to know where the curve is going to judge the wall thickness during hollowing.


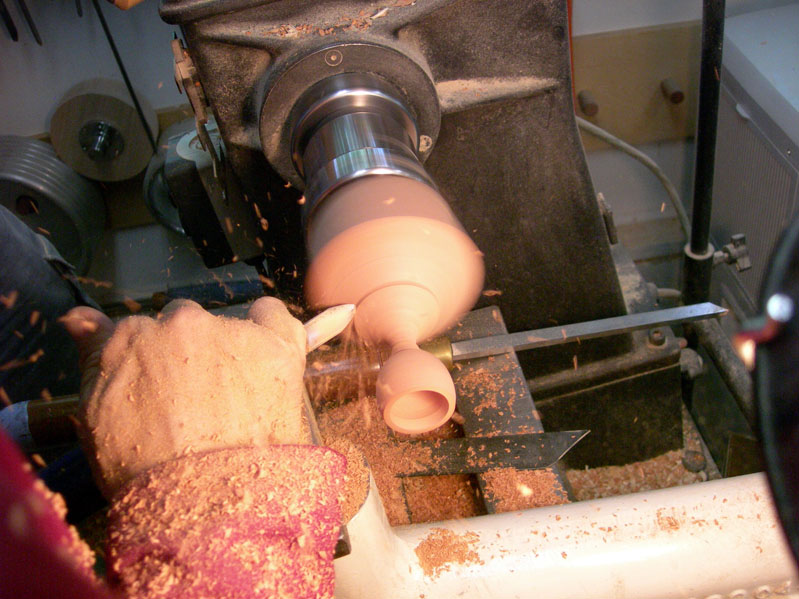
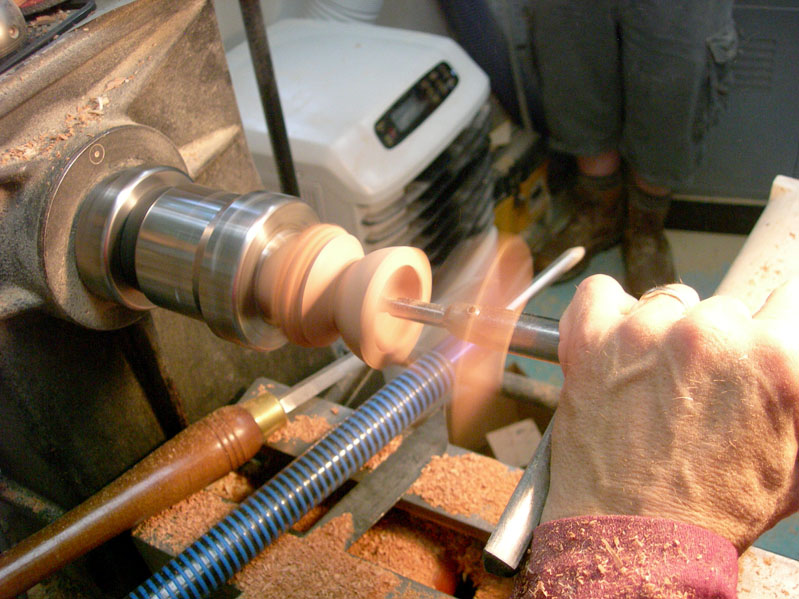
The hollowing process is the same as in the spoon, except you have a big obstacle swinging around at the top. You have to watch where your tool shaft is during hollowing, and you have to be careful in removing the tool from that shadow tube. Concentration is a must!


After the hollowing is complete, you turn a small lip at the top of the box. The bedan tool is again used for this step. It's good that you can see through the shadow line. You also have to blend the stem line into the base line. This can be done with a scraper, or you can do it off the lathe with a rasp.


The base is then completed and the piece parted off.


We nicknamed this double box, "the toilet box." Jean-François told me he had actually made one to resemble it's namesake, complete with a chain and handle for the top part of the box.


The spare piece of wood that was originally parted from the blank is used to make both lids.


One, for the lower box. . .


and one for the upper box. What a fun project!


I didn't attempt the double box project on this day, but worked on my box making skills. Here are my attempts from Day 4.


Devon was the only one of us to try the double box on Thursday, but he decided to not try the hollowing of the lower box. He had lots of help and advice in turning the base. L to R: Jean-François Escoulen, Devon Palmer, and Walt Betley.


Here's Devon with his project. Nice one, Devon.